VCL Reports/Dashboards: How to Use MySQL
- 7 minutes to read
MySQL is an open-source relational database management system developed by the Oracle Corporation. You can connect TdxDashboard/TdxDashboardControl and TdxReport/TdxReportControl components to MySQL databases using the TdxBackendDatabaseSQLConnection component.
Create & Configure a RAD Studio App Project
Create a new project and place TdxDashboardControl and TdxBackendDataConnectionManager components on a form.
Double-click the TdxBackendDataConnectionManager component on the form to open the Collection Editor dialog, click the Add button, and select the Database (SQL) option to create a TdxBackendDatabaseSQLConnection component:

Configure the SQL Connection Component
The previously added TdxBackendDatabaseSQLConnection component connects to the source MySQL database using a connection string. To configure this component and specify a valid connection string, add a TcxButton component to a form and handle the component’s OnClick event as demonstrated in the following code example:
uses
  dxDashboard.Control,             // Declares the TdxDashboardControl component
  dxBackend.ConnectionString.SQL;  // Declares the TdBackendDatabaseSQLConnection component
// ...

procedure TMyForm.cxDisplayDesignerButtonClick(Sender: TObject);
begin
  dxBackendDatabaseSQLConnection1.Active := False;  // Terminates the current connection (if one exists)
  // Specify a user-friendly data connection name (for end-user dialogs) and a valid connection string:
  dxBackendDatabaseSQLConnection1.DisplayName := 'MySQL Database Connection';
  dxBackendDatabaseSQLConnection1.ConnectionString :=

    'XpoProvider=MySql;' +                      // Specifies the database engine type
    'Server=127.0.0.1;' +                       // Specifies the database server host IP address
    'User ID=MyUserName;' +                     // Specifies a valid user name
    'Password=MyPassword;' +                    // Specifies the corresponding password for the user name
    'Database=MyDatabase;' +                    // Specifies the target database name
    'Persist Security Info=true;Charset=utf8';  // Specifies additional attributes

  dxBackendDatabaseSQLConnection1.Active := True; // Connects to the test database
  dxDashboardControl1.ShowDesigner;               // Displays the "Dashboard Designer" dialog
end;
Tip
Alternatively, you can select the created TdxBackendDatabaseSQLConnection component in the Collection Editor and specify all required settings using the Object Inspector.
Deploy & Run the Test App
Obtain & Deploy Dependencies
- Open the MySql.Data NuGet package page and click Download package.
- Rename the downloaded mysql.data.9.6.0.nupkg[1] file to mysql.data.9.6.0.zip and extract the archive.
- Navigate to the *\mysql.data.9.6.0\lib\net8.0* folder. Copy MySql.Data.dll.
- Create a dotnet_libraries subfolder in the project folder containing the built executable file and paste the copied file into dotnet_libraries.
Place the WebView2Loader.dll file from the EdgeView2 SDK GetIt package into the project folder containing the built executable file.
Automatic WebView2Loader.dll DeploymentTo automatically copy a 32- or 64-bit WebView2Loader.dll file to the target build folder, do the following:
- Open the Project Options dialog. Select the Project → Options… item in the RAD Studio menu or press Ctrl + Shift + F11).
Select Build → Build Events in the tree view pane on the left and select the following option in the Target combo box:
'All Configurations - All Platforms'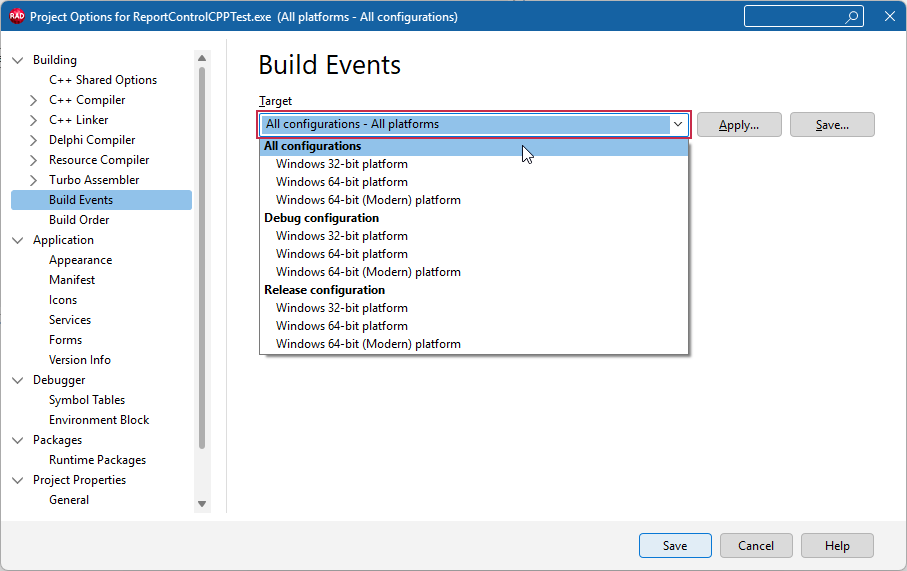
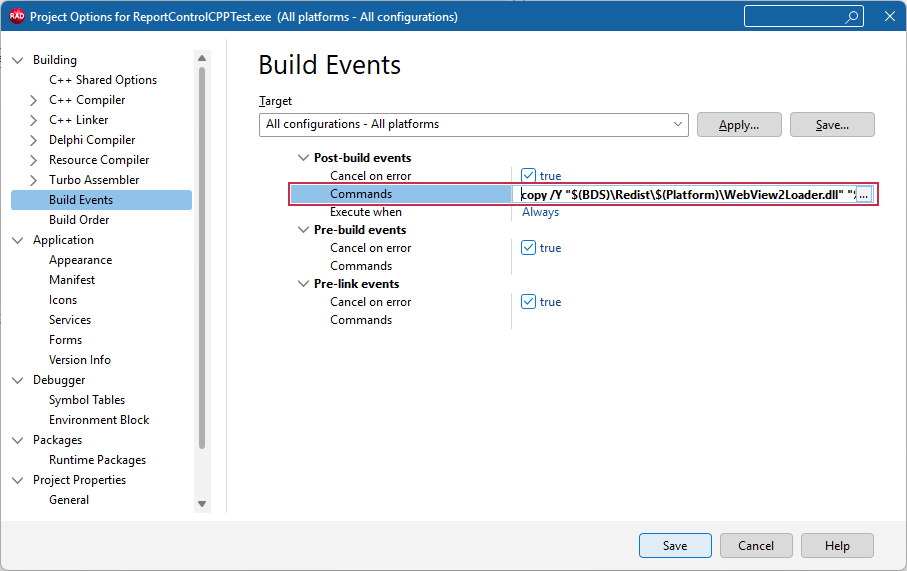
Copy the command line for the target compiler and platform:
copy /Y "$(BDS)\Redist\$(Platform)\WebView2Loader.dll" "$(OUTPUTDIR)"Paste the DLL deployment command line into the Commands box:
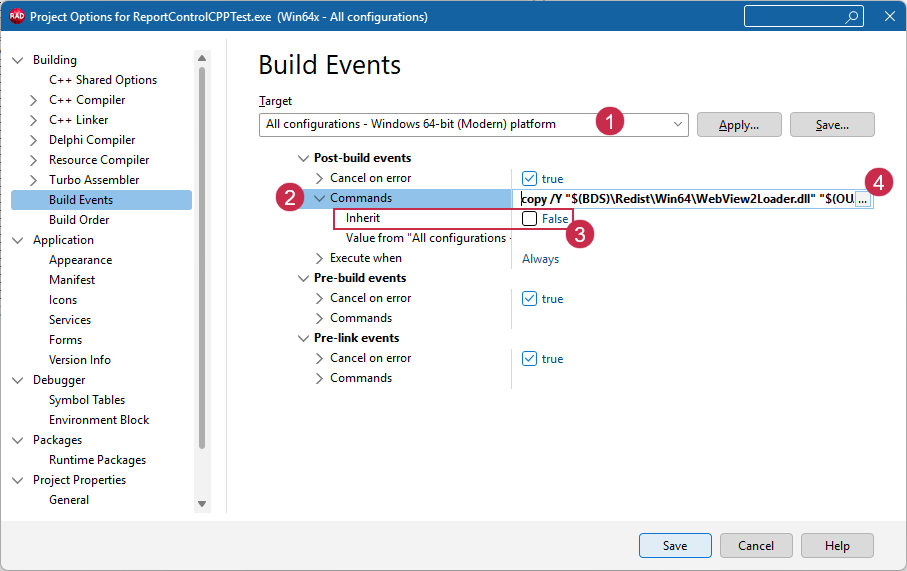
Optional. This step is required only for the Modern C++ RAD Studio compiler.
If you use Windows 64-bit (Modern) as a build target, select the Windows 64-bit (Modern) platform (1), expand the Post-build events → Commands node (2), uncheck the Inherit option (3), and paste the Modern compiler-specific command into the Commands box (4):
Click Save to apply pending changes and close the Project Options dialog.
Build the project. Confirm that the configured post-build event is trusted in the following dialog:
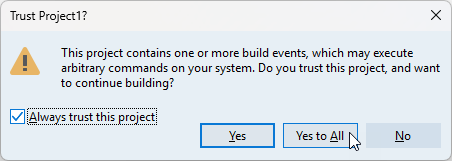
All build operations in the current RAD Studio project now ensure that the platform-specific WebView2Loader.dll file version is available in the target build folder (for both Debug and Release configurations).
Run App & Test Database Connection
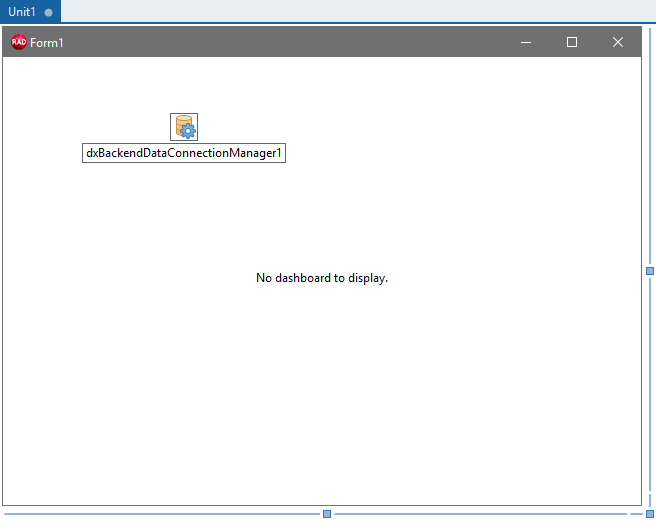
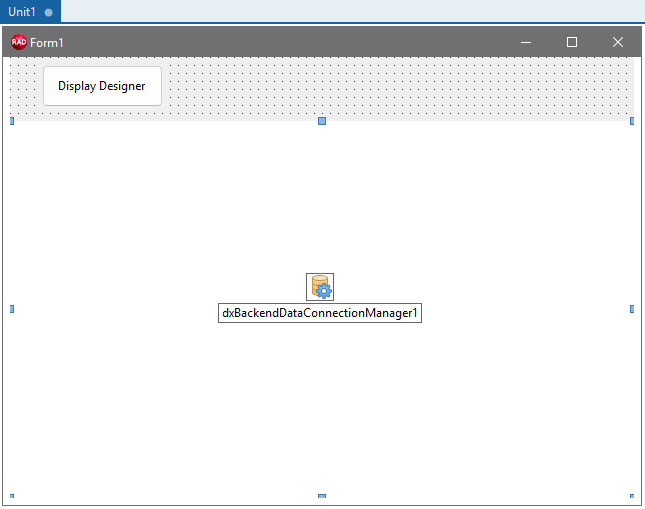
The application form contains TdxDashboardControl and TcxButton components:
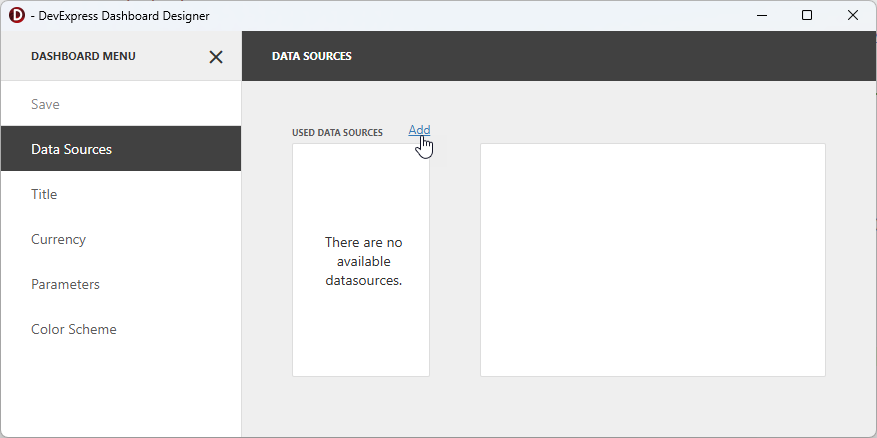
Run the built executable file and click the previously added button to display the DevExpress Dashboard Designer dialog. Click the hamburger button, select the Data Sources item, and click the Add link in the DATA SOURCES pane:
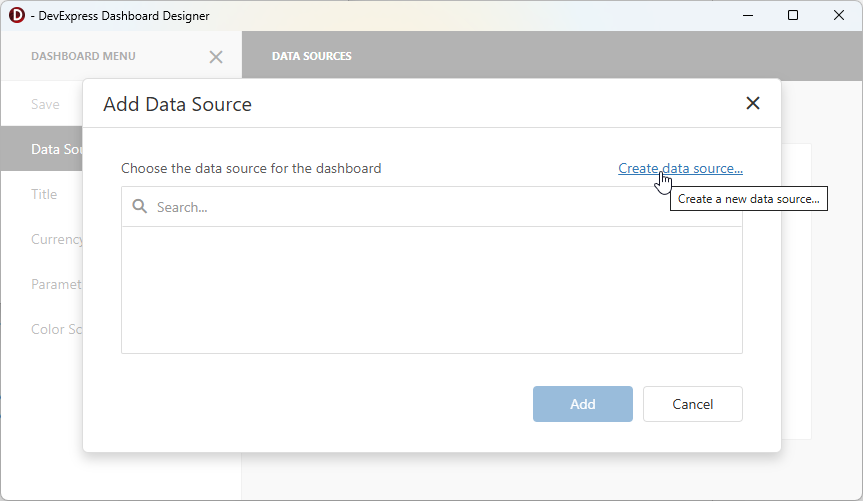
Click the Create data source… link in the Add Data Source modal dialog:
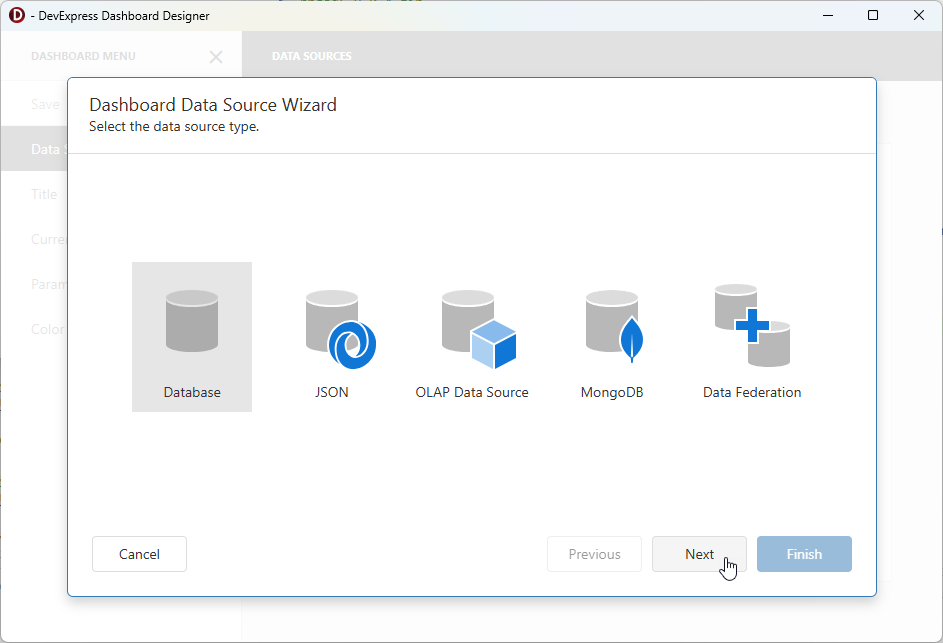
Select Database in the Dashboard Data Source Wizard modal dialog and click Next:
The wizard displays the created data connection component using its display name specified earlier.
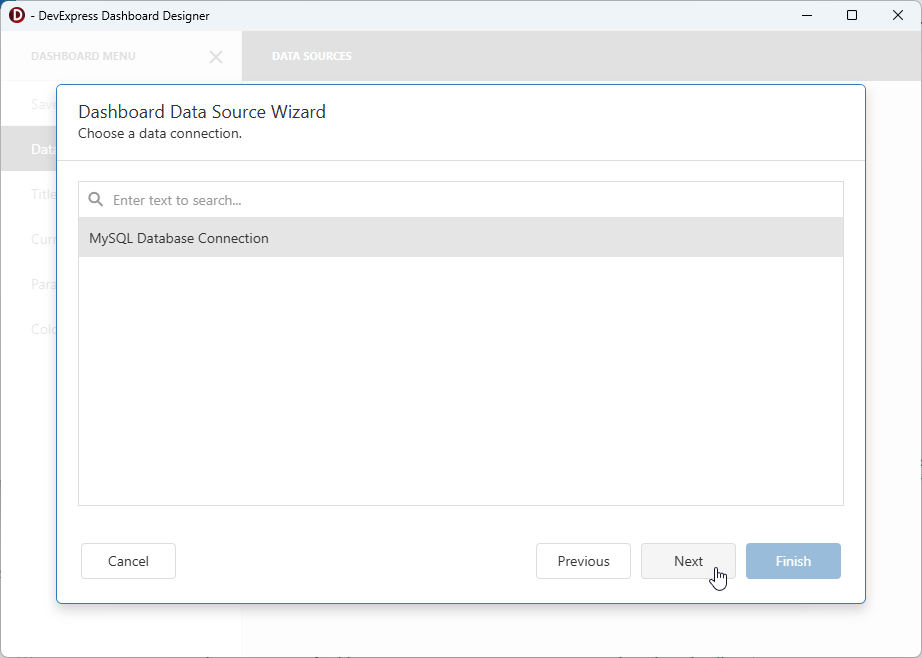
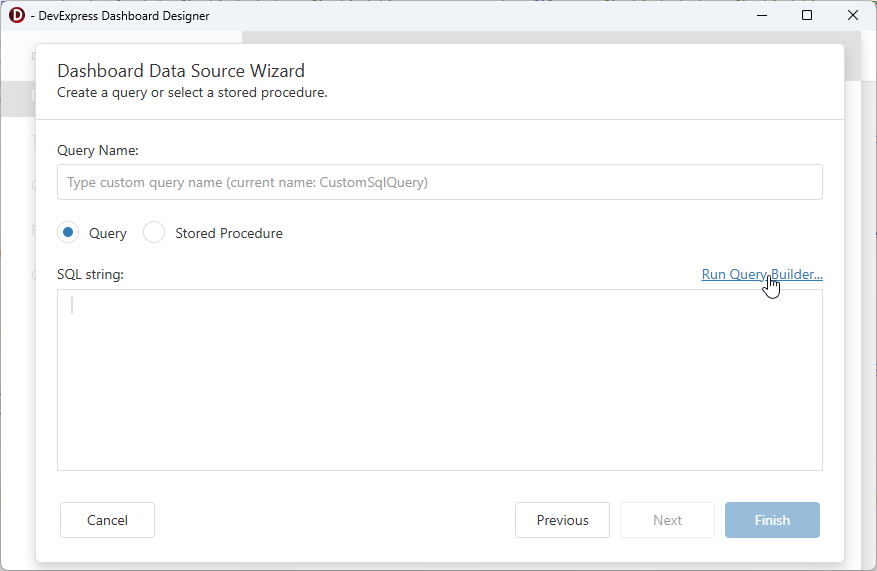
Click Next and use the Run Query Builder… option:
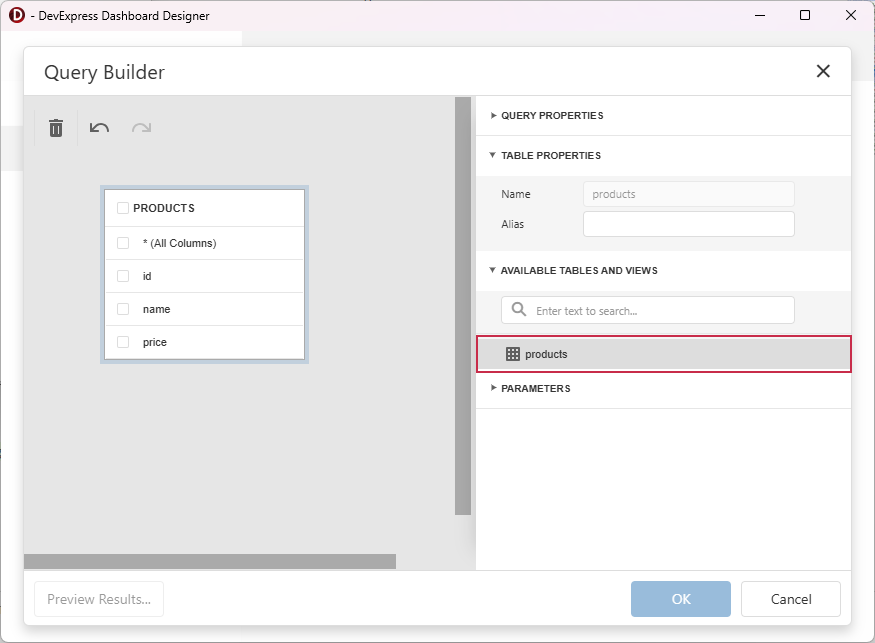
Expand the AVAILABLE TABLES AND VIEWS node to browse tables from the connected database:
Next Steps
Review the following tutorials to get started with TdxDashboard/TdxDashboardControl and TdxReport/TdxReportControl components:
ExpressDashboards Tutorials
Basic Tutorial. Follow this tutorial to create a simple dashboard application: set up a memory-based data source, load JSON data, create Bubble Map and Chart dashboard items, and bind them to data.
Featured Components: TdxDashboardControl | TdxBackendDataConnectionManager | TdxBackendInMemoryJSONConnection
Follow this tutorial to create a dashboard and bind it to data using standard FireDAC components (TFDQuery and TFDConnection) shipped with the RAD Studio IDE.
Featured Components: TdxDashboardControl | TdxBackendDataConnectionManager | TdxBackendDataSetJSONConnection
Follow this tutorial to create a dashboard, bind it to a parametrized stored procedure, and pass dashboard parameters to that procedure using the Dashboard Designer dialog at design time.
Featured Components: TdxDashboardControl | TdxBackendDataConnectionManager | TdxBackendDatabaseSQLConnection
ExpressReports Tutorials
Basic Tutorials designed to help you get acquainted with basic tools and report creation functionality available for TdxReport and TdxReportControl components.
Follow these tutorials to create a table report and display it in a VCL application. Both tutorials create applications with the same UI/UX but use different data sources and data connection components.
Parametrized Report Tutorials. Follow these tutorials to create a Tabbed MDI (multi-document interface) Report Viewer application where different tabs allow users to display the same parametrized report layout/template populated with different data loaded from a relational SQL database.
Both tutorials create sample applications that implement the same UI/UX with similar performance but rely on different data shaping/connection techniques/components.
Tip
Refer to the following topic for a complete list of TdxReport/TdxReportControl tutorials: VCL Reports: Getting Started.
Other Supported Database Systems
Refer to the following topics for step-by-step instructions on using corresponding database systems for ExpressReports and ExpressDashboards:
Built-In Support
- VCL Dataset and Data Source Components
- The TdxBackendDataSetJSONConnection component allows you to bind TdxDashboard/TdxDashboardControl and TdxReport to one or multiple datasets (TdxMemData, TFDTable, TFDQuery, and other TDataSet descendants) using TDataSource components.
- In-Memory/Remote Web Service
- The TdxBackendInMemoryJSONConnection component allows you to bind TdxDashboard/TdxDashboardControl and TdxReport components to JSON data defined in code or loaded from a remote Web API service endpoint.
- SQLite
- SQLite is a file-based relational database engine.
- Microsoft SQL/Azure Databases
- Microsoft SQL Server and Azure SQL Database are proprietary relational database management systems developed by Microsoft.
Database Providers That Require Assembly Deployment
- PostgreSQL
- PostgreSQL is an open-source database management system.
- Oracle Database
- Oracle Database is a proprietary multi-model database management system developed by the Oracle Corporation.
- Firebird
- Firebird is an open-source SQL relational database management system.