Borders and Shading Dialog
- 2 minutes to read
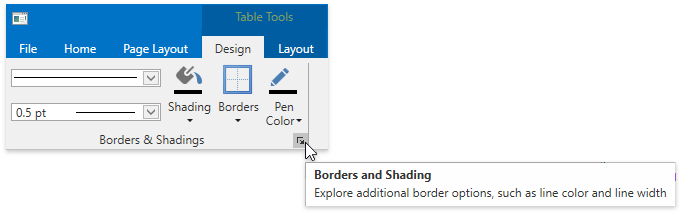
The Borders and Shading dialog allows end-users to specify border settings and background color for a table. The Borders and Shading dialog is invoked when an end-user clicks the Borders and Shading… button in the Table Properties dialog, or the dialog box launcher located in the bottom-right corner of the Draw Borders group on the Table Tools | Design ribbon tab. For an example on how to create a ribbon UI and add the Table Tools tab to the RichEditControl, refer to the Lesson 5 - Create Separate Ribbon Pages for a Rich Text Editor topic.
To invoke the Borders and Shading dialog programmatically, use the ShowBorderShadingFormCommand command.
Before a dialog is shown, the RichEditControl.BorderShadingFormShowing event occurs.
The Borders and Shading dialog includes two tabs.
Borders
Options under the Borders tab enable end-users to set border settings, their style, color and width.

To access and modify table borders programmatically, use the Table.Borders property to get access to the TableBorders object containing border settings for a table.
Shading
This tab allows end-users to fill a table background with a solid color.

To fill the entire table with a color in code, iterate through all table cells and change the TableCell.BackgroundColor property value for each cell. Use the Table.ForEachCell method to accomplish this task.