Dock Layout Manager: Get Started
- 3 minutes to read
This tutorial explains how to work with the Dock Layout Manager.
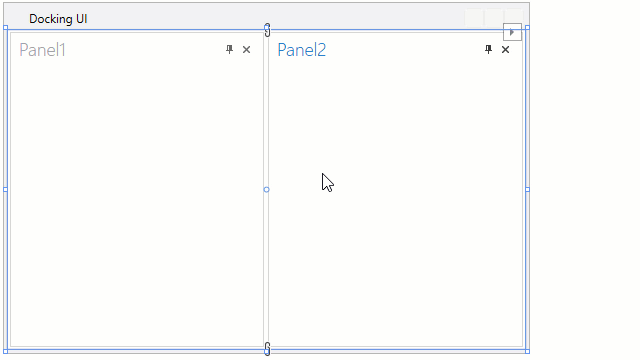
Add the Dock Layout Manager to a Form
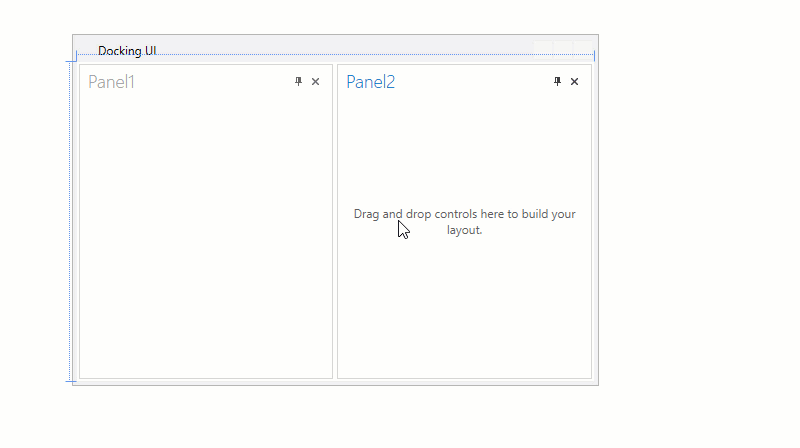
Drag the DevExpress DockLayoutManager from the Visual Studio Toolbox to the form.
<Window ...
xmlns:dxdo="http://schemas.devexpress.com/winfx/2008/xaml/docking"
Title="Docking UI" Height="350" Width="525" >
<Grid>
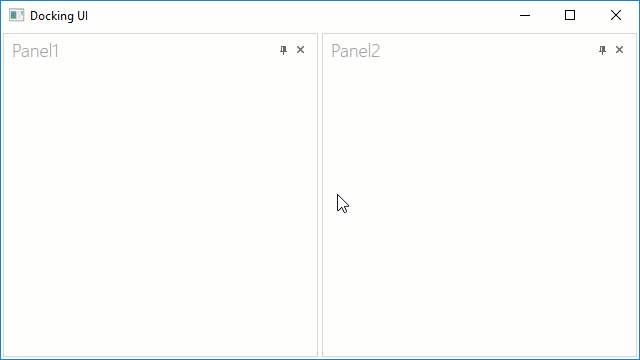
<dxdo:DockLayoutManager>
<dxdo:LayoutGroup Caption="LayoutRoot" Orientation="Vertical" >
<dxdo:LayoutPanel Caption="Panel1"/>
<dxdo:LayoutPanel Caption="Panel2"/>
</dxdo:LayoutGroup>
</dxdo:DockLayoutManager>
</Grid>
</Window>
Predefined Layouts
Right-click the Dock Layout Manager, select Create Default Layout, and choose one of the predefined layouts.

Predefined layouts: Simple, IDE, MDI.

Simple

IDE

MDI
Layout Panels
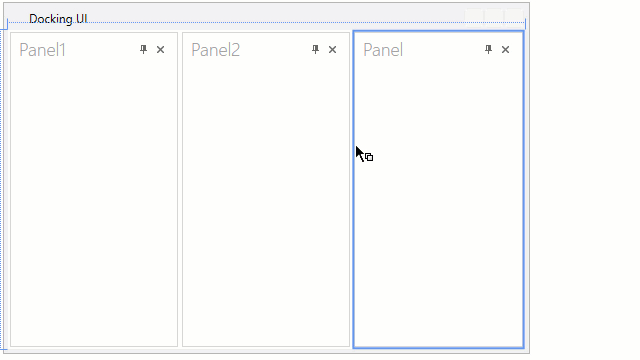
Create a Panel
Select the panel, expand the command group (+), and click the Add a new panel button.
The following XAML code will be generated:
<dxdo:DockLayoutManager>
    <!-- ... -->
        <dxdo:LayoutPanel Caption="Panel"/>
    <!-- ... -->
</dxdo:DockLayoutManager>
Add Panel Content
To add a control to the LayoutPanel, drag the control from the Toolbox to the panel.
The following example adds the TextBox control to Panel1:
<dxdo:LayoutPanel Caption="Panel1">
    <TextBox/>
</dxdo:LayoutPanel>
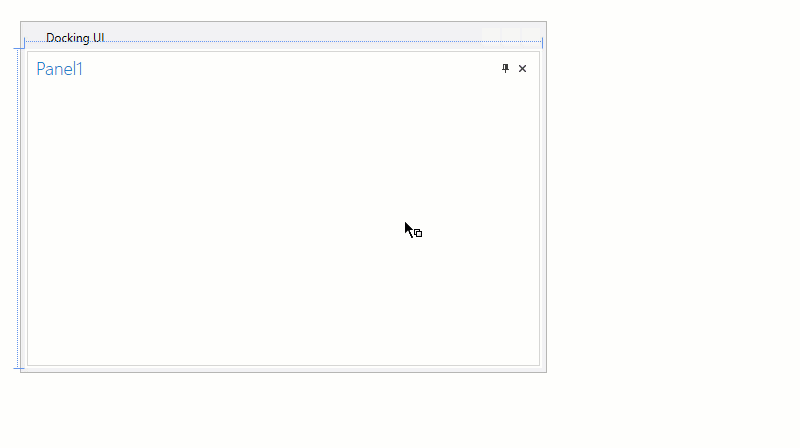
Remove a Panel
Right-click the panel and select Delete.
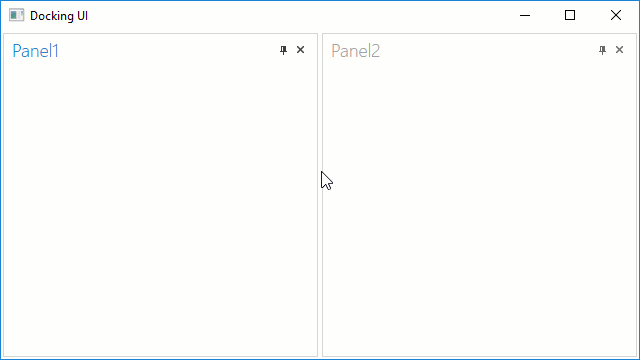
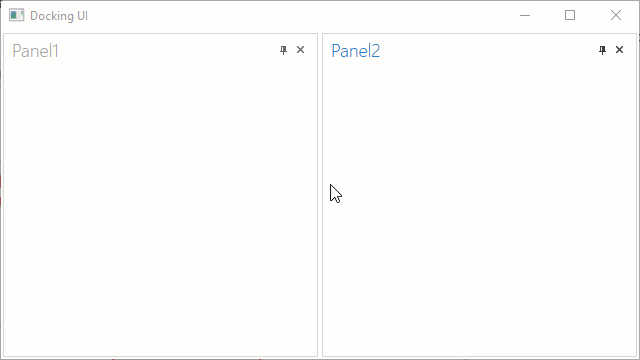
Rearrange Panels (Drag and Drop)
Panel Groups
You can arrange panels into groups: Auto-Hide, Floating, Tabbed, and Document Group.
Auto-Hide Groups
Click the pin button in a docked panel header. The Dock Layout Manager creates the auto-hidden group and adds the panel into it. Click the panel’s pin button again to dock it.
<dxdo:DockLayoutManager>
    <dxdo:DockLayoutManager.AutoHideGroups>
        <dxdo:AutoHideGroup DockType="Right">
            <dxdo:LayoutPanel Caption="Panel2"/>
        </dxdo:AutoHideGroup>
    </dxdo:DockLayoutManager.AutoHideGroups>
    <dxdo:LayoutGroup Caption="LayoutRoot">
        <dxdo:LayoutPanel Caption="Panel1"/>
    </dxdo:LayoutGroup>
</dxdo:DockLayoutManager>
Customization
Specify the panel’s AutoHideGroup.AutoHideType attached property to specify the location of the auto-hide panel (when it is hidden).
Specify the panel’s AutoHideSize dependency property to specify the panel size in auto-hide mode.
<dxdo:LayoutPanel Caption="Panel1" dxdo:AutoHideGroup.AutoHideType="Bottom"
                  dxdo:AutoHideGroup.AutoHideSize="200,250">
    <!-- Content -->
</dxdo:LayoutPanel>
Floating Groups
Drop a panel outside docking hints or double-click a panel header to make a floating group.

<dxdo:DockLayoutManager>
    <dxdo:DockLayoutManager.FloatGroups>
        <dxdo:FloatGroup FloatLocation="165,40" FloatSize="181,327">
            <dxdo:LayoutPanel Caption="Panel2"/>
        </dxdo:FloatGroup>
    </dxdo:DockLayoutManager.FloatGroups>
    <dxdo:LayoutGroup Caption="LayoutRoot">
        <dxdo:LayoutPanel Caption="Panel"/>
        <dxdo:LayoutPanel Caption="Panel1"/>
    </dxdo:LayoutGroup>
</dxdo:DockLayoutManager>
Set the DockLayoutManager.FloatingMode property to Desktop to allow your users to drag floating panels outside the window.
<dxdo:DockLayoutManager FloatingMode="Desktop">
Tabbed Groups
Drag a panel to the middle of another panel to create a tabbed group. Click tab headers to switch between panels. Drag the panel’s header outside the tabbed group to restore the panel.
<dxdo:DockLayoutManager>
    <dxdo:LayoutGroup Caption="LayoutRoot">
        <dxdo:TabbedGroup>
            <dxdo:LayoutPanel Caption="Panel1"/>
            <dxdo:LayoutPanel Caption="Panel"/>
        </dxdo:TabbedGroup>
    </dxdo:LayoutGroup>
</dxdo:DockLayoutManager>
Document Groups
Tabbed Style
Click the Add a new document group button to add a new document group. Tabbed style is the default style.
<dxdo:DockLayoutManager>
    <dxdo:LayoutGroup Caption="LayoutRoot">
        <dxdo:LayoutPanel Caption="Panel1"/>
        <dxdo:LayoutPanel Caption="Panel"/>
        <dxdo:DocumentGroup>
            <dxdo:DocumentPanel Caption="Document">
                <Grid/>
            </dxdo:DocumentPanel>
            <dxdo:DocumentPanel Caption="Document">
                <Grid/>
            </dxdo:DocumentPanel>
        </dxdo:DocumentGroup>
    </dxdo:LayoutGroup>
</dxdo:DockLayoutManager>
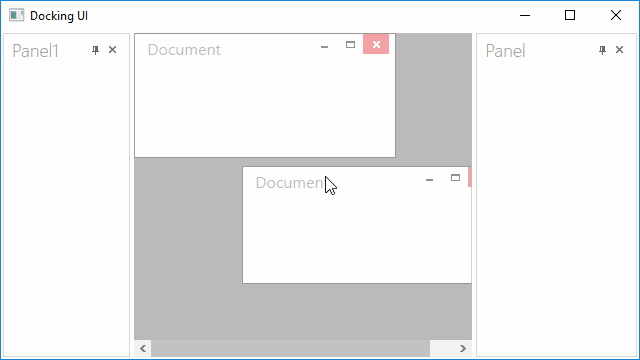
MDI Style
Set the Document Group’s MDIStyle property to MDI to enable MDI mode.
<dxdo:DockLayoutManager FloatingMode="Desktop">
    <dxdo:LayoutGroup Caption="LayoutRoot">
        <dxdo:LayoutPanel Caption="Panel1" ItemWidth="0.52*" />
        <dxdo:DocumentGroup ItemWidth="1.48*" MDIStyle="MDI">
            <dxdo:DocumentPanel Caption="Document" MDILocation="0,0" MDISize="262,125">
                <Grid/>
            </dxdo:DocumentPanel>
            <dxdo:DocumentPanel Caption="Document" MDILocation="108,133" MDISize="259,118">
                <Grid/>
            </dxdo:DocumentPanel>
        </dxdo:DocumentGroup>
    </dxdo:LayoutGroup>
</dxdo:DockLayoutManager>
Refer to the following section for more information on MDI mode: DocumentGroup and DocumentPanel
Closed Panels
Use the ClosedPanelsBarVisibility property to specify the Closed Panels bar visibility.
<dxdo:DockLayoutManager ClosedPanelsBarVisibility="Auto">
    <!-- ... -->
</dxdo:DockLayoutManager>