DayViewAppointmentDisplayOptionsEx.ShowClippedImages Property
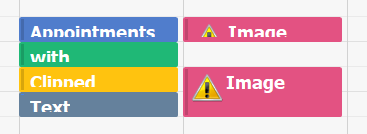
Gets or sets whether Day View appointments should draw truncated images when these appointments are too small to display their images entirely.
Namespace: DevExpress.XtraScheduler
Assembly: DevExpress.XtraScheduler.v25.2.dll
NuGet Package: DevExpress.Win.Scheduler
Declaration
[DefaultValue(false)]
[XtraSerializableProperty]
public bool ShowClippedImages { get; set; }Property Value
| Type | Default | Description |
|---|---|---|
| Boolean | false | true to display clipped images inside small appointments; false to only draw images that fit into appointments. |
Property Paths
You can access this nested property as listed below:
| Object Type | Path to ShowClippedImages |
|---|---|
| DayView |
|
Remarks
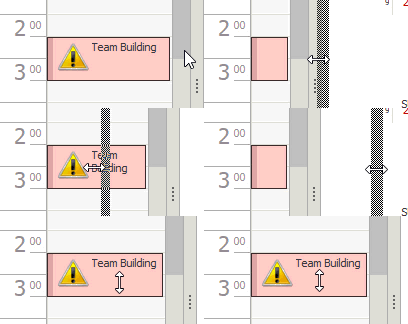
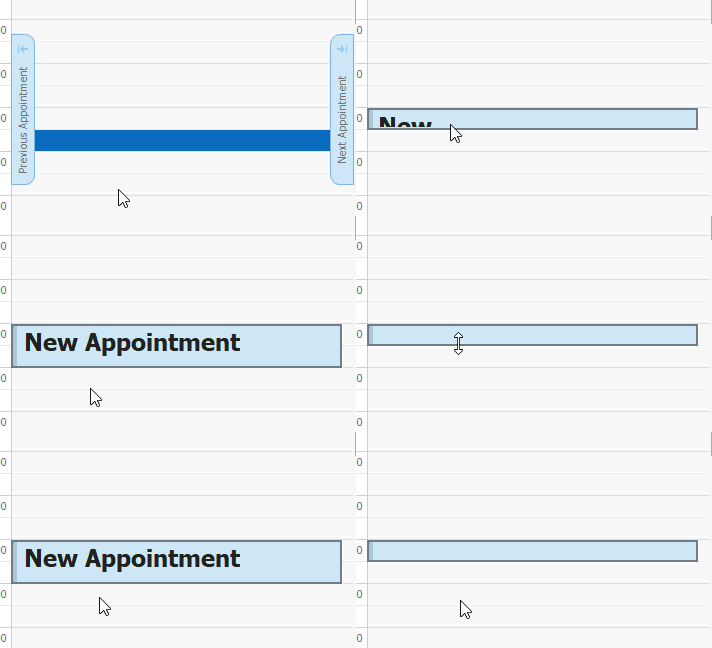
Scheduler control hides appointment images and text strings if an appointment is too small to display this content. Images hide when there is not enough either vertical or horizontal space.

In the animation above, images for all appointments labeled as “Important” are assigned on the SchedulerControl.InitAppointmentImages event.
private void SchedulerControl_InitAppointmentImages(object sender, AppointmentImagesEventArgs e) {
    if (Object.Equals(e.Appointment.LabelKey, 1)) { //"Important" label
        AppointmentImageInfo info = new AppointmentImageInfo();
        info.Image = SystemIcons.Warning.ToBitmap();
        e.ImageInfoList.Add(info);
    }
}
Appointment text hides only when it does not fit vertically. In Timeline and Month Views, this can happen when you manually reduce the appointment height.
In Day and Week Views, text hides if the font is higher than a time cell.

Time cells in Day and Week Views adapt to appointment font settings when you set them through the BaseViewAppearance.Appointment object. For that reason, cells can be lacking height only when you change font settings dynamically, i.e. on the SchedulerControl.AppointmentViewInfoCustomizing event.
To force appointments to draw their texts and images even when there is not enough space, enable the ShowClippedText and ShowClippedImages settings.

You can access these settings through the View’s AppointmentDisplayOptions. For instance, for Day View:
schedulerControl1.DayView.AppointmentDisplayOptions.ShowClippedImages = true;
schedulerControl1.DayView.AppointmentDisplayOptions.ShowClippedText = true;