Bullets and Numbering Dialog
- 2 minutes to read
The Bullets and Numbering dialog enables end-users to work with lists: create lists of different types (bulleted, numbered, multi-level numbered) and customize styles for these list types.
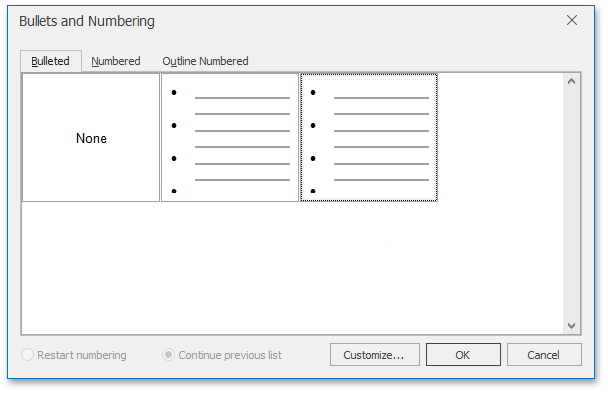
Right-click the list and select the Bullets and Numbering… item from the context menu to invoke this dialog. Refer to the How to: Create the RichEditControl with a Ribbon UI for details on how to provide a ribbon UI for the RichEditControl. Executing the ShowNumberingListFormCommand command invokes this dialog as well.

The Customize… button invokes one of the following dialogs to create a custom style for the selected list type:
Customize Bulleted List
Using this dialog, end-users can select the bullet symbol, specify the indent (distance between the page margin and the text of the list item) and alignment (distance between the bullet symbol and the page margin).

Customize Numbered List
Allows end-users to specify the number style, number indentation, and position.

Customize Outline Numbered List
Use this dialog to specify the number style for different levels, number indentation and position, and several settings specific to the multi-level list.

Handle the RichEditControl.NumberingListFormShowing event to customize the default Bullets and Numbering dialog (modify captions, set default dialog values, implement custom validation, etc.) or substitute it with completely new dialog. Refer to the How to: Customize the Search Form or How to: Customize the Hyperlink Form document for an example how to replace the dialog.
Tip
Call the NumberingListCollection.Add to add the AbstractNumberingList or NumberingList instance to the document lists collection and create bulleted or numbered list in code.