Calculated Report Fields
- 4 minutes to read
Calculated fields define dynamic values not available in the underlying data source. They use expressions to combine data source fields, user input, report parameters, constants, and built-in functions to transform report data, calculate summaries, evaluate conditions, or sort and filter records.
Tip
Since calculated fields are stored directly in the report template, you can modify, recreate, or replace the data source without breaking report-level business logic.
Create a Calculated Field
Follow these steps to create a calculated field:
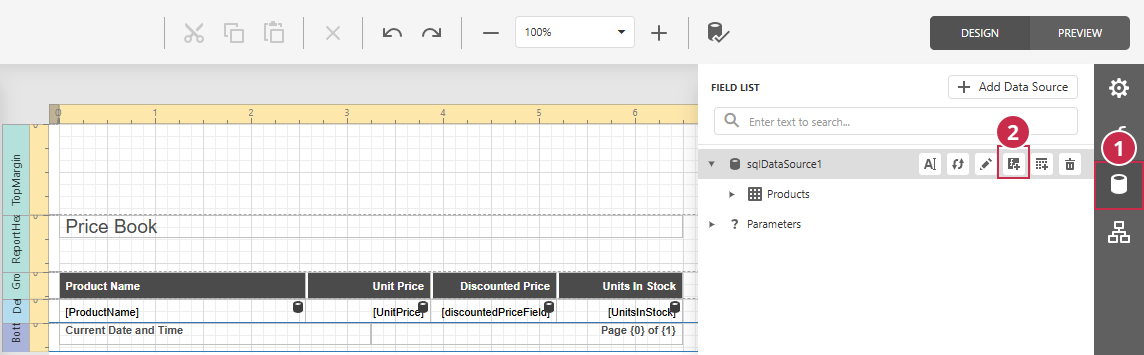
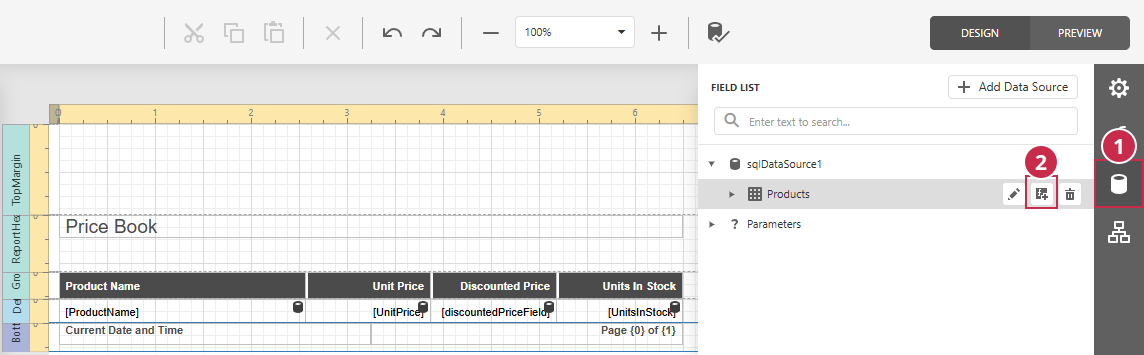
In the FIELD LIST panel (1), choose the target node for a new calculated field and click the Add calculated field button (2). Choose either of the following options according to the required scenario:
- Aggregates and summaries
Select a top-level data source node to create a calculated field scoped to an entire data source (for example, a grand total).
- Per-record calculations
Select a nested data member node to create a calculated field scoped to a child table or a list within a data source (for example, a line total for each row).
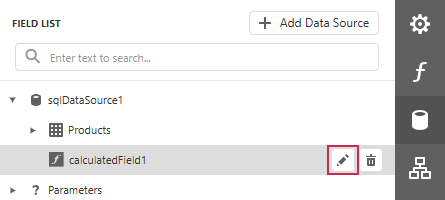
Click the Edit button next to the newly added field to display its properties.
Specify calculated field options. The Report Designer automatically applies each option as you enter it.
Calculated Field Options
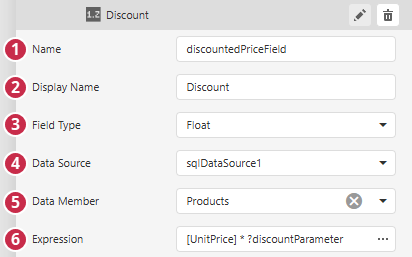
- Name (1)
- Specifies a unique identifier used to reference the calculated field.
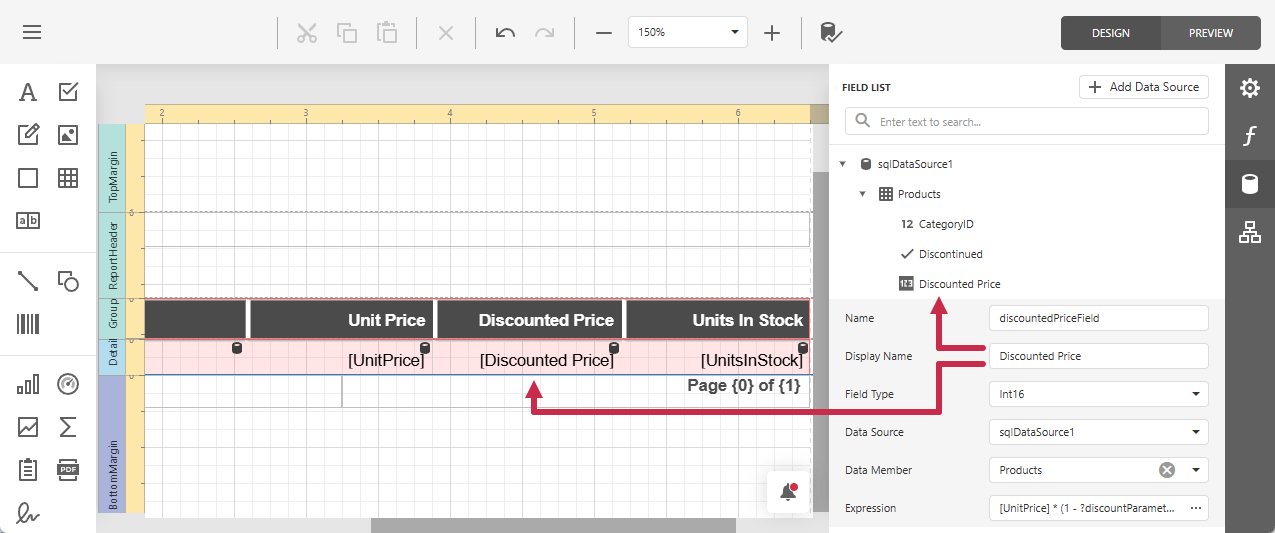
- Display Name (2)
Specifies the field label displayed in the FIELD LIST panel, the report layout, or expressions. If the Display Name field is empty, Name is used as the calculated field label.
- Field Type (3)
- Specifies the calculated field value type.
- Data Source (4)
Specifies the report data source bound to the calculated field. The Report Designer automatically populates this option with the data source selected in Step 1. If you select a different data source, the Report Designer moves the field to the data source’s node in the FIELD LIST panel.
Select None to bind the field to the first available data source.
- Data Member (5)
Specifies the data member (table or list) within the selected Data Source bound to the calculated field. The Report Designer automatically populates this option with the data member selected in Step 1, or leaves it empty if you select a data source node. If you select a different data member, the Report Designer moves the field to the data member’s node in the FIELD LIST panel.
Clear this property to bind the field to the data source.
- Expression (6)
- Click the ellipsis button to open the Expression Editor and construct an expression from available elements. Alternatively, you can enter the formula directly into the Expression field.
Manage Calculated Fields
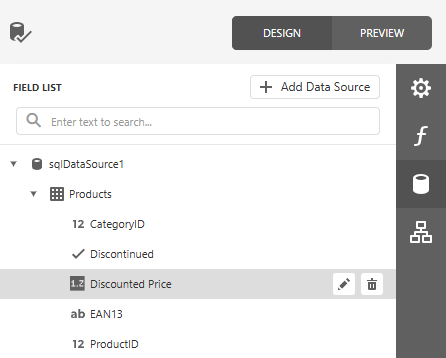
Once created, a calculated field appears in the FIELD LIST panel under a specific data source or data member alongside regular data fields.
To view and manage all calculated fields for the current report regardless of the associated data source, follow the steps below:
- In the Report Designer, open the PROPERTIES section.
- Select the root report element (marked
(Report)) from the drop-down list. - Expand the DATA section.
- Expand CALCULATED FIELDS.
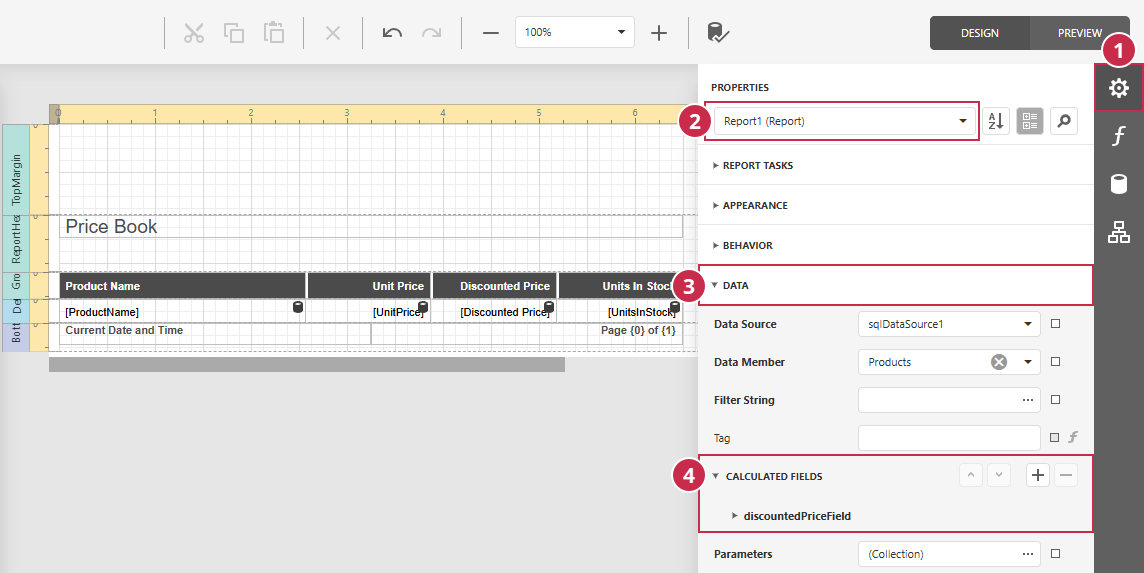
Expand the field to view or change its options.
Use the Plus button to add a new calculated field to the report, or the Minus button to remove the selected field.
Use Calculated Fields
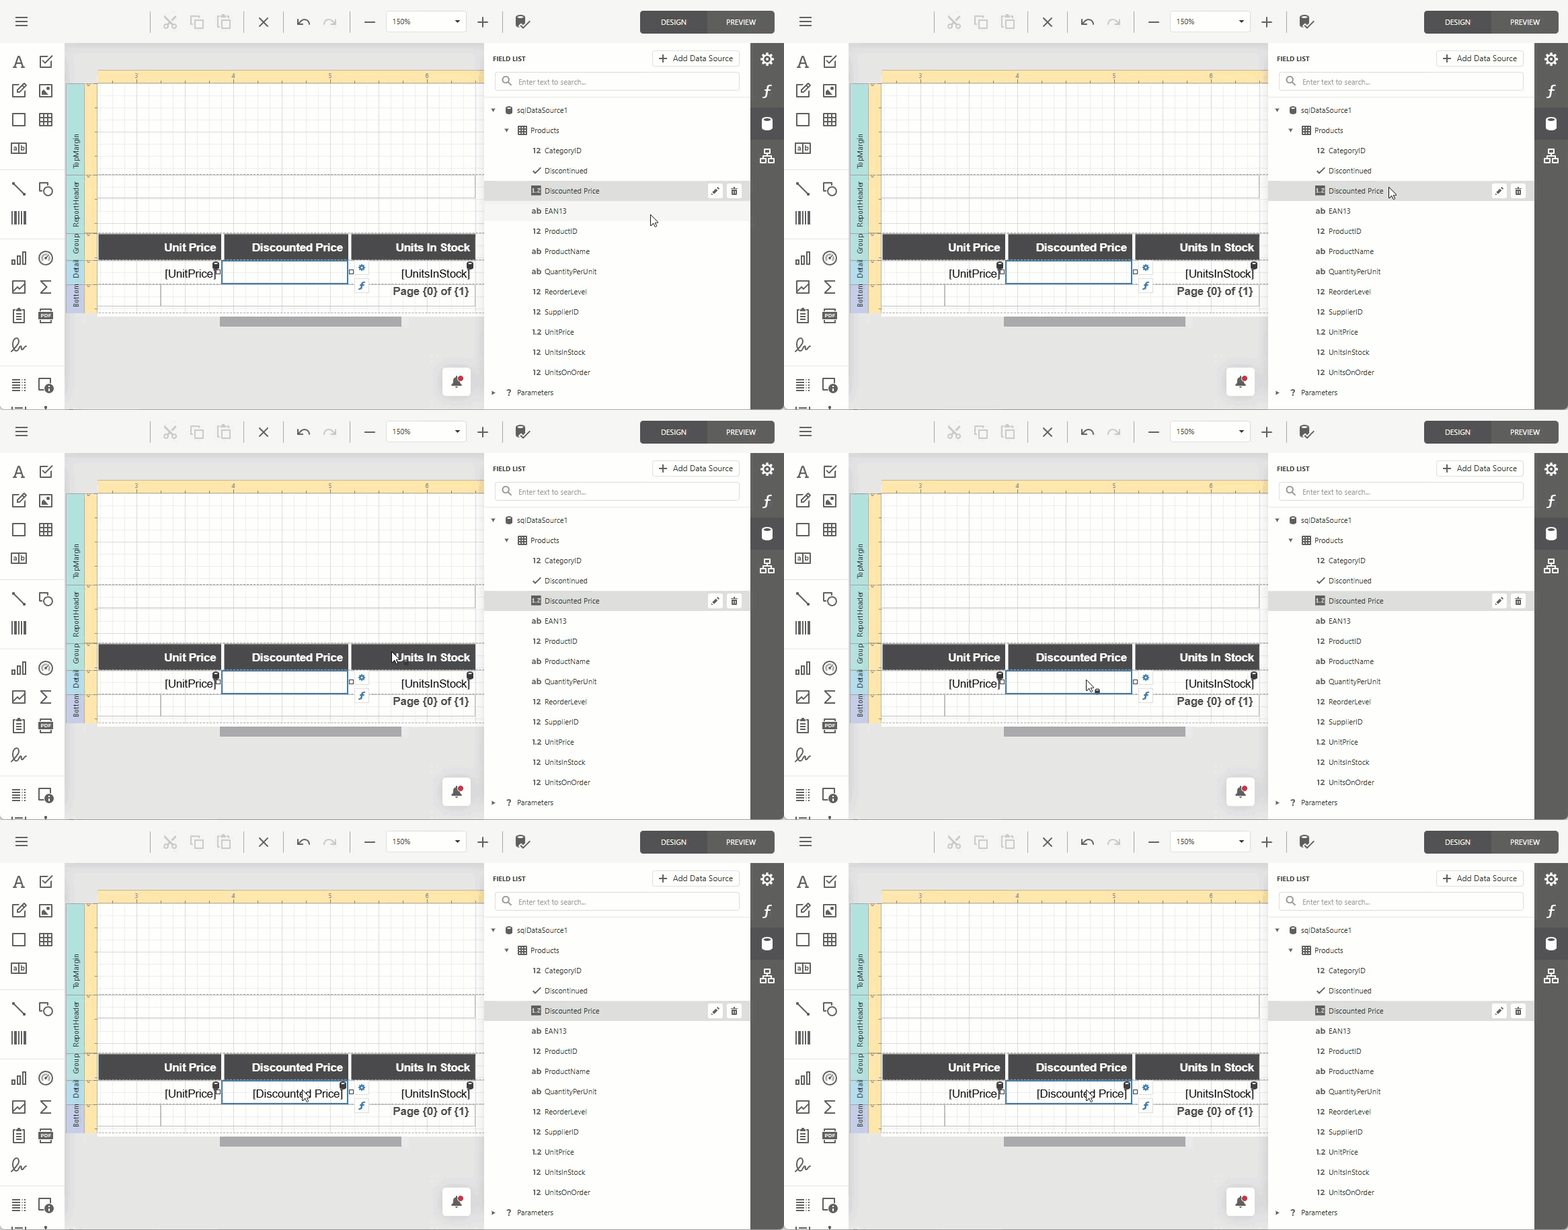
To display a calculated field in the report, drag the field onto the target report band. If you drag a field to an empty space, the Report Designer automatically creates a new element.
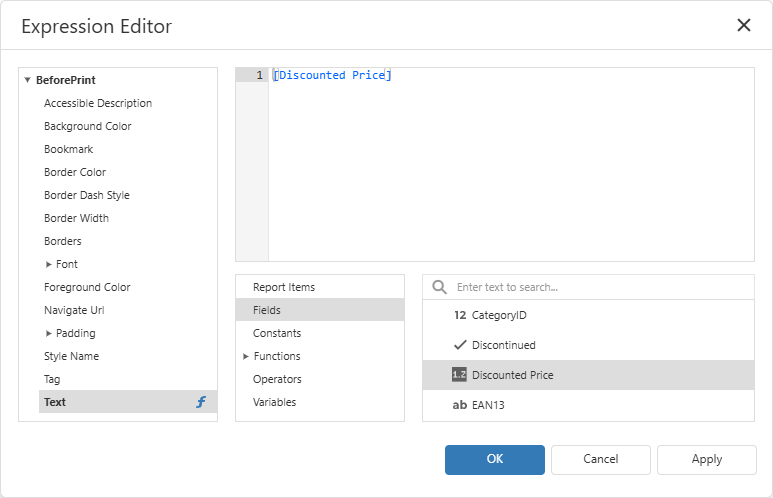
You can also reference calculated fields in expressions and filters using the [<field name>] or [<field display name>] syntax.
Tutorials
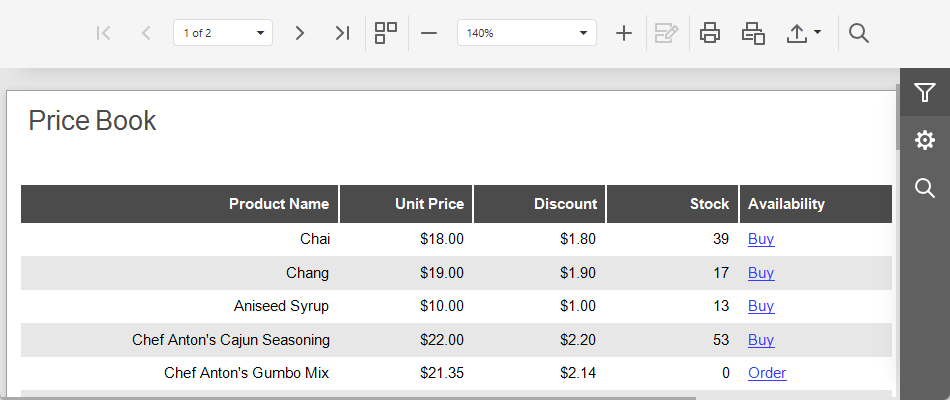
- This tutorial binds a calculated field to a report parameter to add a discounted price for each product to a “Price Book” report.