Tutorial: Working with Columns in Code
- 3 minutes to read
This tutorial addresses the following tasks:
- Disable automatic column generation
- Create a column in code
- Change formatting and appearance
- Assign a column editor
Starting Point
The application initially contains a Data Grid bound to the sample Northwind database. Refer to the following help topic for information on data binding: Bind the Grid to ADO.NET Data.
Populate Columns
The Data Grid generates columns for all data source fields automatically (if the View does not contain any columns). Set the ColumnViewOptionsBehavior.AutoPopulateColumns property to false to disable this behavior.
Note
If you assign a data source in the Data Source Wizard, generated columns persist in the ColumnView.Columns collection. Clear the column collection before you add columns manually.
The following code snippet disables automatic column generation:
public Form1() {
  InitializeComponent();
  gridView1.OptionsBehavior.AutoPopulateColumns = false;
  gridControl1.DataSource = dimProductBindingSource;
}
Tip
You can use the ColumnView.PopulateColumns method to clear the column collection and generate columns for all data source fields.
Create Columns in Code
Create a GridColumn instance and add it to the ColumnView.Columns collection. Specify the FieldName property to bind the column to a data source field and enable the Visible property to display the column in the view.
public Form1() {
  GridColumn colPrice = new GridColumn() {
    FieldName = "UnitPrice",
    Visible = true,
    Caption = "Prices"
    };
  gridView1.Columns.Add(colPrice);
  // Or
  // gridView1.Columns.AddVisible("UnitPrice", "Prices");
}

Tip
The Data Grid allows you to create unbound columns with custom data. See the following help topic for more information: Unbound Columns.
Access Columns
Use the ColumnView.Columns collection to manipulate columns. You can access a column by its index in the collection or data field name.
The following code snippet formats values in the Prices column as currency:
GridColumn colPrice = gridView1.Columns["UnitPrice"];
colPrice.DisplayFormat.FormatType = DevExpress.Utils.FormatType.Numeric;
colPrice.DisplayFormat.FormatString = "c2";

Change Column Appearance
To change the column appearance, use the appearance settings of GridColumn.AppearanceCell and GridColumn.AppearanceHeader properties.
colPrice.AppearanceHeader.ForeColor = Color.Crimson;
colPrice.AppearanceCell.BackColor = Color.LightGoldenrodYellow;

Assign an Editor
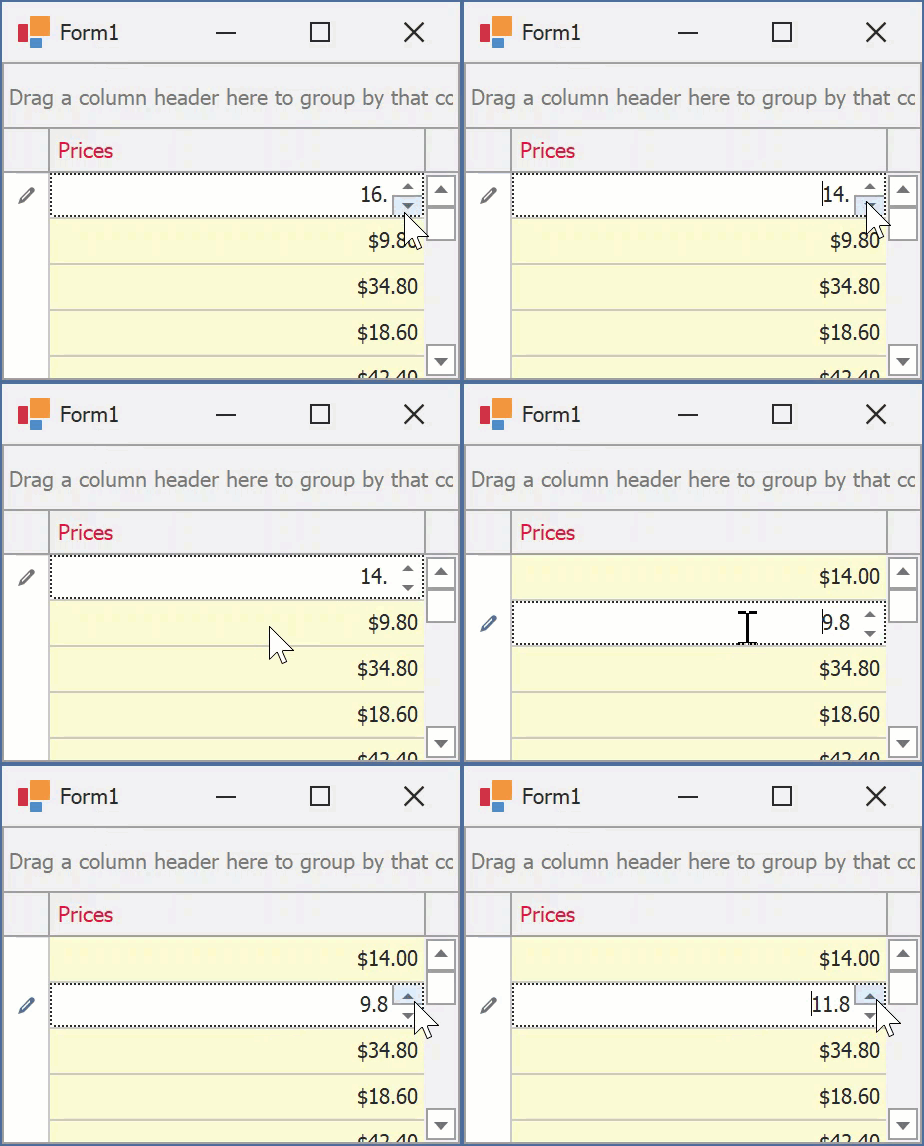
Create a RepositoryItemSpinEdit instance, add it to the GridControl.RepositoryItems collection, and assign the repository item to the GridColumn.ColumnEdit property.
RepositoryItemSpinEdit spinEdit = new RepositoryItemSpinEdit();
gridControl1.RepositoryItems.Add(spinEdit);
colPrice.ColumnEdit = spinEdit;

Tip
Refer to the following help topic for information on cell editors: Edit Data. Create Cell Editors. Validate User Input.
Related Topics
- Grid Columns
- Describes more column features with related code snippets.
- Column Header
- Lists API to customize column header content.