Default Runtime Customization
- 4 minutes to read
The LayoutControl supports two customization modes: default and quick. In default mode, customization commands are provided using context menus; while in quick mode, these commands are available in a touch-friendly Customization Form. You can select the appropriate mode by setting the LayoutControl.CustomizationMode property to Default or Quick.
For general information on runtime customization, how to disable this feature and how to save and restore layouts, see Runtime Customization Overview. To learn about the quick customization mode specifics, see Quick Runtime Customization.
Default Customization Mode Activation
Default customization mode can be activated at runtime by right-clicking on the layout control’s empty region and selecting the Customize Layout command from the menu that is invoked.

Clicking on this command enables Customization Mode, disables the controls within the LayoutControl and displays the Customization Form:

Layout Customization
In customization mode, an end-user is able to modify the current layout (in the same way as you can at design time) using drag-and-drop, resizing operations and commands provided by the Context Menu.
The Context Menu, invoked by right-clicking within the LayoutControl, provides various customization commands. Note that different commands are available depending upon the type of layout item that has been right-clicked. For instance, when a regular layout item is right-clicked, the menu looks like:

The menu invoked for a tabbed group is displayed below:

Please, refer to the Context Menu document for a list of available customization commands.
The buttons displayed at the top of the Customization Form provide additional layout customization capabilities.

These buttons allow an end-user to:
- Undo and then redo customization operations. More information on how the Undo commands work can be found in the Runtime Undo/Redo document.
- Save/load the current layout to/from an XML file. The Save button saves the current state of the LayoutControl. This includes the positions, visibility, hierarchy and all other settings of the layout items and groups. The Load button loads the previously saved layout, so a user can load one of the multiple layouts that had been previously saved. The following section shows how to save the layout between application runs without the need for end-users to press the Load and Save buttons.
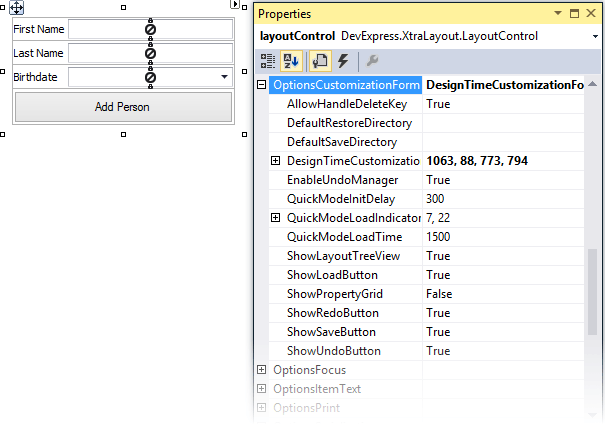
The options that specify the availability of Customization Form elements (specific buttons, Properties grid, etc.) can be set using the LayoutControl.OptionsCustomizationForm property.

Customization Task Examples
The following table describes common customization tasks:
Task | Solution |
|---|---|
Hide a layout item and its control | Right-click on the layout item and select the Hide Item menu command. or Drag the layout item to the Customization Form. A diagonal cross is painted over the layout item that is being dragged. This indicates that the item will be hidden if dropped.
|
Move a layout item to another position | Drag and drop the layout item at the required position. The LayoutControl will indicate the bounds within which the layout item will be positioned if dropped. |
Resize a layout item | Drag the layout item’s edge. Note that size constraints that are set for the current or adjacent items can prevent the layout item from being resized. |
Display a hidden layout item and its control | Drag and drop the layout item from the Customization Form at the required position within the LayoutControl. |
Add an empty region at a specific position in the LayoutControl | Drag and drop the Empty Space Item from the Customization Form at the required position within the LayoutControl. |
Create a group | Right-click on a layout item to be added to a group and select the Group menu command. |
Create a tabbed group | Right-click on a regular group’s caption and select the Create Tabbed Group menu command. |
Add a tab | Right-click on the header of a tabbed group and select the Add Tab menu command. |
Lock a layout item’s size and prevent it from being resized (for instance, when the size of the LayoutControl is changed). | Right-click on a layout item and select the Size Constraints->Lock Size menu command. |