Scheduler
- 2 minutes to read
The DevExpress WPF Scheduler (SchedulerControl) is inspired by Microsoft Outlook Calendar. It features rich editing capabilities, a variety of views, MVVM support, and extensive customization options.
Try DevExpress WPF Scheduler In Your Project
Visit DevExpress.com to learn more about this product’s features, capabilities, and pricing options: WPF Scheduler Control. To try DevExpress controls and libraries in your projects, download our fully-functional 30-day trial version.
Sample Applications
The following demo screenshots illustrate several popular use-case scenarios for the Scheduler control. We recommend that you download the free trial and review these demos to learn more about the control and its interactive capabilities.
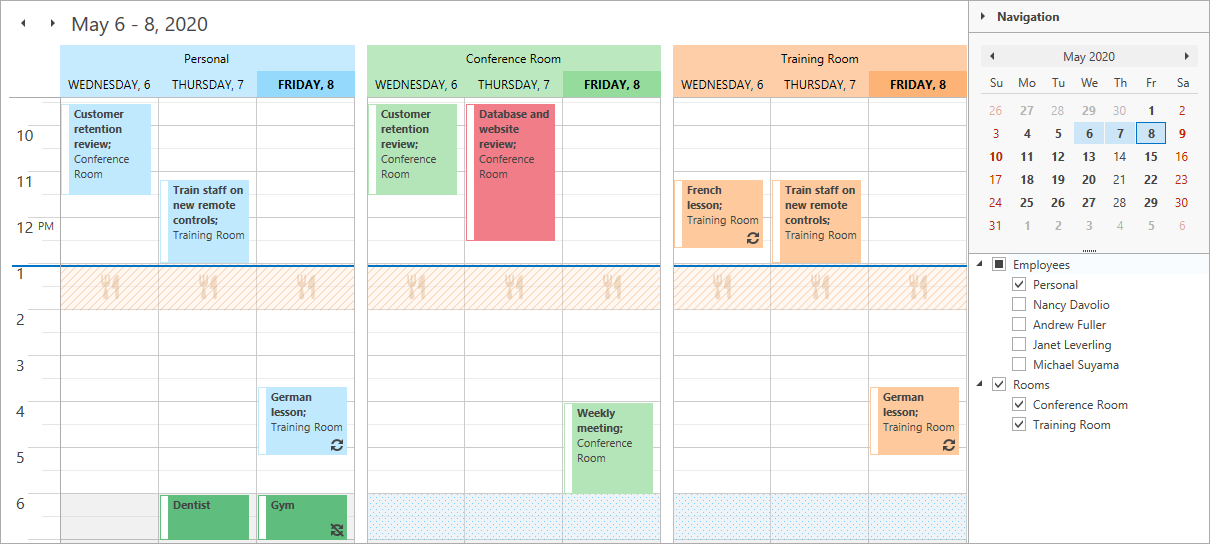
Outlook Style
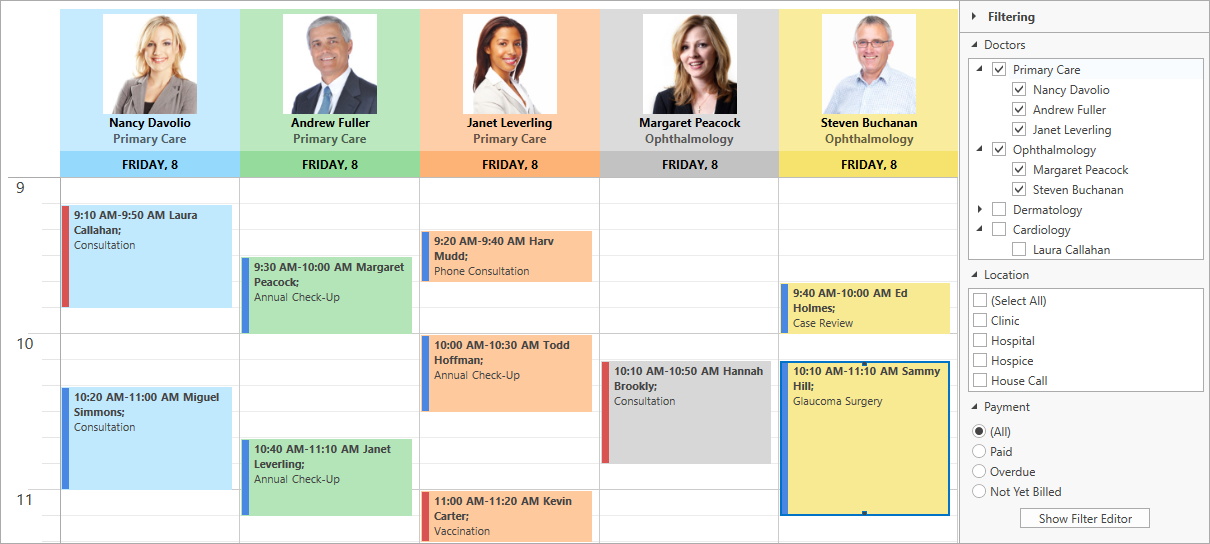
Reception
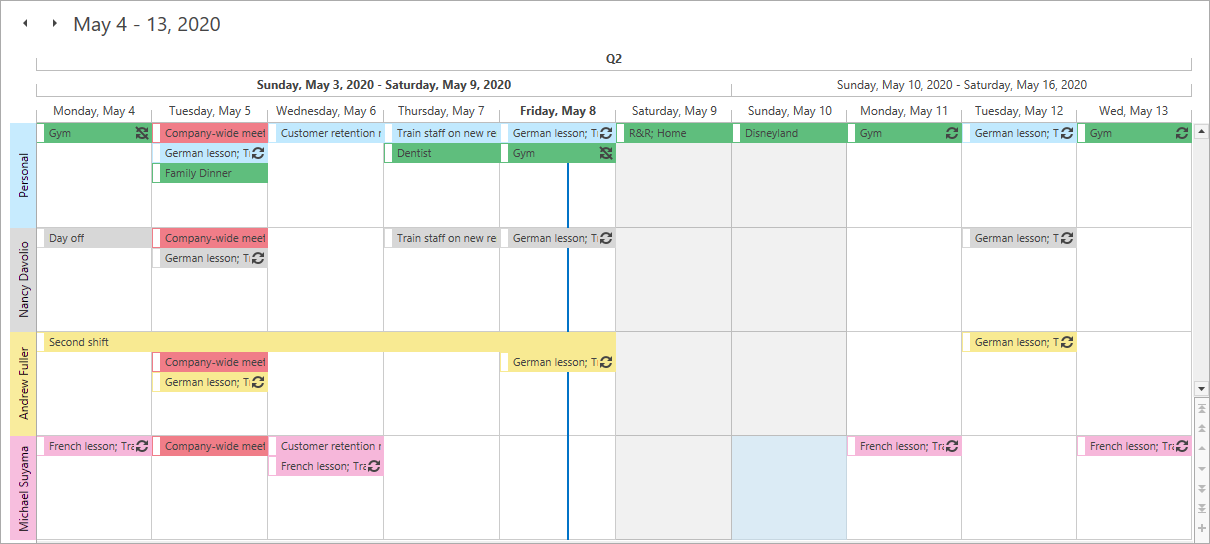
Timeline View
Get Started
These topics explain how to use the Scheduler Control.
- Tutorial: Create a Simple Scheduling Application
- Data Items
- Views
- Visual Elements
- Design Time Features
- Examples
Data Operations
This section describes data operations from the perspective of the developer and user.
- Bind to Data
- Load Data on Demand
- Create and Edit Appointments
- Filter Appointments and Time Regions
- Resize Appointments
- Drag and Drop Appointments
- Navigation
- Selection
- Clipboard Operations
- End-User Restrictions
- Time Zones
Customization
This section describes how to customize the appearance of the Scheduler.
Printing
These topics here describe how to format scheduler data and create printable reports.