Banded Table View Tutorial. Step 1: Bind to a Data Source
- 3 minutes to read
This step describes how to bind a database to the VCL Grid Control.

Before You Start
All data files used in this tutorial are shipped with demos and can be found in C:\Users\Public\Documents\DevExpress\VCL\Demos\ExpressQuantumGrid\Data\
If you have no installed demos, open the installation file and follow the steps below:
Click “Modify” in the
Actiontab.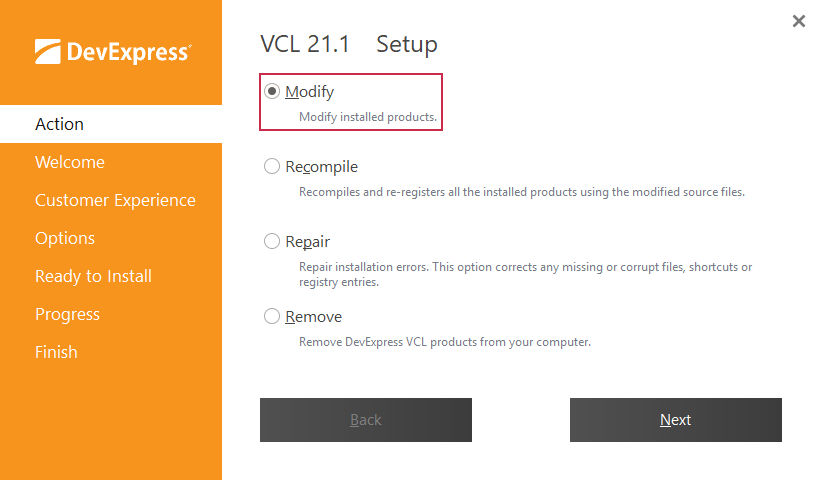
Go to the
Optionstab and check “Install demos”.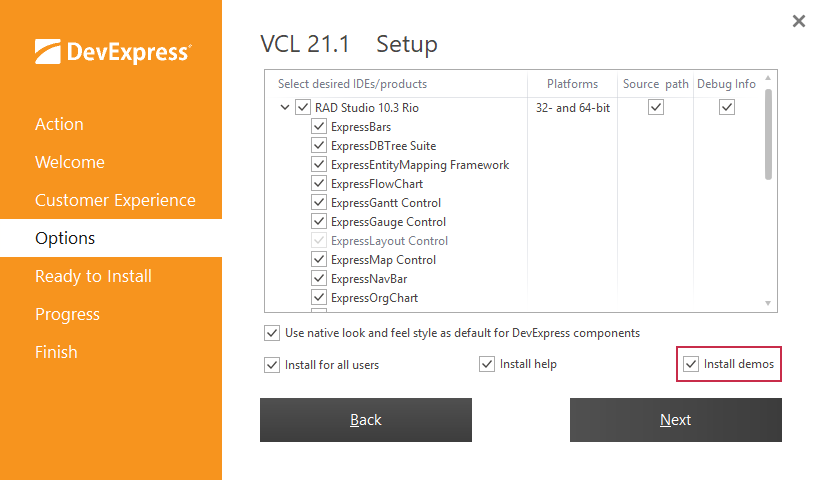
Go to the “Ready to Install” tab and run the installation.
Add a Grid Control to the Form
Place a grid control (TcxGrid) from the Tool Palette on the form. Set the control’s Align property to alClient in the Object Inspector to allow the control to occupy the form’s client area.
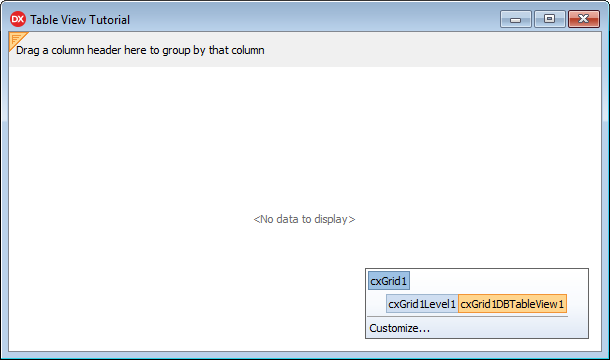
Use the Structure Navigator at the control’s right-bottom corner to manage the grid structure.
The control now includes one grid level (cxGrid1Level1) and a data-aware Table View (cxGridDBTableView1).
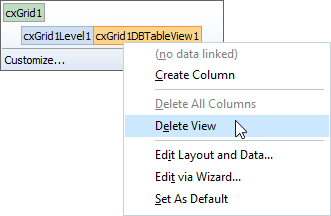
Replace this View with a data-aware Banded Table View. Right-click cxGrid1DBTableView1 in the Structure Navigator and click “Delete View” in the drop-down menu.
Right-click cxGrid1Level1, click “Create View”, and select “DB Banded Table” from the list.
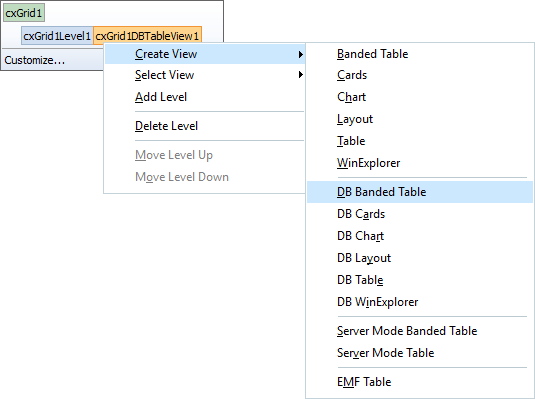
The control now contains an empty data-aware Banded Table View.

Rename the level and View. Click the corresponding element in the Structure Navigator and change the Name property to lvEmployees and btvEmployees in the Object Inspector.

Populate a Dataset
Add a TdxMemData component to the form. This component is a memory-based dataset that you can link to a data-aware control.
Change the component’s name to mdEmployees.
Right-click the component and select “Persistent Editor…” in the context menu to open the dialog that allows you to manage datasets.
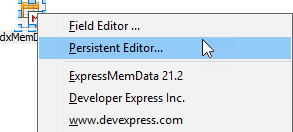
Follow the steps below to populate the dataset:
Click the “Get Fields…” button to load columns from a file. Select the Employees.dat file available here:
C:\Users\Public\Documents\DevExpress\VCL\Demos\ExpressQuantumGrid\Data\Click the “Load…” button to populate dataset fields with data. Select the same file in the opened dialog.
Note
You should install demos to use demo datasets.
The image shows the result:
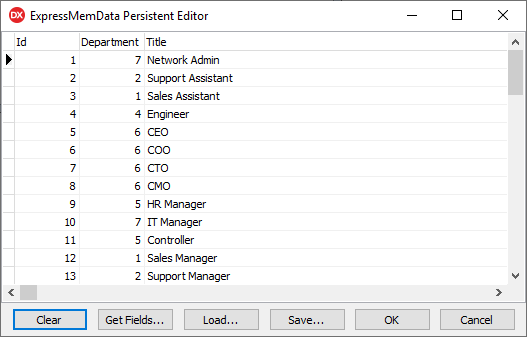
Click OK to apply changes and close the Persistent Editor.
Enable the component’s Active property to allow a bound control to manage stored data.
Link the View to a Data Source
Add a TDataSource component to the form. This component allows you to bind a View to a dataset. Rename the component to dsEmployees.
Set the component’s DataSet property to mdEmployees (in the Object Inspector) to link it to the previously created dataset.
Right-click the View in the Structure Navigator and select “Link to dsEmployees” to display the dataset in the View.
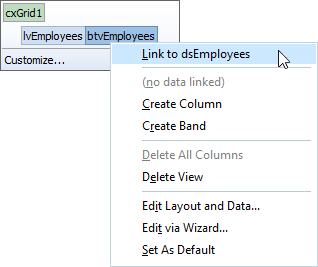
Run the application to review the data. The View now displays data from the bound dataset.

The next step describes how to reduce the number of displayed grid columns, customize column options, and display data in a more user-friendly format (replace numeric identifiers with strings and convert plain text to hyperlinks).
Tip
Press Ctrl + H to hide non-visual components that can overlap the View’s content.