How to: Use Gallery Controls
- 6 minutes to read
This tutorial describes how to populate gallery controls and copy items between gallery controls.

Create and Populate Gallery Controls
Create a new VCL application and rename its form “GalleryApp”. Place two TdxGalleryControl components on the form to create source and destination galleries for copy operations. Select a gallery, switch to the Object Inspector, and set the Name and Align properties to “gcSource” and alLeft, respectively. Select another gallery and set its Name and Align properties to “gcDestination” and alClient.

Place a TcxImageList component on the form to create a container for gallery images. Change this image list’s name to ilImages and populate the list with images from the DevExpress Icon Library. Use the Image Picker to browse the library and select the required images. To open the Image Picker, double-click the image list to invoke the Image List Editor, click the Add image button, and select Load From DevExpress Icon Library.

The Image Picker includes the Categories, Size, Collection, and Search boxes that allow you to filter images.

Check the following items and remove all others to display SVG images from the “Align” and “Arrows” categories:
“Align” and “Arrows” in the Categories box
“Vector” in the Size box
“SVG Images” in the Collection box

Type each of the following image names in the Search box and double-click an image to add it to the Selection box:
- AlignHorizontalTop.svg
- AlignHorizontalBottom.svg
- AlignVerticalLeft.svg
- AlignVerticalRight.svg
- First.svg
- Prev.svg
- Next.svg
- Last.svg
The following image shows the result:

Click OK to close the Image Picker and load the selected images to the Image List Editor.

Click OK to apply the changes to the image list and close the Image List Editor.
Select the source and destination galleries and switch to the Object Inspector. Assign ilImages to the Images property to associate them with the image list.

Create groups and items in the source gallery to display the loaded images. To create a gallery group, double-click the source gallery to invoke the Designer and click the Add Group button.

Change the group’s caption to “Align”.

Click the Add Group Item button to create an item in the group.

Set the item’s Caption and ImageIndex properties to “Top” and 0 (correspond to the “AlignHorizontalTop.svg” image).

Add three more items and set their captions to “Bottom”, “Left”, and “Right”. Associate the items with their images in the image list.
Create a new group and change its caption to “Arrows”. Add four items to it, label the items “First”, “Prev”, “Next”, and “Last”, and associate them with images.
Create a group in the destination gallery and change the group’s caption to “Icons”. Select the source and destination galleries and set their OptionsView.ColumnAutoWidth property to True to make all groups automatically fit a gallery’s width.
The image below shows the result:

Copy Items in Code
Create a button that allows users to copy the selected items in the source gallery to the destination gallery. Place a TcxButton component on the form and change the button’s name and caption to “btnCopy” and “Copy”, respectively.

Assign icmMultiple to the source gallery’s OptionsBehavior.ItemCheckMode property to allow users to select multiple items.

Double-click the button to create its OnClick event handler and add the following code to it:
procedure TGalleryApp.btnCopyClick(Sender: TObject);
var
  AItemList: TList;
  AItem: TdxGalleryControlItem;
  AGroup: TdxGalleryControlGroup;
  I: Integer;
begin
  // Accesses the first group (Icons) of the destination gallery
  AGroup := gcDestination.Gallery.Groups[0];

  // Creates a temporary item list
  AItemList := TList.Create;

  // Locks the destination gallery for updates
  gcDestination.BeginUpdate;
  try
    // Populates the list with items selected in the source gallery
    gcSource.Gallery.GetCheckedItems(AItemList);

    // Iterates through the selected items
    for I := 0 to AItemList.Count - 1 do
      begin
        // Creates an item in the first group of the destination gallery
        AItem := AGroup.Items.Add;

        // Copies content from a selected item to the created item
        AItem.Assign(AItemList[I]);
      end;
  finally
    // Enables updates to the destination gallery
    gcDestination.EndUpdate;

    // Destroys the item list
    AItemList.Free;
  end;
end;
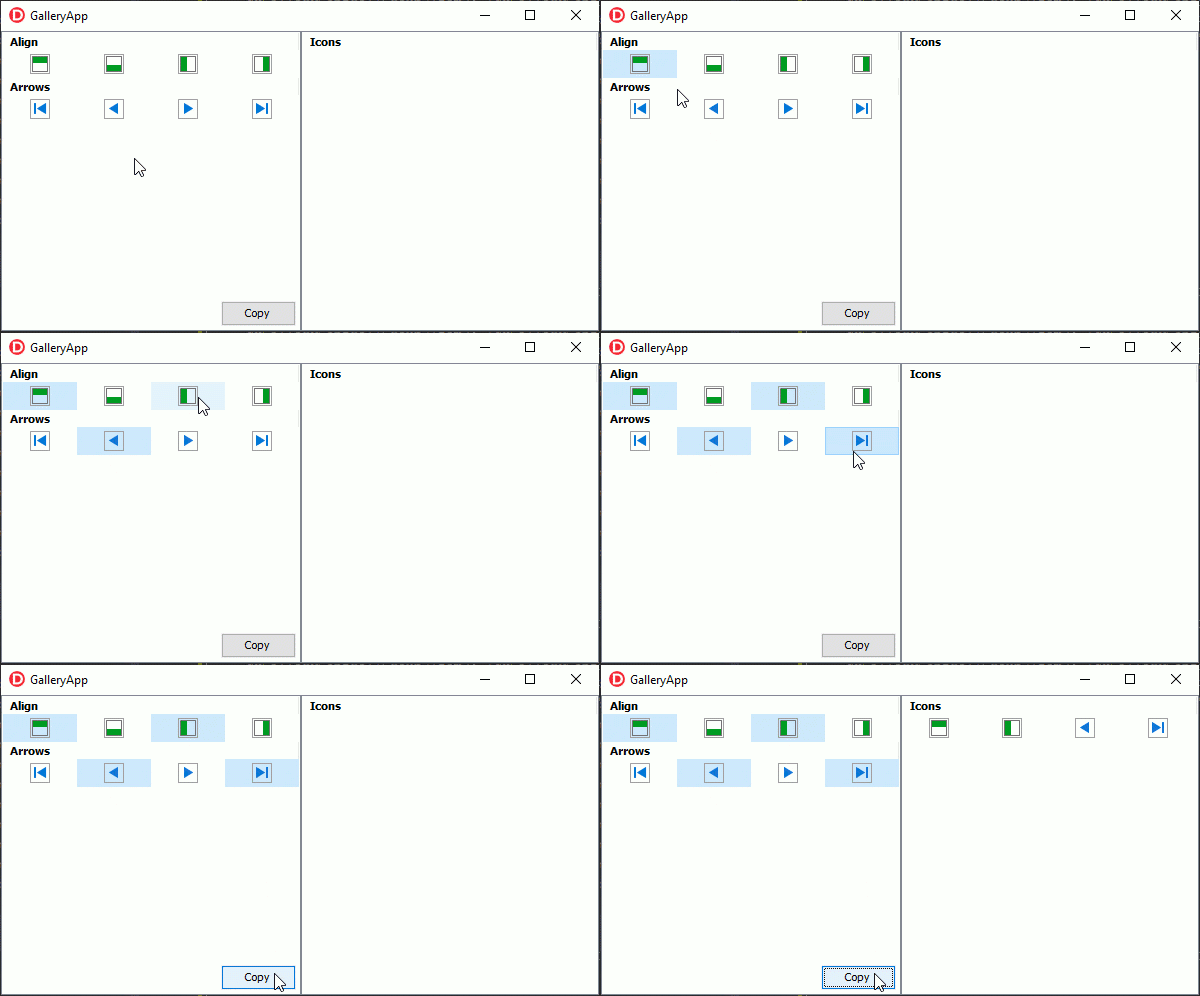
Run the application. Click items in the source gallery to select them. Click the Copy button to copy the selection to the destination gallery.

Copy Items on Drag and Drop
Enable drag-and-drop operations to copy items from the source gallery to the destination gallery. Assign dmAutomatic to the DragMode property for both galleries to allow users to drag and drop items. Handle the destination gallery’s OnDragOver event to make the gallery always accept dragged objects:
procedure TGalleryApp.gcDestinationDragOver(Sender, Source: TObject; X,
  Y: Integer; State: TDragState; var Accept: Boolean);
begin
  // Allows the destination gallery to accept a dragged object
  Accept := True;
end;
Handle the source gallery’s OnStartDrag and OnEndDrag events to enable item copy operations in the destination gallery only while a user drags items from the source gallery:
procedure TGalleryApp.gcSourceStartDrag(Sender: TObject; var DragObject: TDragObject);
begin
  // Allows the destination gallery to copy items that a dragged object references
  gcDestination.Controller.DragCopy := True;
end;

procedure TGalleryApp.gcSourceEndDrag(Sender, Target: TObject; X, Y: Integer);
begin
  // Prohibits the copy operation in the destination gallery
  gcDestination.Controller.DragCopy := False;
end;
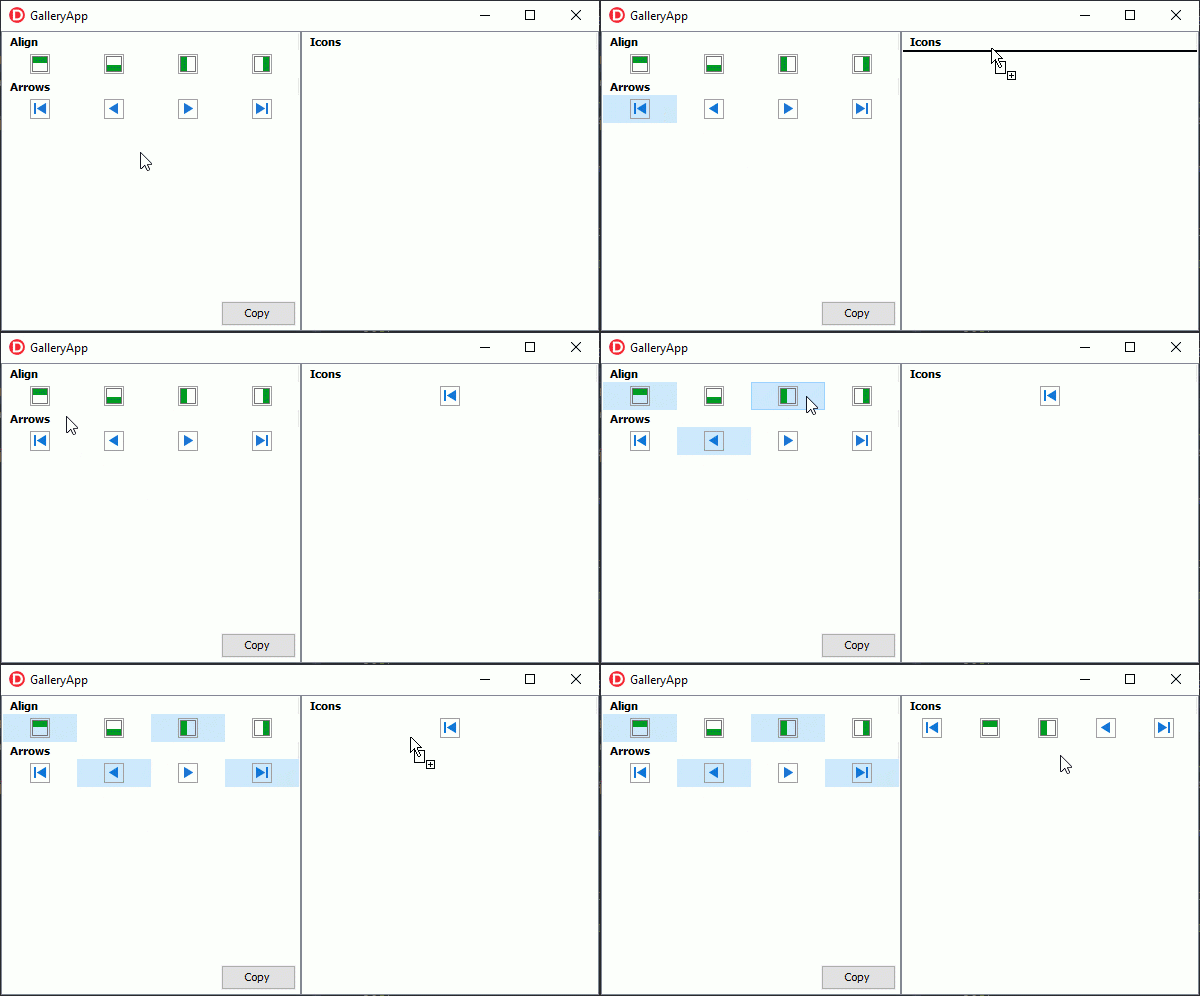
Run the application. Select items in the source gallery, drag the selection, and drop it in the destination gallery to copy these items. You can also drag and drop items within the destination gallery to rearrange them.
