DxRichEdit Class
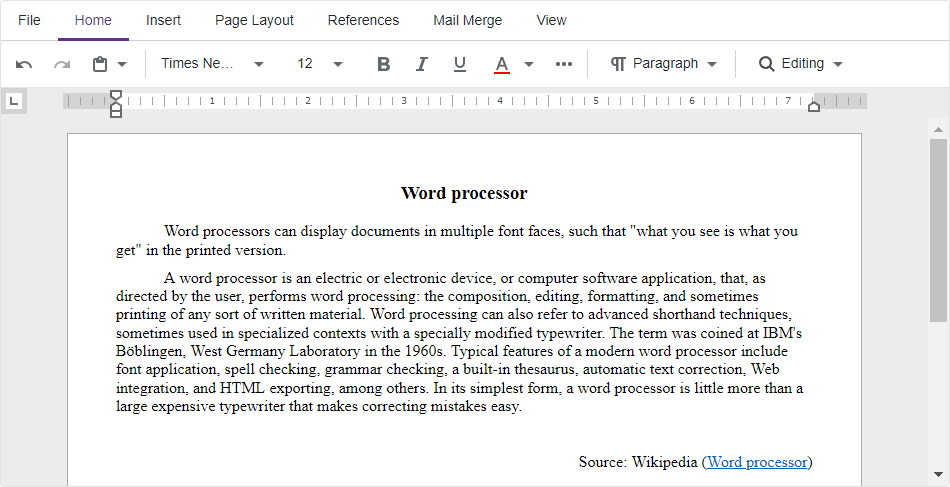
A Microsoft Word-inspired rich text editor with comprehensive text formatting options, mail merge support, and a rich collection of user options.
Namespace: DevExpress.Blazor.RichEdit
Assembly: DevExpress.Blazor.RichEdit.v25.1.dll
NuGet Package: DevExpress.Blazor.RichEdit
Declaration
public class DxRichEdit :
    DxComponent<RichEditJSInteropProxy>,
    IModelProvider<HyperlinkSettingsModel>,
    IParameterTrackerSettingsOwner,
    IRichEditJSInteropProxyServer,
    IJSCallback
Remarks
The DevExpress Rich Text Editor for Blazor is a Word-inspired component that allows users to create, open, modify, print, save, and export rich-formatted text files.

Add a RichEdit to a Project
Follow the steps below to add the RichEdit component to an application:
- Use a DevExpress Project Template to create a new Blazor Server or Blazor WebAssembly application. If you use a Microsoft project template or already have a Blazor project, configure your project to incorporate DevExpress Blazor components. Make sure that you added Rich Text Editor resources to your project.
- Add the
<DxRichEdit>…</DxRichEdit>markup to a.razorfile. - Configure the component: enable spell check, customize appearance, and so on (see sections below).
API Reference
Refer to the following list for the component API reference: DxRichEdit Members.
Static Render Mode Specifics
Blazor Rich Text Editor does not support static render mode. Enable interactivity to use the component in your application. Refer to the following topic for more details: Enable Interactive Render Mode.
Supported Document Formats
The Rich Text Editor supports the following document formats:
- Office Open XML Document (DOCX)
- Rich Text Format (RTF)
- Plain Text (TXT)
- HyperText Markup Language (HTML)
You can use the DevExpress Office File API library or a third-party server library to convert a document to other formats.
Supported Document Elements
The Rich Text Editor supports the following document elements:
- Bulleted, numbered, and multilevel lists
- Inline and floating images (JPEG, PNG, and GIF)
- Hyperlinks and bookmarks
- Headers and footers
- Floating text boxes
- Tables
- Fields
Document Management
The Rich Text Editor component supports document management operations. The built-in File ribbon tab displays commands that allow users to create, open, save, print, and download documents. You can also perform these operations in code.

The DocumentFormat property specifies the format in which the component stores an open document’s content. The DocumentContent property stores this content as a byte array. Implement two-way data binding between the DocumentContent property and a data field to enable save operations in the Rich Text Editor.
The following code snippet enables save operations and opens a document:
<DxRichEdit DocumentFormat="DocumentFormat.Rtf" @bind-DocumentContent="@documentContent" />

@code {
    byte[] documentContent;
    string filePath = "C:\\Users\\Public\\annual-report.rtf";

    protected override async Task OnInitializedAsync() {
    /* Surround the code that contains an asynchronous operation with a try-catch block to handle
    the OperationCanceledException. This exception is thrown when an asynchronous operation is canceled. */
        try {
            documentContent = await File.ReadAllBytesAsync(filePath);
            await base.OnInitializedAsync();
        }
        catch (OperationCanceledException e) {
            Console.WriteLine($"{nameof(OperationCanceledException)} thrown with message: {e.Message}");
        }
    }
}
Document API
The Rich Text Editor for Blazor ships with API members that allow you to modify a document as follows:
- Edit Document Content
- Insert or delete text; add or remove document elements.
- Format Document Content
- Change format attributes of characters, paragraphs, lists, tables, inline images, and floating images.
- Change the Page Layout
- Divide a document into multiple sections with individual page settings. You can specify different headers and footers for the first page, odd and even pages, and each section.
The Rich Text Editor’s Selection property returns information about the current selection. The DocumentAPI property allows you to access and manage document content. The following code snippet uses this property to populate an open document with text and change text formatting:
<DxRichEdit @ref="richEdit" CssClass="w-100 ch-720"/>

@code {
    DxRichEdit richEdit;
    async Task InitializeDocument() {
        Document documentAPI = richEdit.DocumentAPI;
        documentAPI.BeginUpdate();
        documentAPI.BeginTransaction();
        await CreateTitleParagraph(documentAPI);
        await documentAPI.EndTransaction();
        documentAPI.EndUpdate();
    }
    async Task CreateTitleParagraph(Document documentAPI) {
        Paragraph titleParagraph = await documentAPI.Paragraphs.CreateAsync(0);
        await titleParagraph.ChangePropertiesAsync(properties => { properties.SpacingAfter = 400; });
        TextSpan titleParagraphTextSpan = await documentAPI.AddTextAsync(0, "Albert Einstein");
        await titleParagraphTextSpan.ChangePropertiesAsync(properties => {
            properties.FontName = "Arial";
            properties.FontSize = 24;
            properties.FontBold = true;
        });
    }
}
Field Support
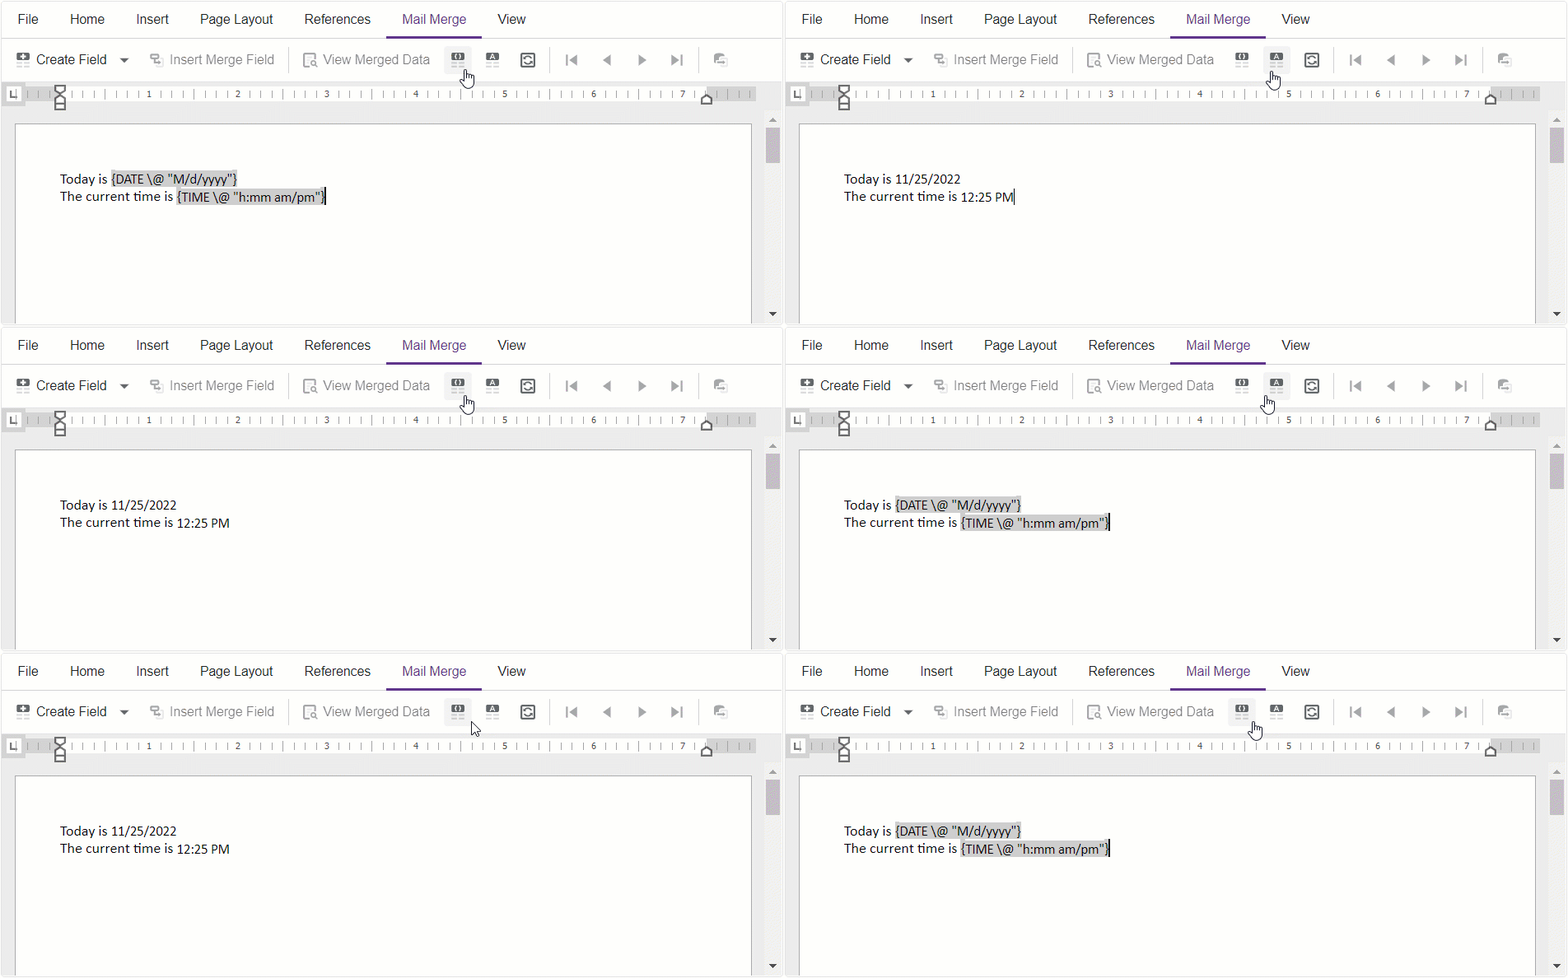
The Rich Text Editor supports fields - special instructions that generate content (for instance, a page number or date and time).

The component generates actual content when it renders or prints a document. The built-in Mail Merge ribbon tab displays commands that allow users to create and update fields, and change their display mode. You can use the Fields property to work with fields in code. The following code snippet inserts and updates a DATE field:
<DxRichEdit @ref="@richEdit" />

@code {
    DxRichEdit richEdit;
    Document documentAPI;
    @* ... *@
    /* Surround the code that contains an asynchronous operation with a try-catch block to handle
    the OperationCanceledException. This exception is thrown when an asynchronous operation is canceled. */
        try {
            documentAPI = richEdit.DocumentAPI;
            @* ... *@
            Field dateField = await documentAPI.Fields.CreateAsync(0, "DATE");
            await documentAPI.Fields.UpdateAsync(dateField);
            @* ... *@
        }
        catch (OperationCanceledException e) {
            Console.WriteLine($"{nameof(OperationCanceledException)} thrown with message: {e.Message}");
        }
}
Refer to the following topic for more information: Field.
Mail Merge
The mail merge functionality allows you to generate multiple documents based on a template and a bound external data source. For example, you can create catalogs, reports, or personalized letters. The component allows you to preview dynamic content in the opened template document and adjust it before the final mail merge operation.
The following code snippet assigns a data source to the Data property to enable mail merge functionality:
@inject NwindDataService NwindDataService
<DxRichEdit>
    <MailMergeSettings>
        <DxMailMergeSettings Data="@DataSource" />
    </MailMergeSettings>
</DxRichEdit>

@code {
    IEnumerable<Employee> DataSource;
    protected override async Task OnInitializedAsync() {
        DataSource = await NwindDataService.GetEmployeesAsync();
        await base.OnInitializedAsync();
    }
}
Spell Check
The Rich Text Editor allows you to use a built-in or custom service to check spelling. If you enable this functionality, the component underlines misspelled words with wavy red lines. Right-click a highlighted word to invoke a context menu. Menu commands allow you to correct a spelling error, ignore it, or add the selected word to a dictionary.

Call the AddSpellCheck method to register the built-in spell check service. After you register this service, set the component’s CheckSpelling property to true to enable the spell check feature:
public class Startup {
    public void ConfigureServices(IServiceCollection services) {
        // ...
        services.AddDevExpressBlazor().AddSpellCheck();
    }
}
<DxRichEdit CheckSpelling="true" />
You can customize spell check options. For instance, you can show the hidden Add to dictionary context menu command and handle its click event. To do this, assign a delegate method to the AddToDictionaryAction property.
The spell check service includes an English-language dictionary for the en-US culture. If you want to check spelling in another language, add a simple, ISpell, or Hunspell dictionary for the corresponding culture.
UI Customization
The Rich Text Editor can display its menu bar as a ribbon or toolbar. Use the component’s BarMode property to hide the bar or change its display mode. The following code snippet hides the menu bar:
<DxRichEdit BarMode="BarMode.None" />
You can also use the HorizontalRulerVisible property to specify horizontal ruler visibility in code. To respond to visibility changes, handle the HorizontalRulerVisibleChanged event.
The following code snippet hides the horizontal ruler:
<DxRichEdit HorizontalRulerVisible="false" />
Ribbon UI
The Rich Text Editor‘s default layout includes a built-in ribbon. This ribbon is a tabbed toolbar that allows you to place command items on multiple tabs. Handle the CustomizeRibbon event to customize the built-in ribbon.

Toolbar UI
Set the BarMode property to Toolbar to display the built-in toolbar instead of the ribbon. The toolbar consists of groups, and each group contains one or more items. The image below shows the built-in toolbar.

Handle the CustomizeToolbar event to access and customize built-in toolbar settings.
Context Menu Customization
The Rich Text Editor allows you to access and customize the built-in context menu. Handle the CustomizeContextMenu event to perform the following operations:
- Access root-level or nested items.
- Add default or custom items to the main menu or its sub-menus.
- Remove individual or all items from item collections.
- Customize item availability, appearance, and behavior.

To disable context menu functionality, set the ContextMenuEnabled property to false.
Full-Text Search
The built-in Find and Replace dialog allows users to locate and modify text in an entire document. To invoke this dialog, select the Find or Replace ribbon command in the Home tab or press Ctrl+F/Ctrl+H.

Zoom
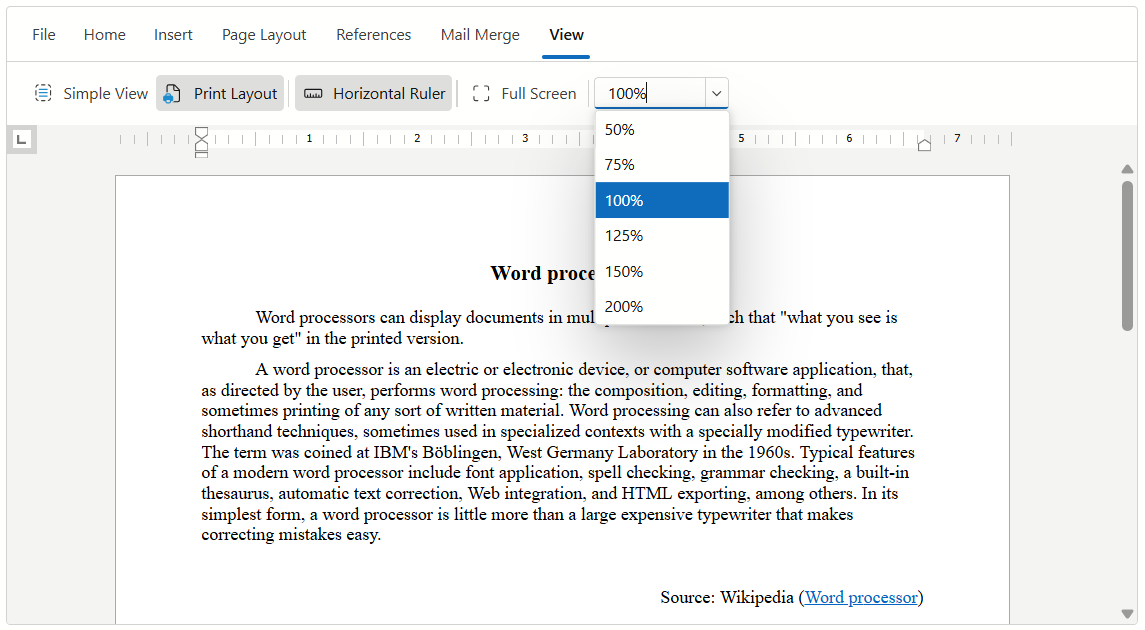
Our Blazor Rich Text Editor allows you to zoom in and out of documents both in UI and code. Users can change the document’s zoom level in the corresponding drop-down menu in the View ribbon tab.

Set the AllowZoom property to false to hide the Zoom Level drop-down menu and disable zoom functionality for users.
<DxRichEdit AllowZoom="false" />
Regardless of the AllowZoom property value, you can use the ZoomLevel property to zoom the document at runtime.
Note
Available zoom levels range from 0.5 to 2.0 that corresponds to 50% and 200% respectively.
<DxRichEdit ZoomLevel="0.7" />
Simple View
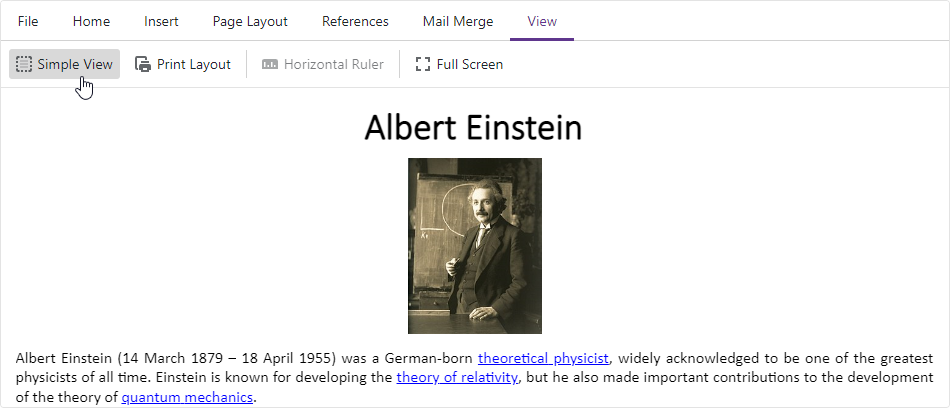
The Rich Text Editor can adjust a document so that it occupies the entire component’s content area and ignores the page’s layout. Set the ViewType property to Simple to enable this view mode.
<DxRichEdit ViewType="ViewType.Simple" />
Users can click buttons on the View ribbon tab to switch the active view.

Handle the ViewTypeChanged event to be notified when the view type changes.