Demos
- 4 minutes to read
Online Demos
DevExpress Blazor components ship with the following online demos: https://demos.devexpress.com/blazor/.
Run Demos Locally
Demos in the Installation Folder
If you use the DevExpress .NET Product Installer to install Blazor components, you can find demo sources in the DevExpress product installation folder. The default path is C:\Users\Public\Public Documents\DevExpress Demos 26.1\Components\. You can run solutions from this folder or use the Demo Center to view demos.
Note
The demo project may throw an exception if the project path exceeds the maximum path length allowed on your device. In this case, move the demo project to a location with a shorter path or remove the path limit. Refer to the following section for additional information: Enable Long Paths in Windows 10.
Follow the steps below to view demos in the Demo Center:
Launch the Demo Center in one of the following ways:
- Click the Demo Center 26.1 shortcut in Windows Start Menu.
- Open the DevExpress product installation folder and run the Demo Center. The default path is C:\Users\Public\Public Documents\DevExpress Demos 26.1\Components\Components\Bin\DevExpress.DemoCenter.v26.1.exe.
Click Blazor, then select a component to explore.
The demos open in a browser.
Demos on GitHub
Demo sources for components and CRM demo are available on GitHub: DevExpress Blazor Demos.
To run demos locally, you must:
Clone the repository:
# HTTPS
git clone https://github.com/DevExpress/demos-blazor.git
# SSH
git clone git@github.com:DevExpress/demos-blazor.git
Open one of the following solutions in your IDE:
- Blazor/BlazorDemo.CRM/CS/BlazorDemo.CRM.sln
- Blazor/BlazorDemo.ServerSide/CS/BlazorDemo.ServerSide.sln
- Blazor/BlazorDemo.WASM/CS/BlazorDemo.WASM.sln
Only for the BlazorDemo.Wasm demo, ensure that the BlazorDemo.Wasm.ServerSide project is set as the solution’s startup project.
Run the application in a supported browser.
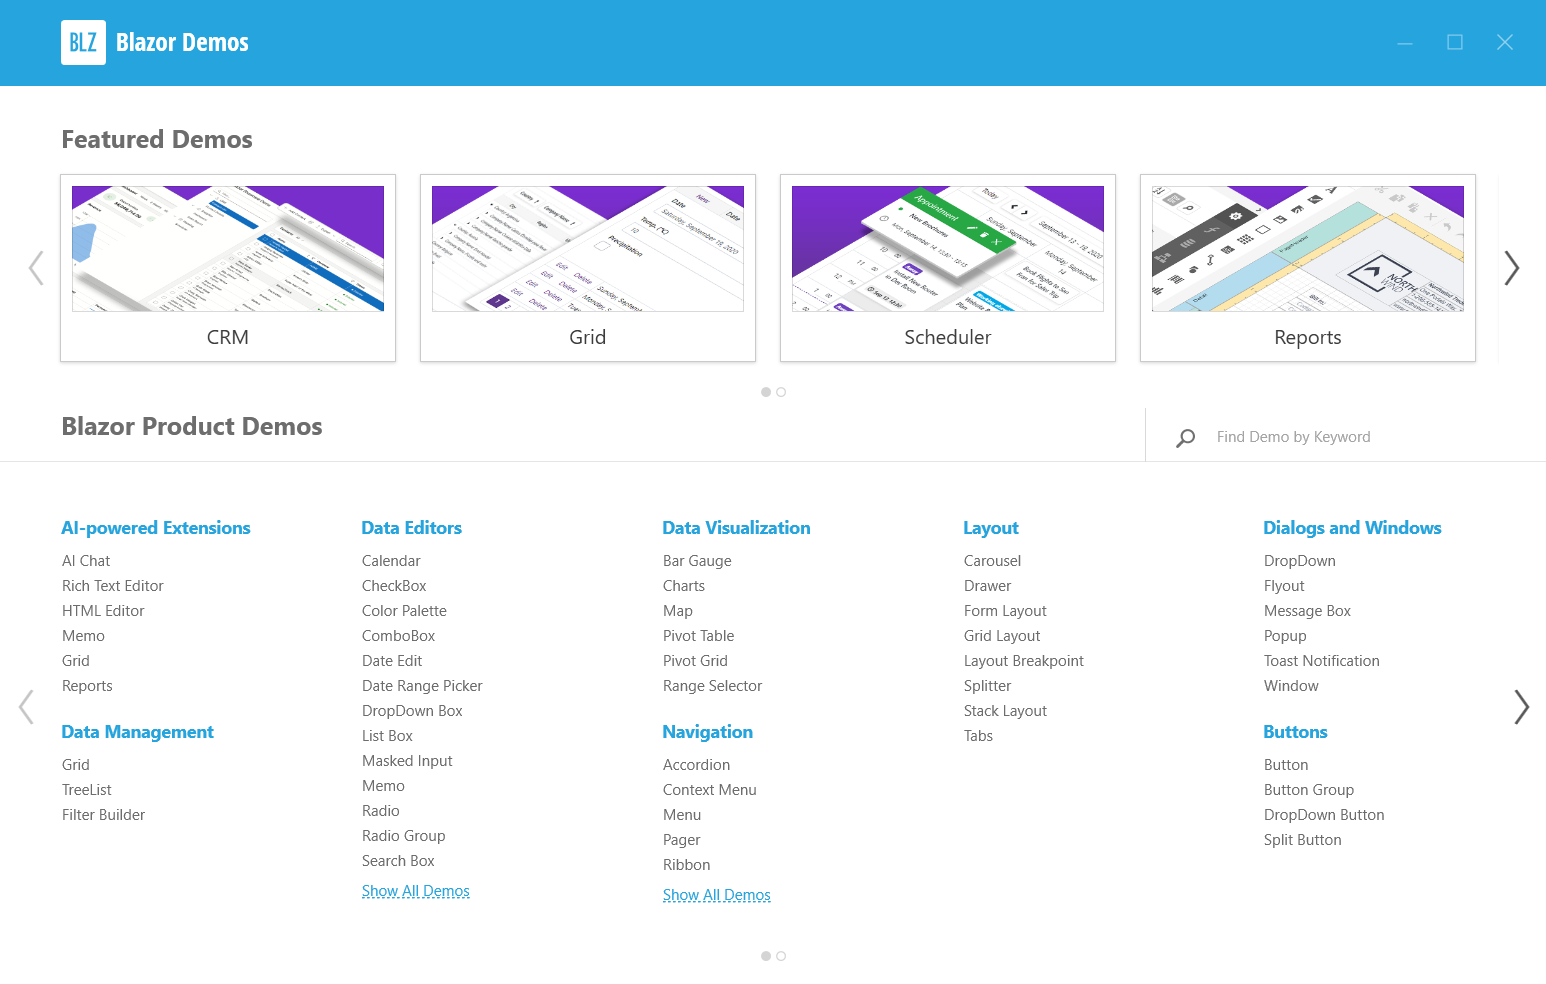
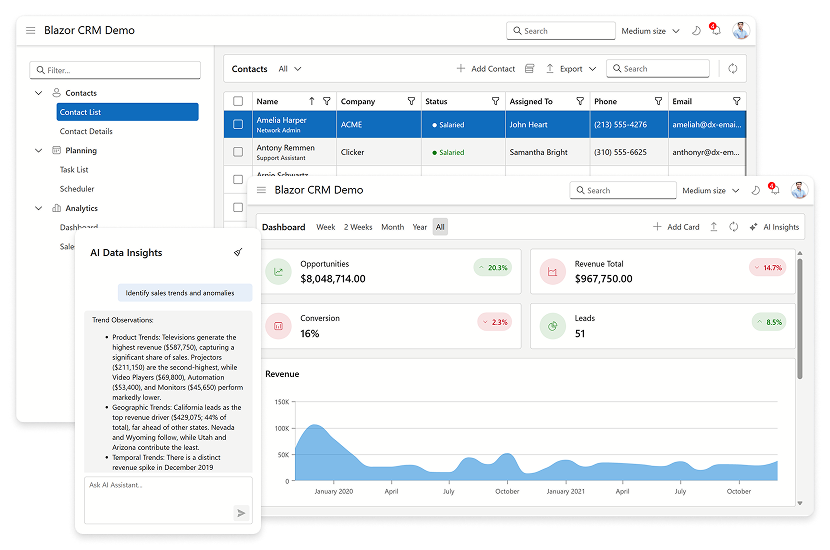
Blazor CRM Demo
The DevExpress .NET Product Installer ships with the Blazor CRM Demo that illustrates how to use DevExpress Blazor components to build an application. This demo emulates a web-based enterprise CRM with the majority of UI features typically used in such systems.
Key Features
- Blazor Web App (.NET 9) with a hosted client/server architecture.
- Login and user registration.
- Multi-panel UI with a responsive layout.
- A data grid with sorting, filtering, search, and data export.
- Side-panel preview and a full detail page.
- A scheduler with day, week, month, and timeline views, a mini-calendar, and resource filtering.
- A task list with inline editing, virtual scrolling, and data export.
- An interactive dashboard with KPI tickers, charts, and a revenue breakdown grid.
- A sales analysis page with a range selector and multiple charts that update dynamically based on the selected date range.
- AI-powered analysis and prediction (sales insights, trend detection, at-risk deal identification, and chart annotations).
- AI scheduling assistant that can check availability and create appointments through natural language queries.
- Theme and UI density mode switching.
Get Started
Follow the steps below to run the CRM application in the Demo Center:
- Launch the Demo Center.
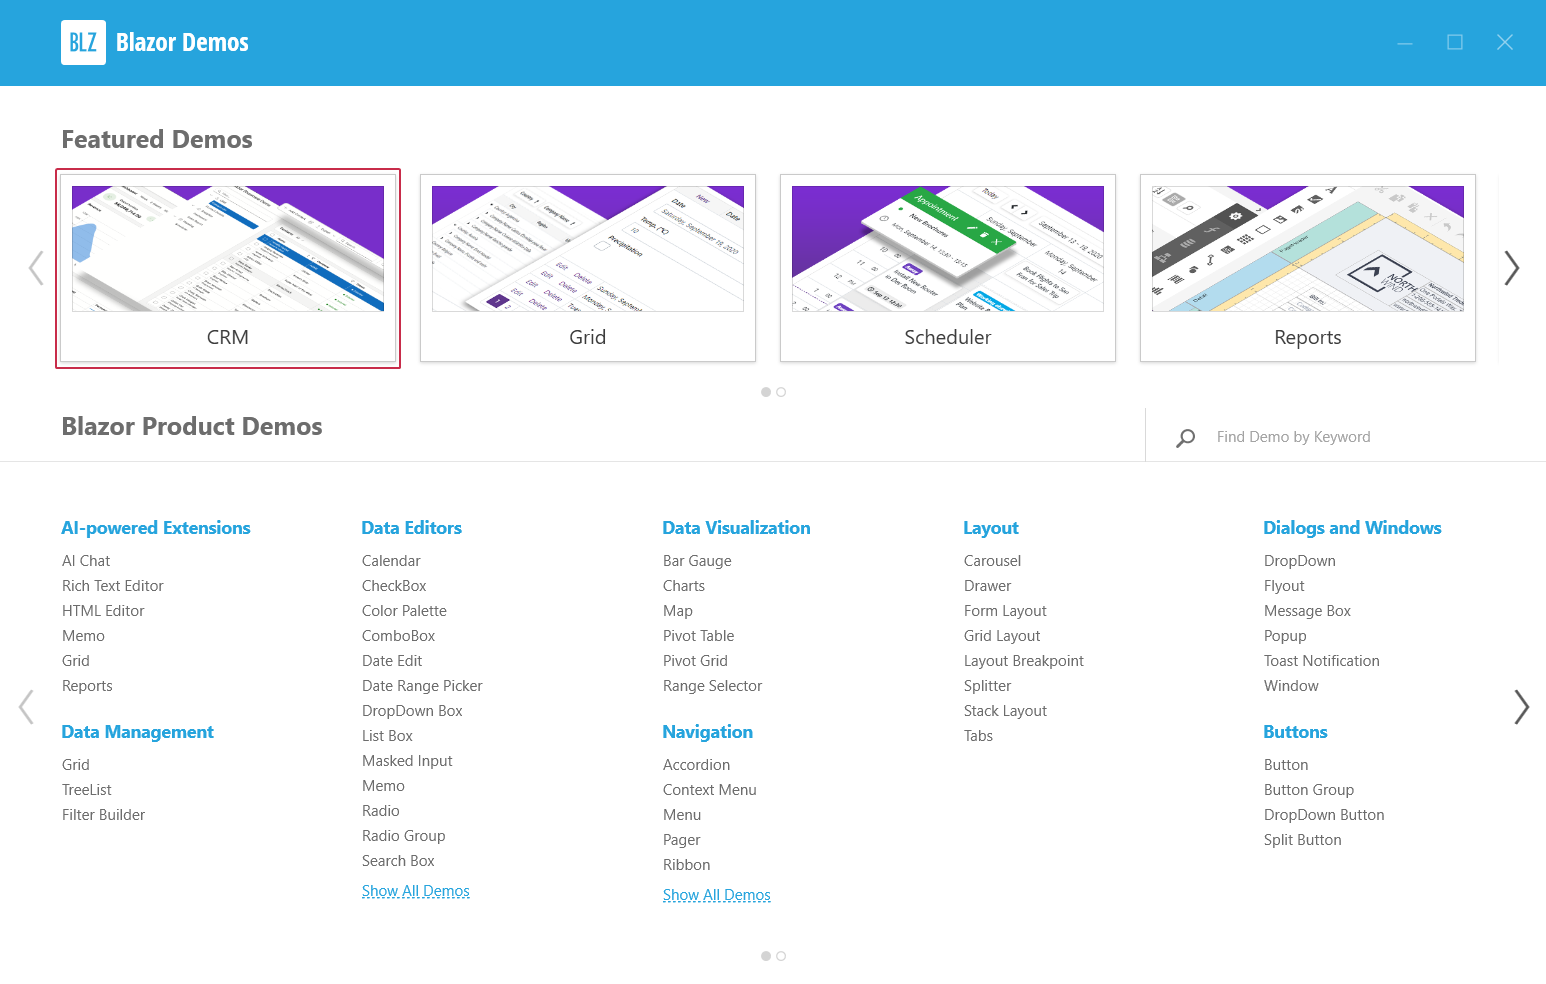
Click Blazor and select CRM in the Featured Demos section.
The login form is pre-filled with demo credentials. Click the Login button to proceed to the demo.
Note
Each browser session uses its own in-memory database. All changes are private to your session and are reset when you clear cookies or open a new browser.
Working With Source Code
You can find the application source in the DevExpress product installation folder. The default path is C:\Users\Public\Documents\DevExpress Demos 26.1\Components\Blazor\BlazorDemo.CRM\CS.
The solution is configured to support Interactive Auto render mode. Components initially run on the server and transparently transition to WebAssembly once the runtime is downloaded to the browser. Therefore, the solution consists of two projects:
- BlazorDemo.CRM: This is the main Blazor project. It handles initial requests and server-side rendering.
- BlazorDemo.CRM.Client: This project contains the components that run on the client browser using WebAssembly.
Internally, both projects follow the standard folder and file structure of an ASP.NET Core Blazor project. This makes the code easy to navigate and understand for developers familiar with the Blazor framework.
The application is pre-configured with a DevExpress-hosted endpoint and works out of the box. To use your own Azure OpenAI instance, update the AIIntegrationSettings section in the BlazorDemo.CRM/appsettings.json file with your credentials:
EndpointUrl: Your Azure OpenAI endpointKey: Your Azure OpenAI keyDeploymentName: Azure OpenAI model ID