DevExpress Templates (DevExpress Installation)
- 3 minutes to read
Important
- Ensure your system meets these requirements.
- Use the DevExpress .NET Product Installer to install DevExpress Blazor components.
When you use the DevExpress .NET Product Installer for Blazor components, the DevExpress v22.1 Blazor App Template Gallery automatically appears in Visual Studio’s New Project menu. The Gallery contains several DevExpress Blazor project templates.
1. Create a New Project
Open Visual Studio and click Create a new project on the start page.
In the Create a New Project dialog, select DevExpress v22.1 Blazor App Template Gallery and click Next.

Specify the project location, and click Create.
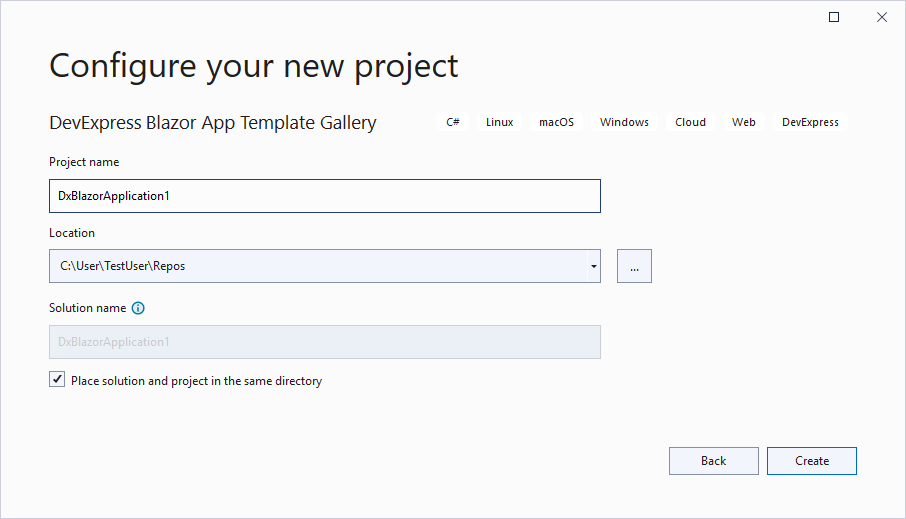
In the Template Gallery, select one of the DevExpress Blazor templates. Specify the project name and click Run Wizard.
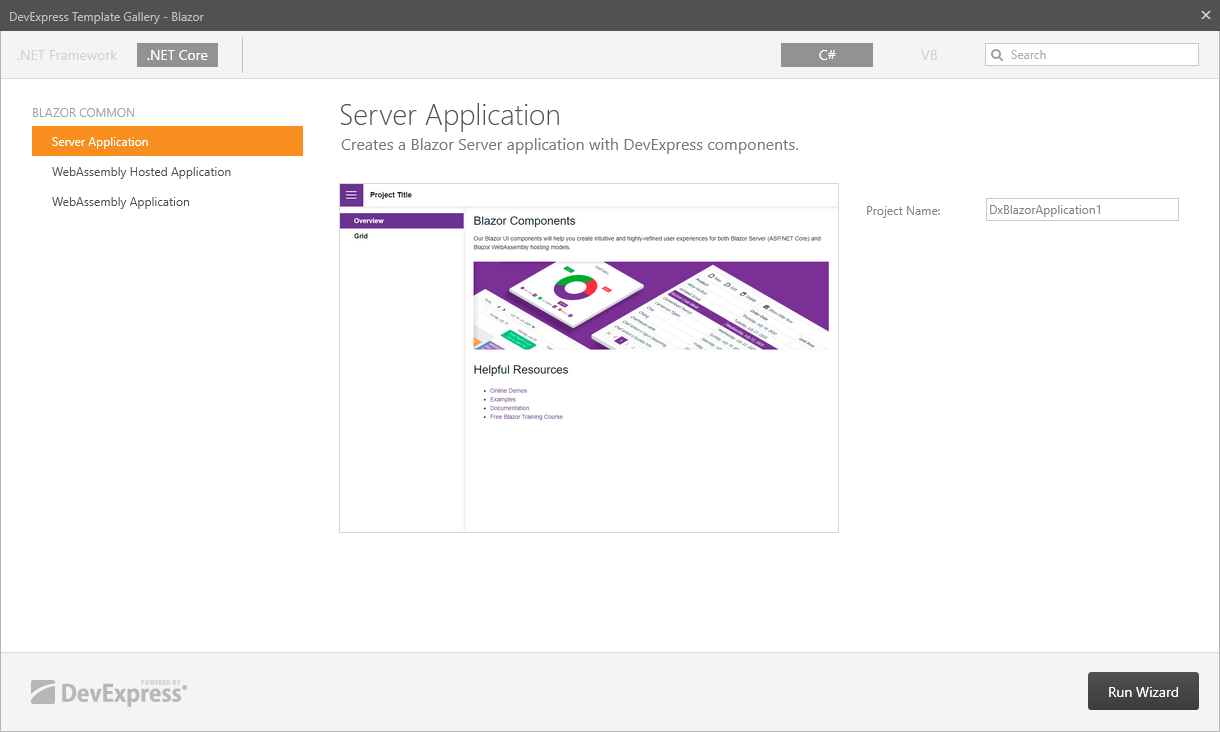
The Project Wizard is invoked.
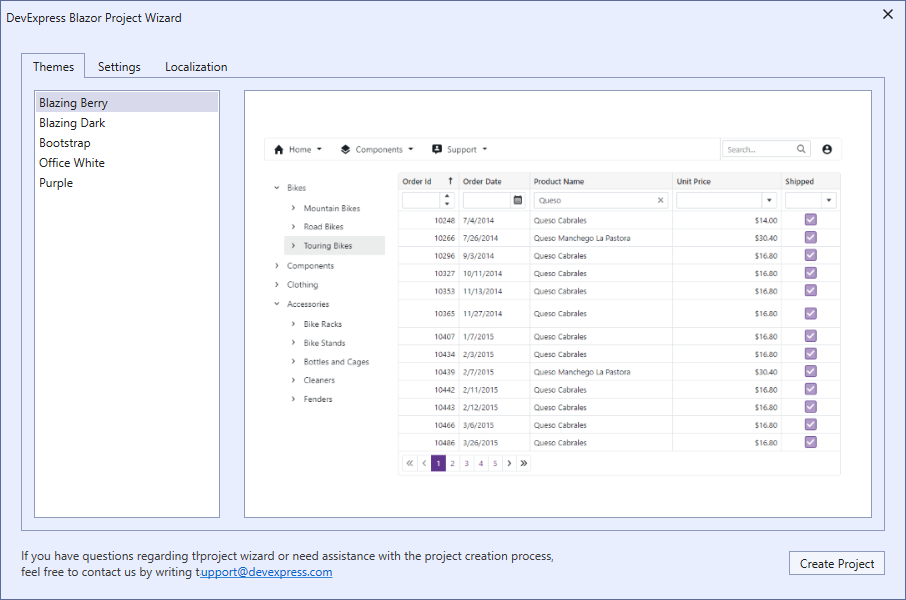
The wizard includes the following tabs:
Themes. Choose one of the DevExpress Themes or select the default Bootstrap theme.
Settings. This tab contains a different set of options for Blazor Server and WebAssembly applications:
- Enable WASM Masks (available for a Server project) - Activates WebAssembly masks in a Blazor Server application. In this mode, data editors with masks process input text on the client side to reduce input delays when you have a slow connection. The wizard adds a dependency reference to the project and appends the AddDevExpressBlazorWasmMasks(IServiceCollection) and UseDevExpressBlazorWasmMasksStaticFiles(IApplicationBuilder) method calls to the Program.cs file.
- Add Rich Text Editor Resources (available for a Server project) - Adds Rich Text Editor packages to the project, imports the DevExpress.Blazor.Office and DevExpress.Blazor.RichEdit namespaces, and registers CSS resources for the Rich Editor component.
- Progressive Web Application (available for a WebAssembly project) - Specifies whether to create a Progressive Web Application (PWA). PWA brings a native desktop app user experience to cross-platform web applications. You can launch PWA from the start menu, run it in its own app window, and work with it offline. You can specify PWA-specific settings in the wwwroot/manifest.json file.
Localization. Specify the culture that is used to localize the application’s UI elements, such as button captions, menu items, error messages, and dialog boxes. Refer to the Localization topic for more information.
Click Create Project in the wizard.
2. Run the Application
The image below shows the resulting application.

3. Add More DevExpress Components
For instructions on how to add an individual DevExpress Blazor component to your application, refer to the documents below: