Build an Office-inspired UI
- 3 minutes to read
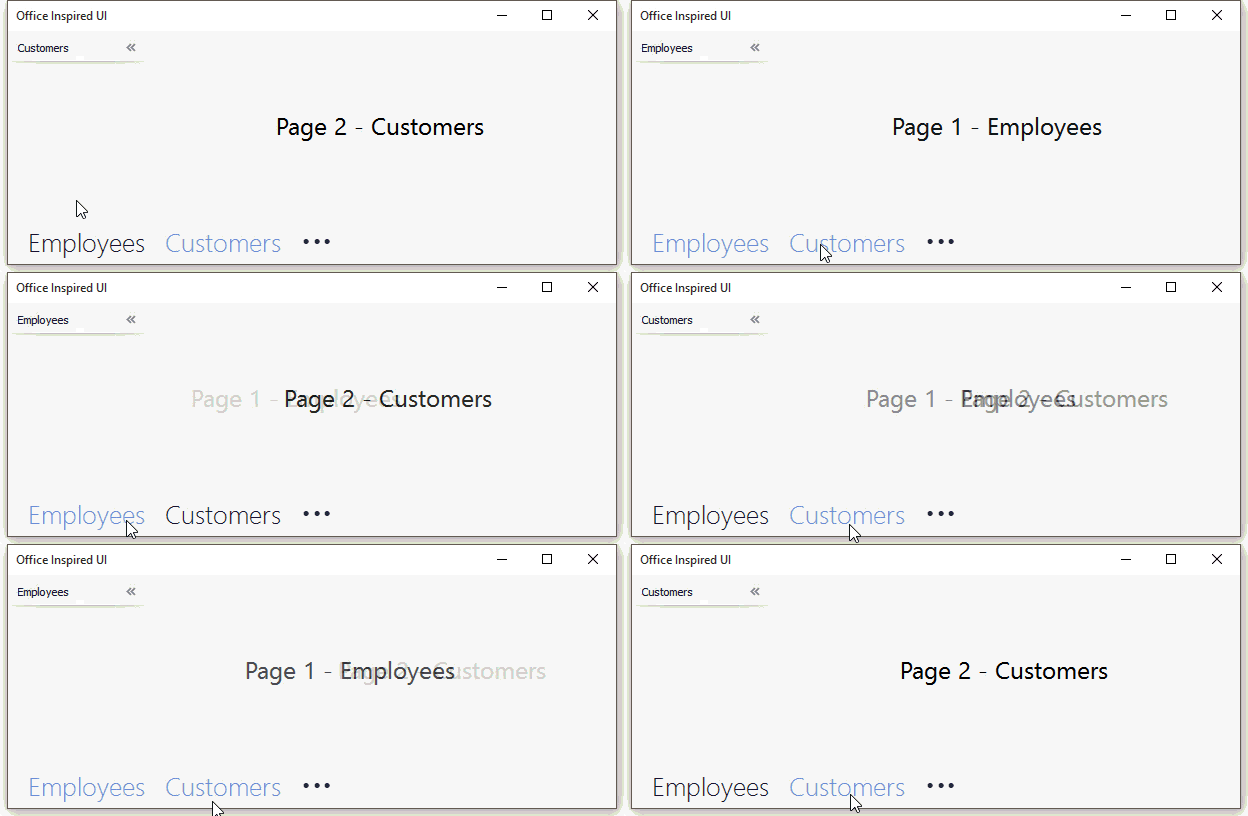
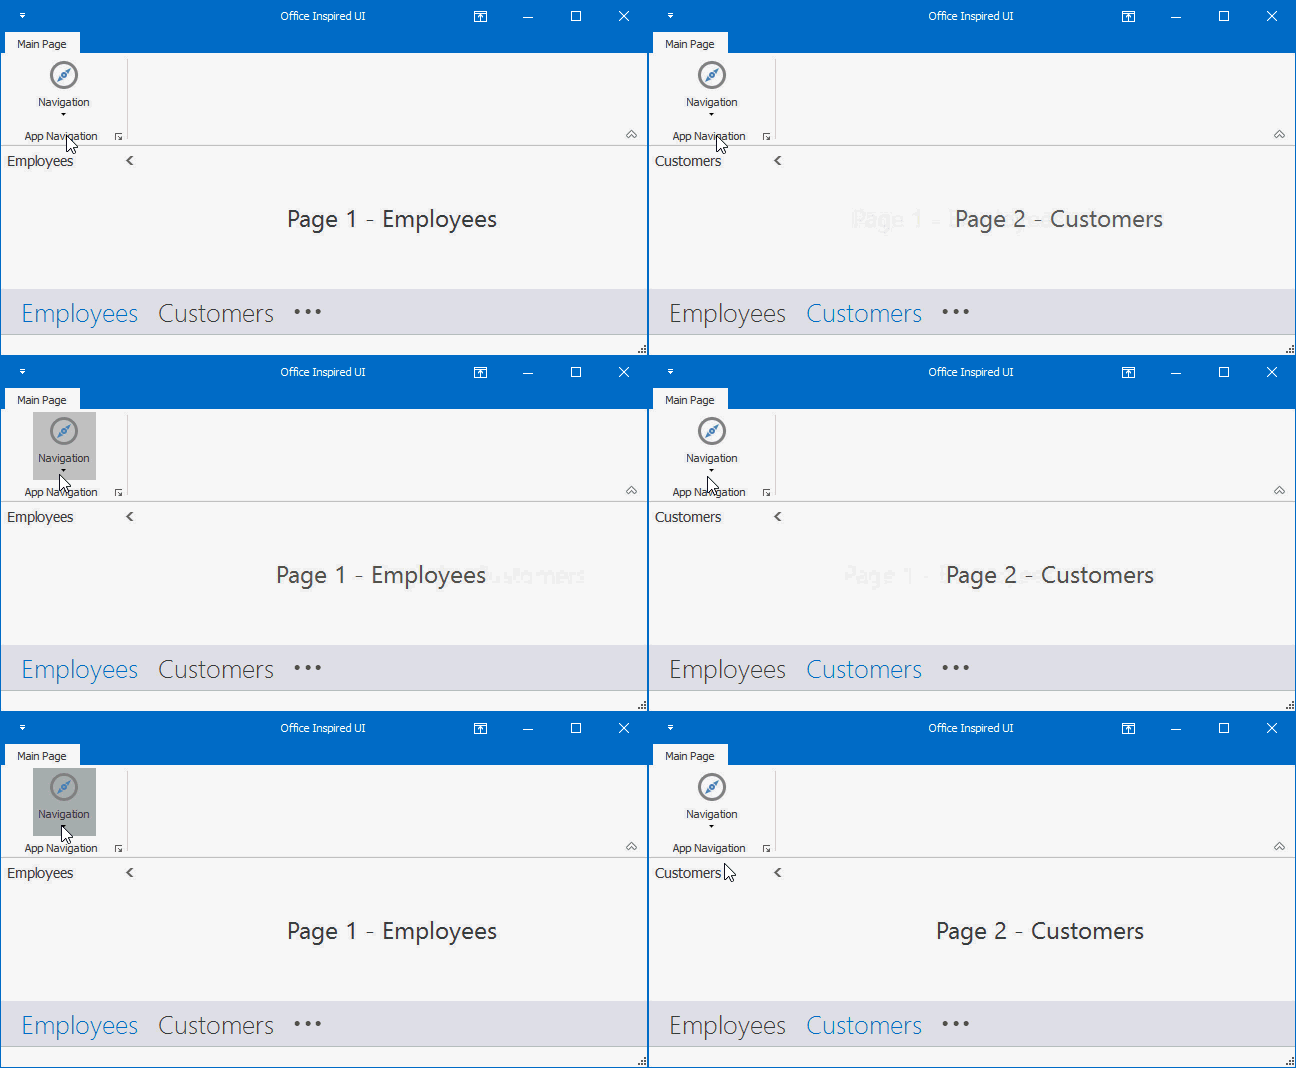
This tutorial demonstrates how to build a typical Office Inspired UI shown below. Note that you can also use the Template Gallery to build the same UI type.

In Visual Studio, go to “File | New | Project” or press CTRL+SHIFT+N to create a new project. Select the default Visual Studio “Windows Forms Application” template and click OK.

Use the Visual Studio Toolbox to add Navigation Frame, Navigation Bar and Office Navigation Bar controls to your form.

Arrange the controls as illustrated below.

Use the Navigation Bar smart tag to switch the bar to the Navigation Pane View.

Change captions for automatically created NavBarGroup and NavigationPage controls to “Employees” and “Customers”. Assign the same text strings to the Tag property of both pages, as demonstrated in the code below.
Click the Navigation Frame’s chevron buttons to select different pages and drop a LabelControl on each page, then customize label captions. At runtime, these labels will allow you to identify Navigation Frame pages.

Use the Office Navigation Bar smart tag to remove automatically generated “Item1” and “Item2” elements.

Assign the Navigation Bar to the OfficeNavigationBar.NavigationClient property to bind both controls together. You will notice that the bar now has “Employees” and “Customers” elements based on existing Navigation Bar groups. Launch the app and click an element to see that the corresponding group is activated.

Handle the NavBarControl.ActiveGroupChanged event to switch the selected Frame page. The code below uses page tags to find the required page.
private void navBarControl1_ActiveGroupChanged(object sender, DevExpress.XtraNavBar.NavBarGroupEventArgs e) { navigationFrame1.SelectedPage = (NavigationPage)navigationFrame1.Pages.FindFirst(x => (string)x.Tag == e.Group.Caption); }Tip
Review the Responding to User Clicks at Runtime article to learn about other ways to implement navigation using Navigation Bar.
Test your application at runtime. Note that, by default, animation effects are enabled.

Return to design time, invoke the form smart tag (you may need to rebuild the project and reload the form to see it) and click “Convert to Ribbon Form”. This will convert your main form to a Ribbon Form, which will add Ribbon and Ribbon Status Bar controls.

Add a BarSubItem with two child BarButtonItems to the Ribbon Page Group. End-users will be able to toggle between “Employees” and “Customers” Navigation Frame pages by clicking these buttons.

At design time, double-click the first button to create a BarItem.ItemClick event handler. The code sample below illustrates how to switch active Navigation Bar groups. Coupled with the previously handled NavBarControl.ActiveGroupChanged event, this button also changes Navigation Frame pages.
Select the second BarButtonItem and locate the ItemClick event in the Visual Studio Properties window. Use the combo box to choose the same event handler as for the first button, so that both sub-menu items are functional. Launch the application and make sure the Navigation Frame changes its pages correctly.
