Fluent Design UI
- 2 minutes to read
A “Fluent Design” is a UI type developed by Microsoft and released with the 2017 “Fall Creators Update” for Windows 10. This design type mixes plastic-like translucency with 3D effects, advanced lighting, and new transitions between different application states.
Run the “Fluent Mail Client” demo in the DevExpress Demo Center for our implementation of this design concept.
Visual Effects
Fluent Design concepts introduce two unique visual effects: Acrylic Material and Reveal Highlight.
Acrylic Material
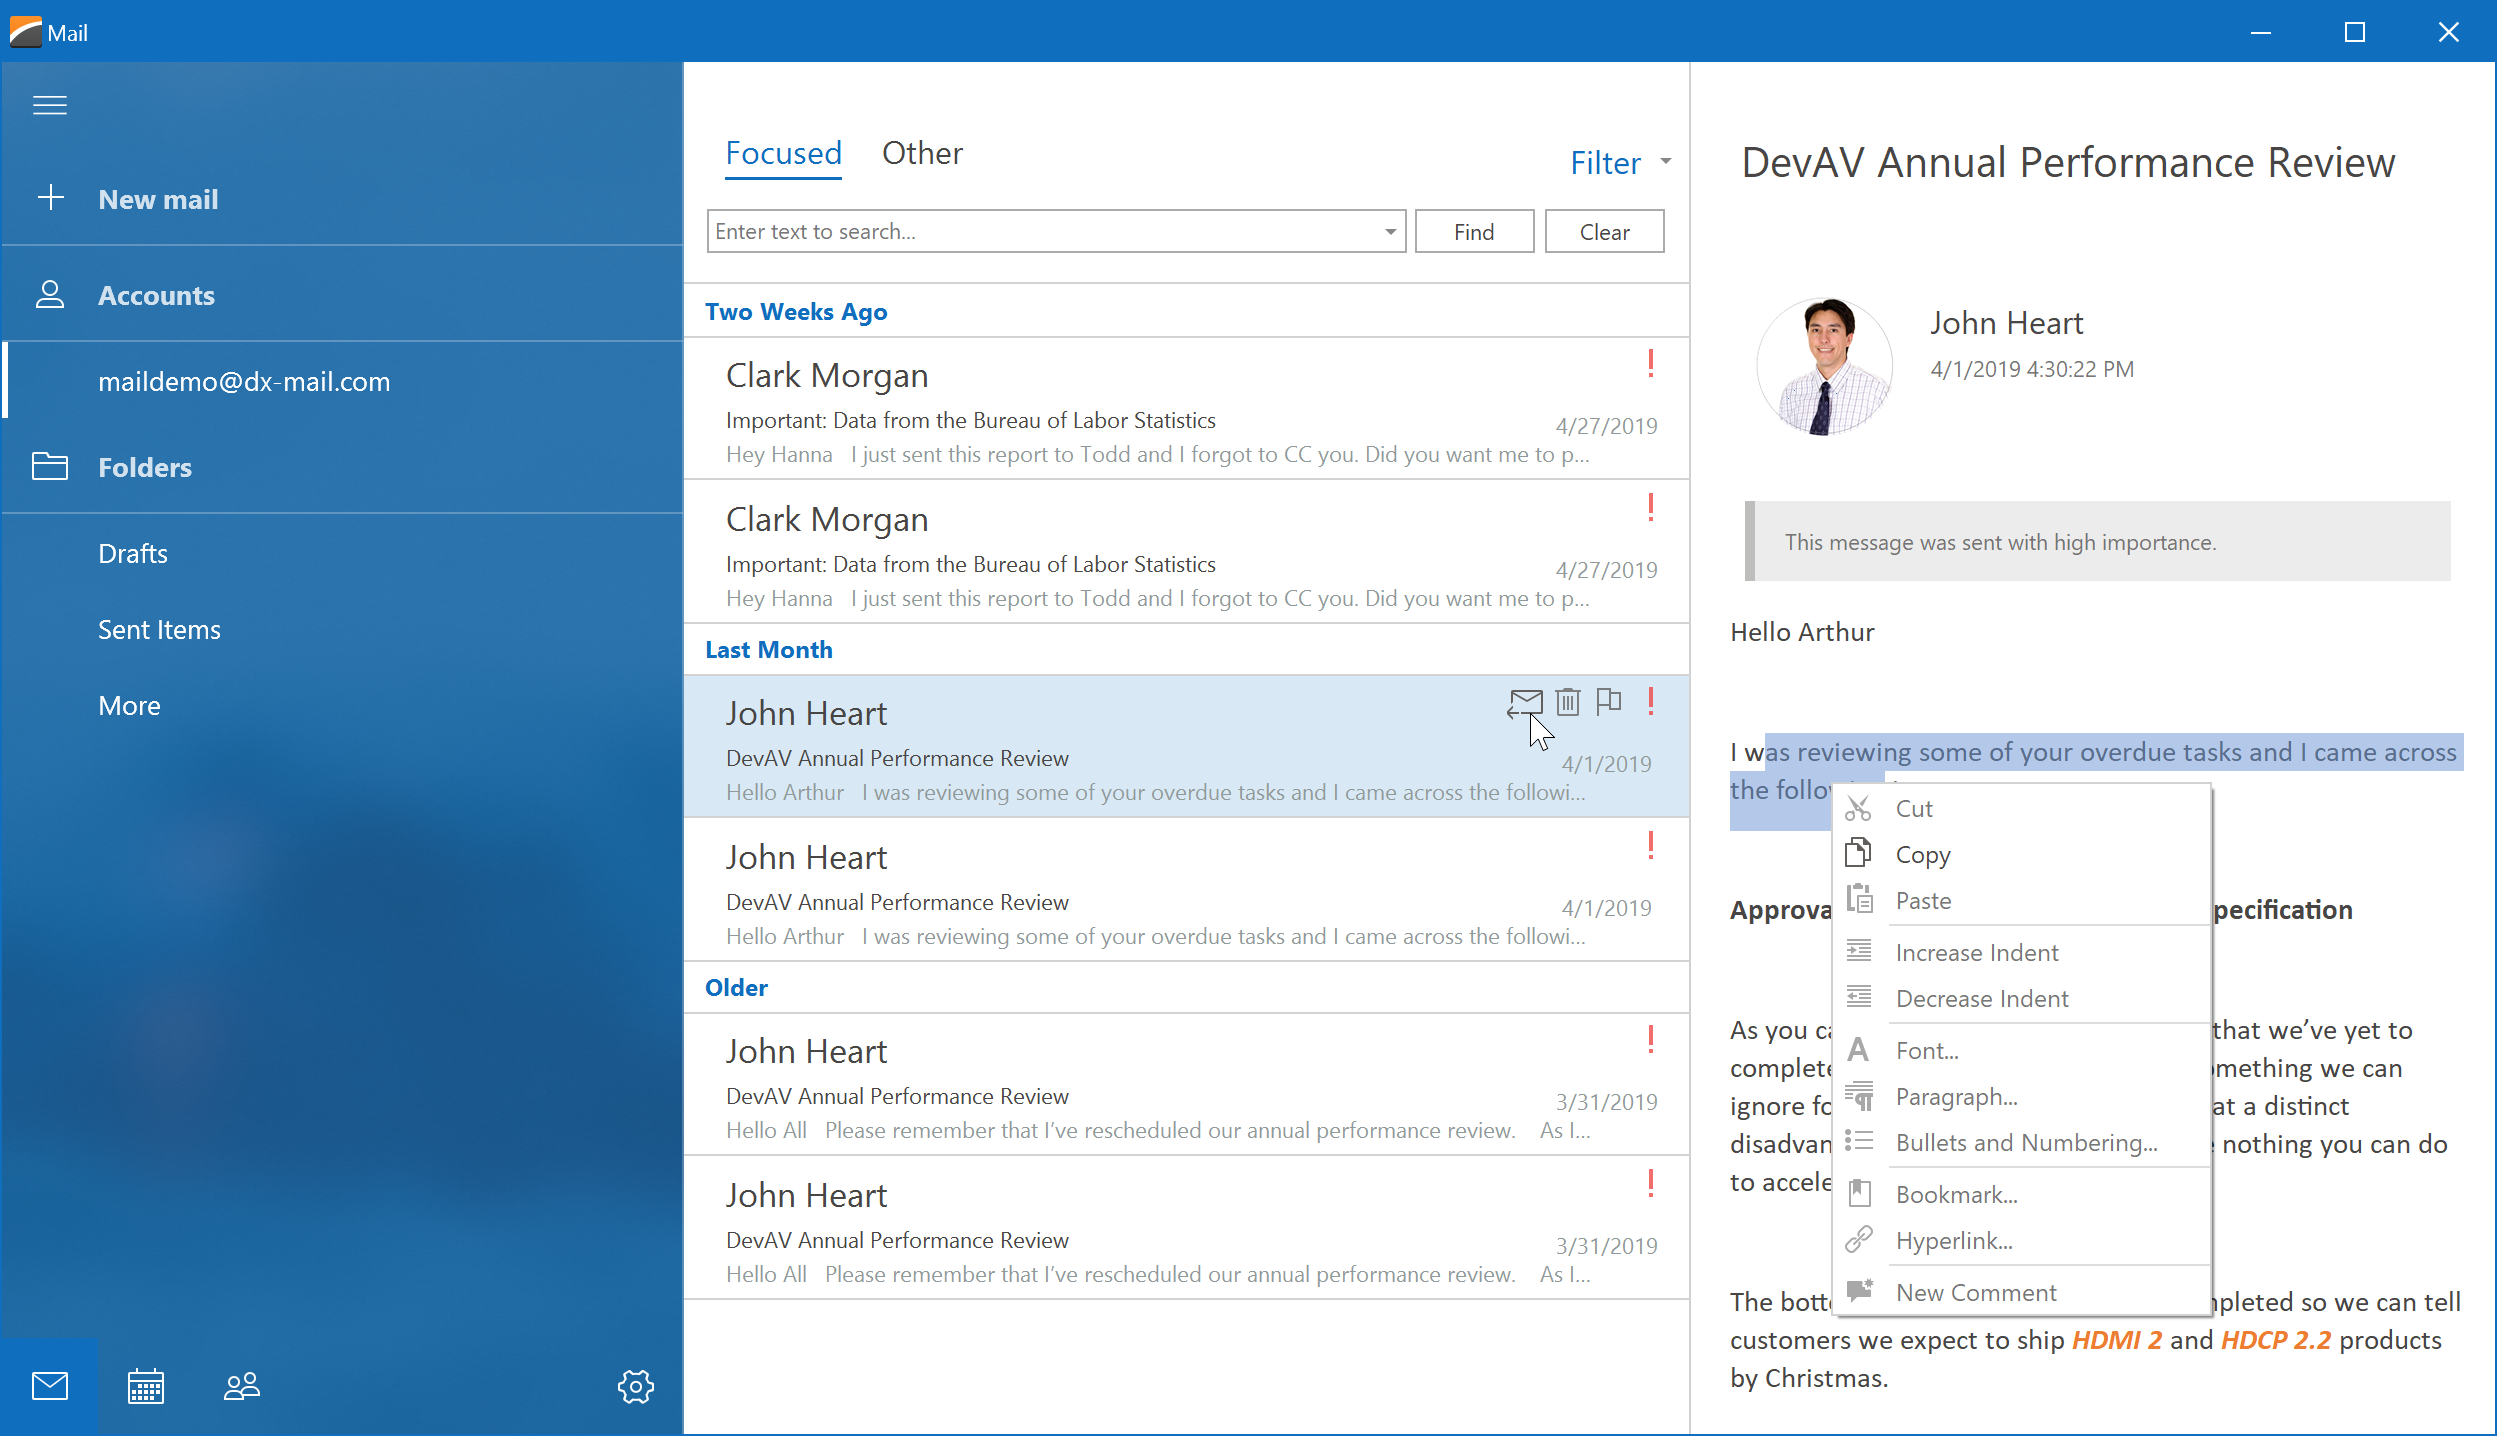
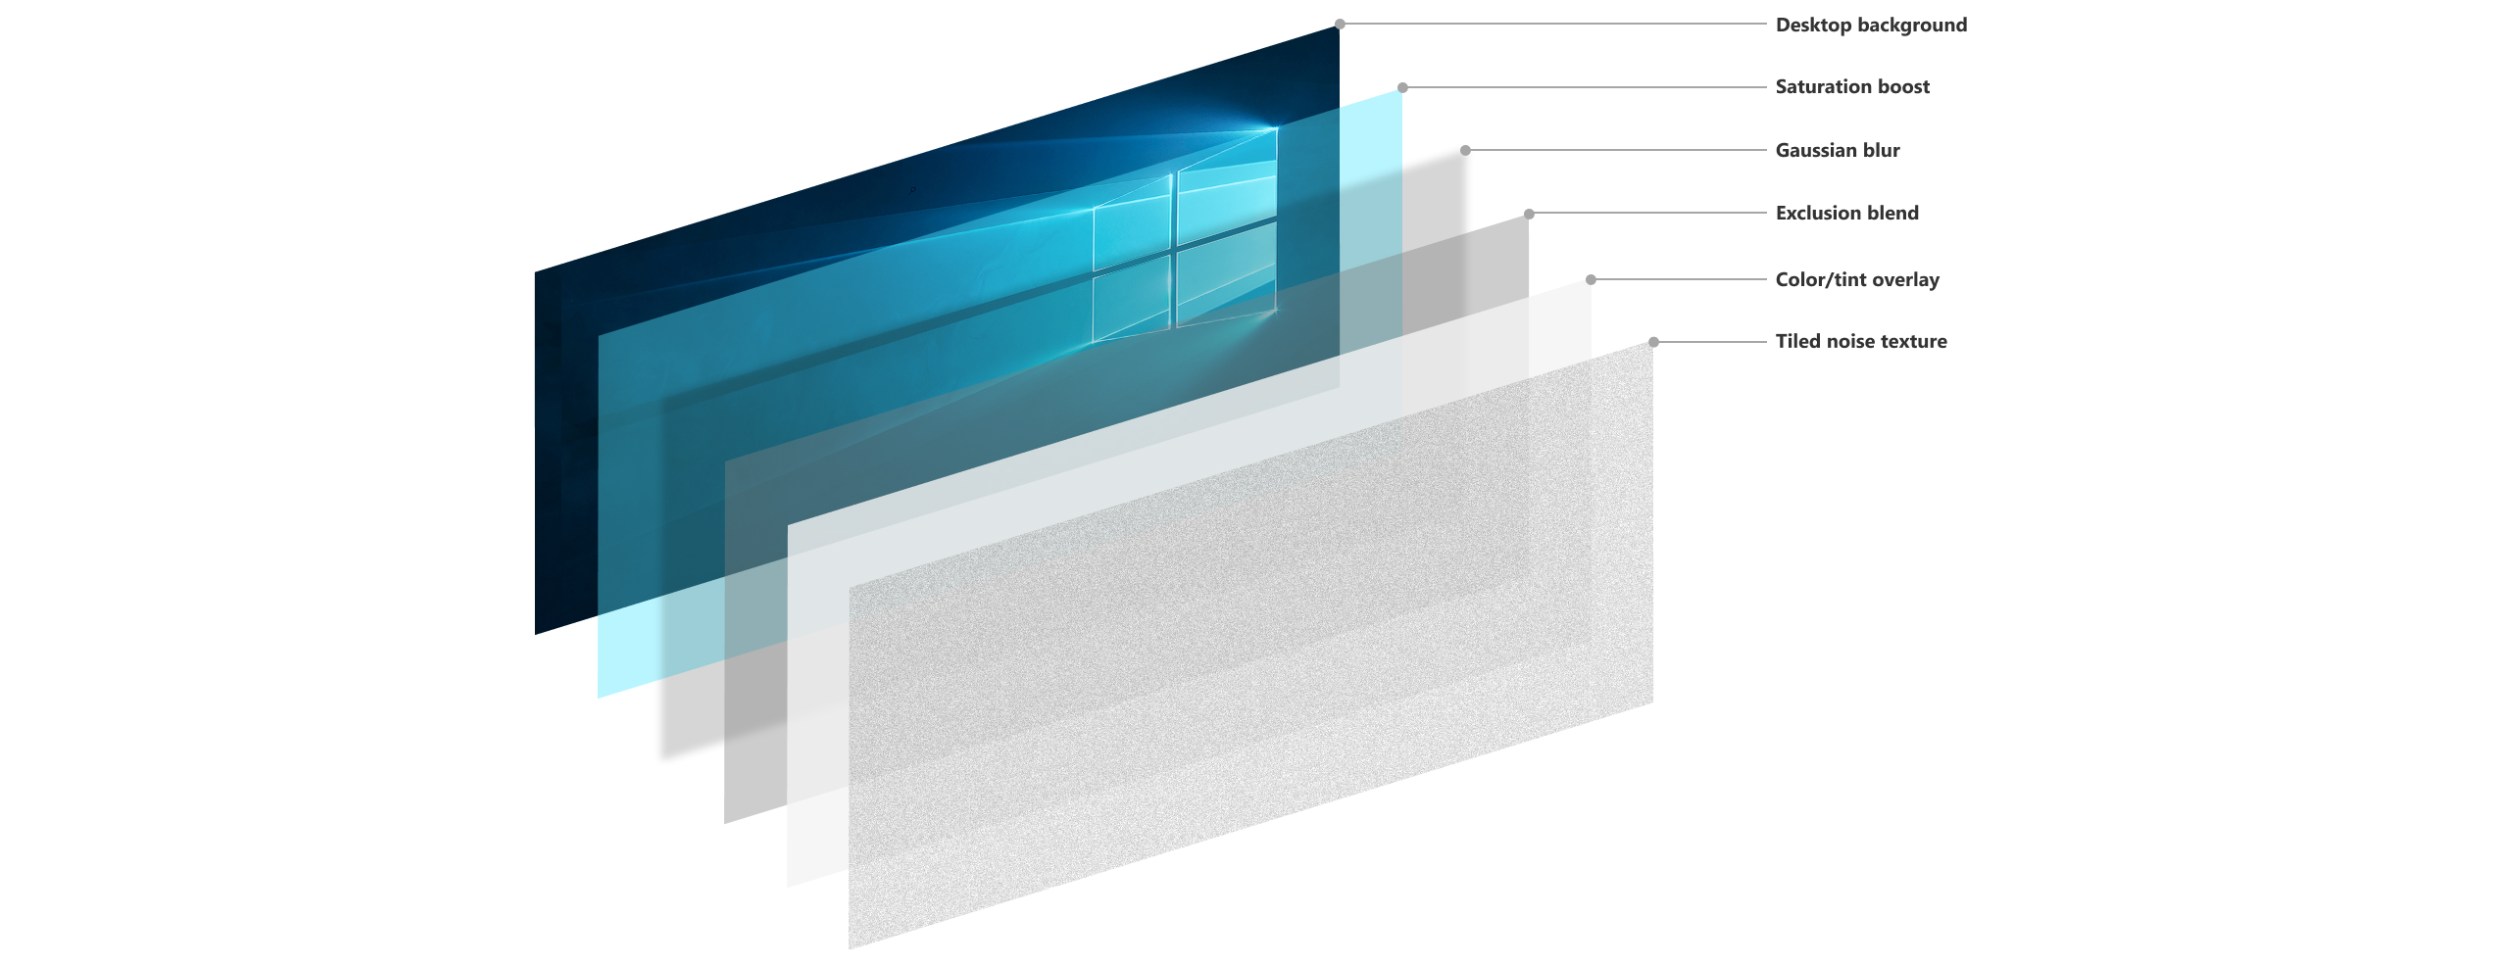
Acrylic is a semi-transparent material that allows users to see “through” the application. This effect requires five separate layers with individual opacities and visual effects to be implemented correctly.
Microsoft documentation recommends that you use Acrylic for:
- “supporting UI”, for instance, surfaces that overlap main window content when scrolled or interacted with;
- transient UI elements’ background: context menus, flyouts, etc.
Reveal Hightlight
This effect imitates a spotlight that follows a mouse pointer.
Build a Fluent Design-inspired Application
Follow the steps below to build an application that meets Microsoft Fluent Design UI requirements and standards.
Fluent Design is a unique UI type that requires basic understanding of its underlying concepts. For that reason, review Microsoft’s guidelines and learn the “do’s” and “dont’s” of Fluent design. For instance, this article explains how to correctly distribute Acrylic material across a form.
Enable the DirectX Hardware Acceleration: complex Fluent Design visual effects cannot be rendered with a traditional GDI+ engine. The easiest way to enable DirectX acceleration is to check the corresponding setting in the Project Settings Page.

Use the same Project Settings Page to select a vector skin and one of its palettes.
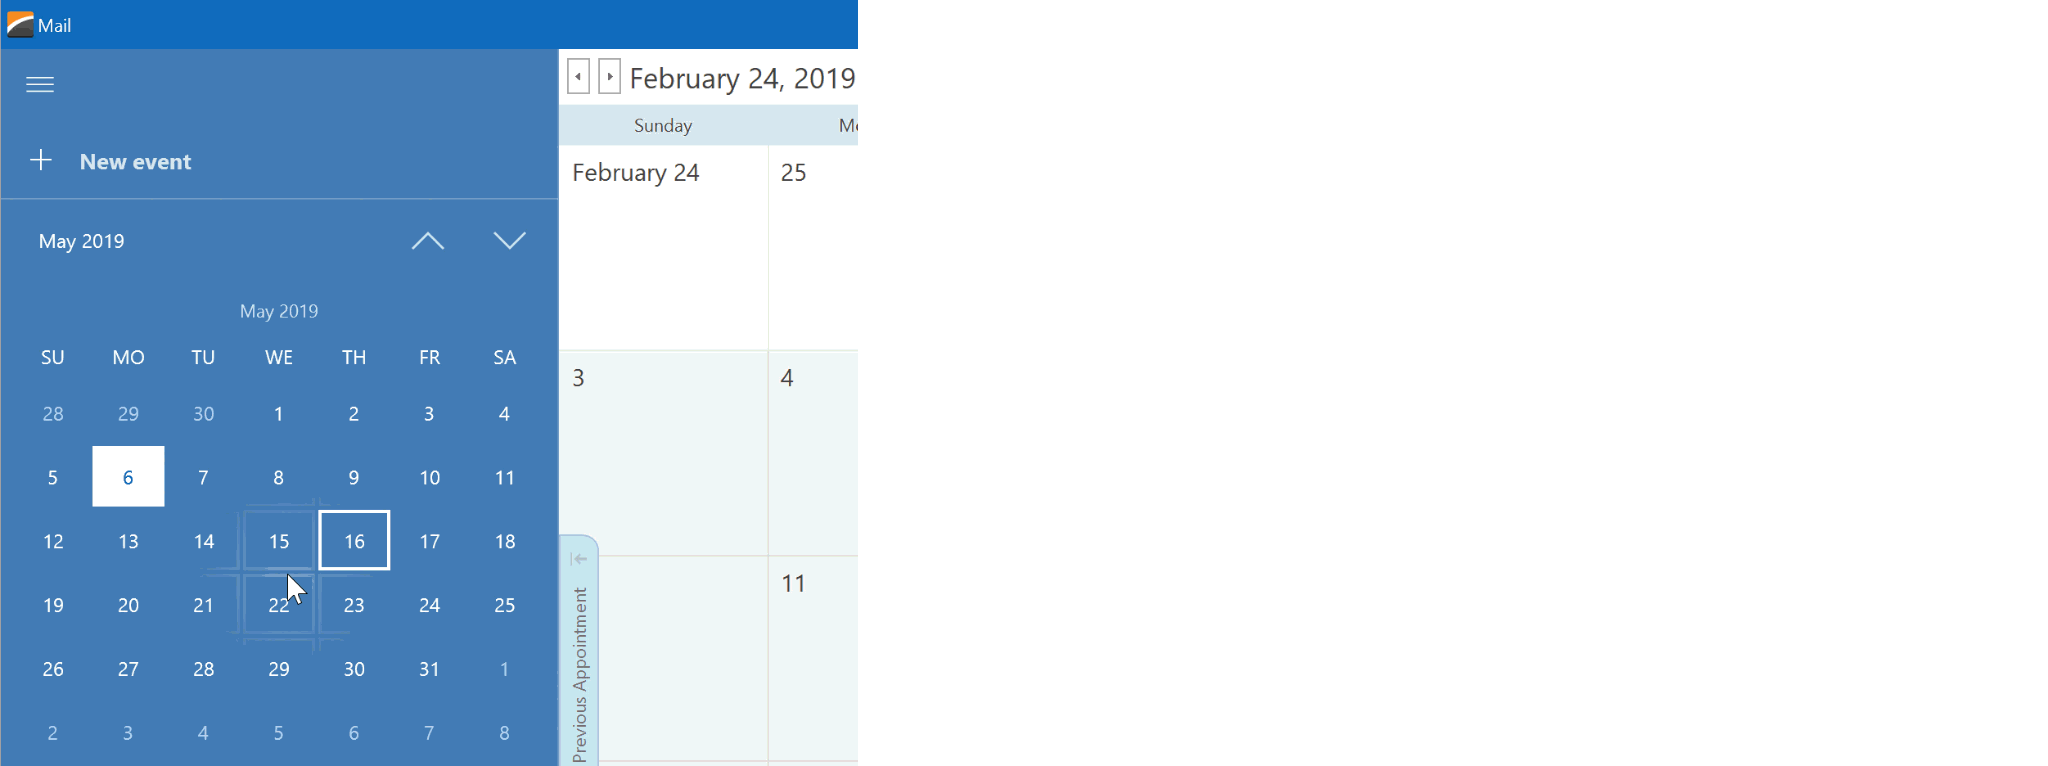
If you need a form with a side navigation control, use the Fluent Design Form that embeds the Accordion Control. For other application forms, use the ToolbarForm instead. Both forms support the Acrylic Material effect and allow you to add Bar items (buttons, editors, static text items, etc.) to their title bar areas.
If there is a Layout Control lying directly on a form with an Acrylic background, the control’s background also uses this effect.
Set the static WindowsFormsSettings.ScrollUIMode property to “Fluent” to provide scroll bars optimized for the Fluent UI.