Build an Office-inspired UI using DevExpress Project Templates
- 3 minutes to read
This tutorial uses the DevExpress Template Kit to create a WinForms Office-inspired UI.
Note
The DevExpress Template Kit includes project templates for .NET 8+ and C# only.
Use the DevExpress Template Gallery to create DevExpress-powered applications that target .NET Framework.
Tip
Read the following help topic for information on how to download and install the DevExpress Template Kit: Install DevExpress Template Kit.
Create Outlook UI Based on the Project Template
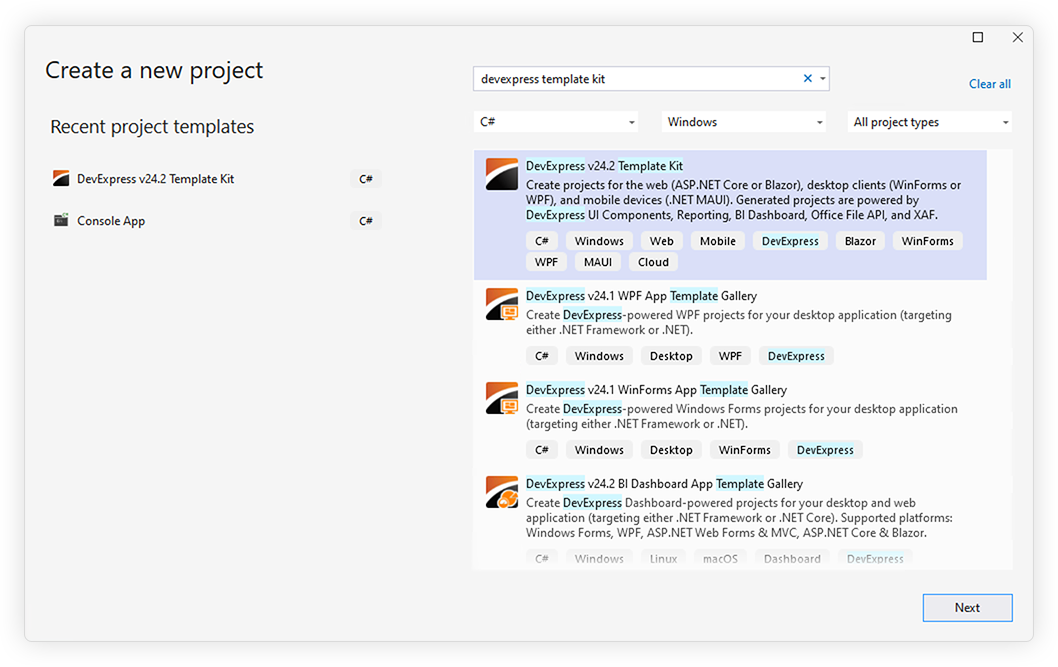
In Visual Studio, go to “File | New | Project” to create a new project. Select DevExpress v26.1 Template Kit and click Next:
- Specify project settings and click Create to run the DevExpress Project Wizard.
Select the WinForms platform. Navigate to Navigation & Document Layout and select the “Modular Application”. Click Create Project.

- Run the application to see the result.
Implementation Details
UI Elements
The DevExpress Project Wizard creates the following UI elements:
- Ribbon UI
-
Read the following help topic for information on Ribbon UI customization: Get Started with Ribbon Control.
- Sidebar
-
Read the following help topic for additional information: Get Started with Navigation Bar.
- Bottom-navigation UI
-
Read the following help topic for additional information: Get Started with Office Navigation Bar.
- Content Area
-
The project templates uses the
NavigationFramecontrol to create a single document interface (SDI). Read the following help topic for more information: Get Started with Navigation Frame & Tab Pane.
UI Navigation
- The ActiveGroupChanged event is raised when a user clicks a navigation group in the sidebar. It updates the selected page of the
NavigationFrameto match the index of the selected group in theNavBarControland display the corresponding page in the content area. - The ItemClick event raised when a user selects an item from the “Navigation” dropdown menu. It updates the sidebar navigation accordingly. The event handler finds the index of the clicked item and activates the corresponding group in the
NavBarControl.
using DevExpress.XtraBars.Ribbon;

namespace DevExpressOfficeInspiredApp {
    public partial class Form1 : RibbonForm {
        public Form1() {
            InitializeComponent();
        }
        void navBarControl_ActiveGroupChanged(object sender, DevExpress.XtraNavBar.NavBarGroupEventArgs e) {
            navigationFrame.SelectedPageIndex = navBarControl.Groups.IndexOf(e.Group);
        }
        void barButtonNavigation_ItemClick(object sender, DevExpress.XtraBars.ItemClickEventArgs e) {
            int barItemIndex = barSubItemNavigation.ItemLinks.IndexOf(e.Link);
            navBarControl.ActiveGroup = navBarControl.Groups[barItemIndex];
        }
    }
}
The following animation shows the result: