Add New Node
- 3 minutes to read
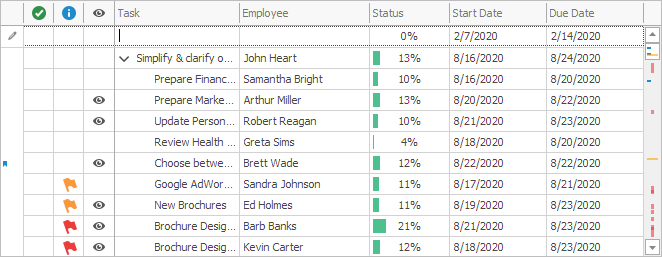
To add a new node to the list, users can use the New Item Row — an empty row displayed at the top or bottom of the list.

Set the TreeListOptionsView.NewItemRowPosition property to Top or Bottom to display the New Item Row at the top or bottom of the list.
If the control displays the New Item Row, the node context menu also contains the following commands:
- Add Node — creates a new node at the same level as the clicked node.
- Add Child Node — creates a new child node for the clicked node.

To hide/show these commands regardless of whether the New Item Row is displayed, use the TreeListOptionsMenu.ShowAddNodeItems option.
Initialize Column Values
Use the TreeList.InitNewRow event to initialize column values when the user starts to enter a value in the New Item Row or invokes the Add Node or Add Child Node command in the context menu.
The code below initializes the Status, Start Date, and Due Date column values.
The TreeList.KeyFieldName property specifies the field name that contains node keys. You can handle the TreeList.InitNewRow event to specify a key for a newly created node. In this example, the Tree List uses integer values as node keys and the handler assigns the next available integer to the new node.
private void TreeList1_InitNewRow(object sender, DevExpress.XtraTreeList.TreeListInitNewRowEventArgs e) {
    e.SetValue("Status", 0);
    e.SetValue("StartDate", DateTime.Now);
    e.SetValue("DueDate", DateTime.Now.AddDays(7));
    e.SetValue("ID", treeList1.AllNodesCount);
}
Prompt
The New Item Row displays a prompt at the top position only.

The localization service allows you to localize the default text or use the TreeList.NewItemRowText property to specify a custom prompt (cannot be localized).
The code below uses the localization service to localize the default text. Use the TreeListStringId.NewItemRowText field to identify the string.
using DevExpress.XtraTreeList.Localization;

TreeListLocalizer.Active = new NodeContextMenuLocalizer();

public class NodeContextMenuLocalizer : TreeListLocalizer {
    public override string Language { get { return "English"; } }
    public override string GetLocalizedString(TreeListStringId id) {
        switch (id) {
            case TreeListStringId.NewItemRowText: return "New Node";
            default: return base.GetLocalizedString(id);
        }
    }
}
Appearance
Use the TreeListAppearanceCollection.TopNewRow setting’s BackColor and ForeColor properties to specify the background and foreground colors for the New Item Row.
The code below changes the New Item Row’s background and foreground colors.

treeList1.Appearance.TopNewRow.BackColor = System.Drawing.Color.AliceBlue;
treeList1.Appearance.TopNewRow.ForeColor = System.Drawing.Color.Fuchsia;