How to: Add a Map Control at Design Time
This short introductory example describes how to add a Map control to your WinForms application at design time within Visual Studio.
- Run Microsoft Visual Studio.
- Create a new Windows Forms Application project by selecting FILE | New | Project… in the main menu. In the New Project window that is invoked, select Windows Forms Application and specify the project name.
Add the MapControl component to your project.
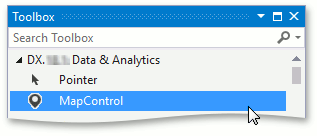
To do this, locate the MapControl item in the Toolbox under the DX.25.2: Data & Analytics tab and drop it onto the form.

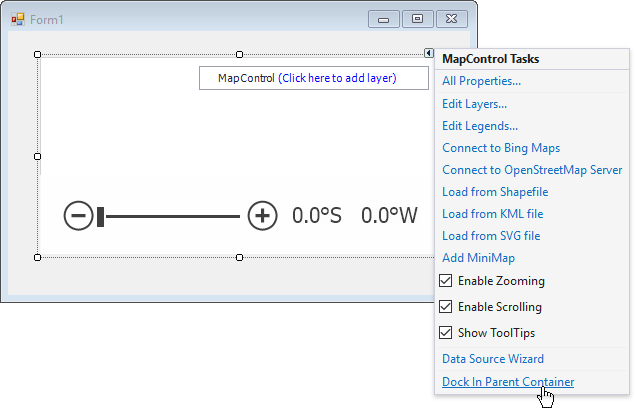
Click the Map control’s smart tag to invoke its actions list. In the actions list, click the Dock in Parent Container link. This allows the Map control to occupy all of the available space on the form.

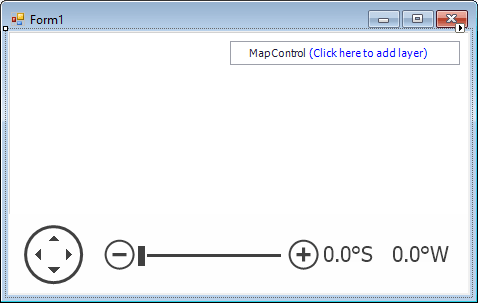
After docking the Map control, it will appear as follows:

The MapControl has now been added to your application.