How to: Bind a Spreadsheet to an MS SQL Server Database (Part 1)
- 4 minutes to read
This example creates a data-bound spreadsheet application that retrieves data from an MS SQL Server Database and inserts it into a worksheet.
Tip
You can extend this example by introducing CRUD operations. Refer to the following help topic for more information: How to: Bind a Spreadsheet to an MS SQL Server Database (Part 2).
Create a Spreadsheet Application
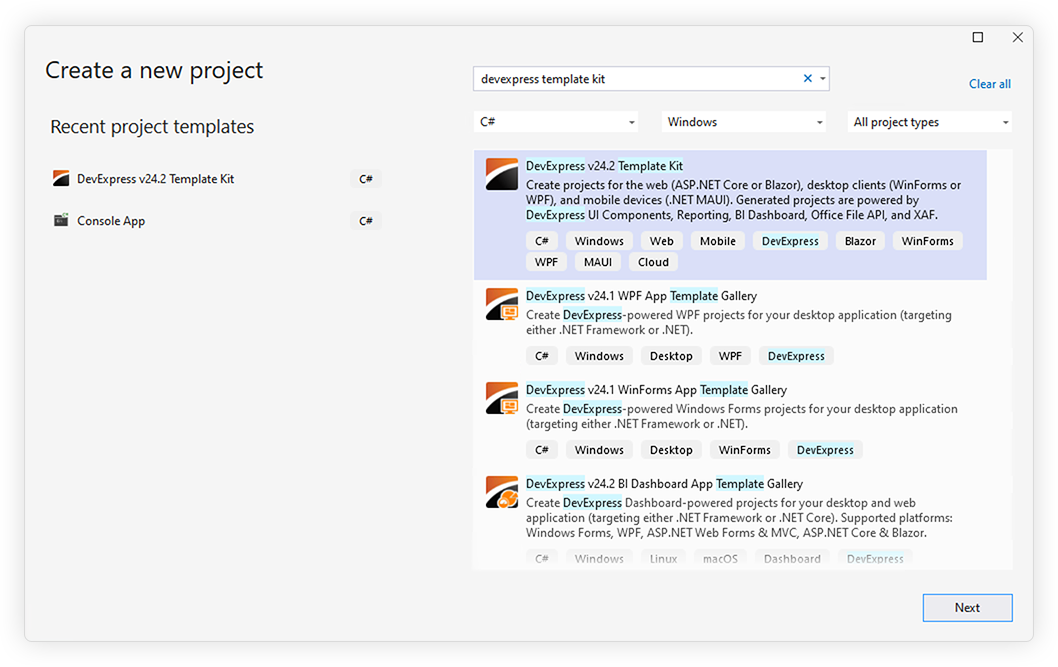
In Visual Studio, go to “File | New | Project” to create a new project. Select DevExpress v25.2 Template Kit and click Next:
Tip
The application targets .NET 8+.
Refer to the following help topic for information on how to download and install the DevExpress Template Kit: Install DevExpress Template Kit.
Note
Use the DevExpress Project Template Gallery to create applications based on templates that target the .NET Framework.
- Specify project settings and click Create to run the DevExpress Project Wizard.
Select the WinForms platform. Scroll down to the Office-inspired Controls section and select Spreadsheet Application. Click Create Project.

Run the application to see the result.

Connect to a Database
- In the Visual Studio menu, click Project | Add New Data Source…
In the invoked Data Source Configuration Wizard, select Database and then click Next.

Select Dataset to specify the database model type and click Next.

On the next page, click New Connection… to specify the data connection to be used.

In the invoked Add Connection dialog, set your data source to Microsoft SQL Server Database File (SqlClient) and specify the database file path. This example uses a connection to the Northwind database (the NWind.mdf file is included in the sample project created based on the current tutorial and available at https://supportcenter.devexpress.com/ticket/details/t472324/spreadsheet-for-winforms-bind-spreadsheetcontrol-to-an-ms-sql-server-database).

Click OK to apply the changes. In the Data Source Configuration Wizard, click Next, and then click Yes to copy the local data file to the project and modify the connection.

Click Next on the following page to save the newly created connection string to the configuration file.

On the final wizard page, select the required data fields from the Suppliers table and click Finish.

Earlier, you copied the database file to the project folder. Specify that it should be copied to the output directory only if the source file in the project folder is newer than the working database in the output folder, otherwise your data will be overwritten the next time the project runs. Select the NWind.mdf file in the Solution Explorer and set its Copy to Output Directory property to Copy if newer.

Create a Template Document
Create a template document for receiving data from the data source. Each column in the worksheet will contain data from the corresponding field in the Suppliers data table. Hide rows 3 through 10.

Bind the Template to the Data Source
Populate the underlying SuppliersDataTable with data from the database using the Fill method of the SuppliersTableAdapter object.
Bind a cell range on the template worksheet to the created data source using the WorksheetDataBindingCollection.BindToDataSource method.
using System;
using System.Windows.Forms;
using DevExpress.Spreadsheet;
using SuppliersExample.NWindDataSetTableAdapters;
// ...
        NWindDataSet dataSet;
        SuppliersTableAdapter adapter;

        public Form1() {
            InitializeComponent();
            dataSet = new NWindDataSet();
            adapter = new SuppliersTableAdapter();
        }

        private void Form1_Load(object sender, EventArgs e) {
            // Populate the "Suppliers" data table with data.
            adapter.Fill(dataSet.Suppliers);
            IWorkbook workbook = spreadsheetControl1.Document;
            // Load the template document into the SpreadsheetControl.
            workbook.LoadDocument("Suppliers_template.xlsx");
            Worksheet sheet = workbook.Worksheets[0];
            // Load data from the "Suppliers" data table into the worksheet starting from cell "B12".
            sheet.DataBindings.BindToDataSource(dataSet.Suppliers, 11, 1);
        }
Result
Run the project. The following image shows the running application.
