Explorer Panel
- 4 minutes to read
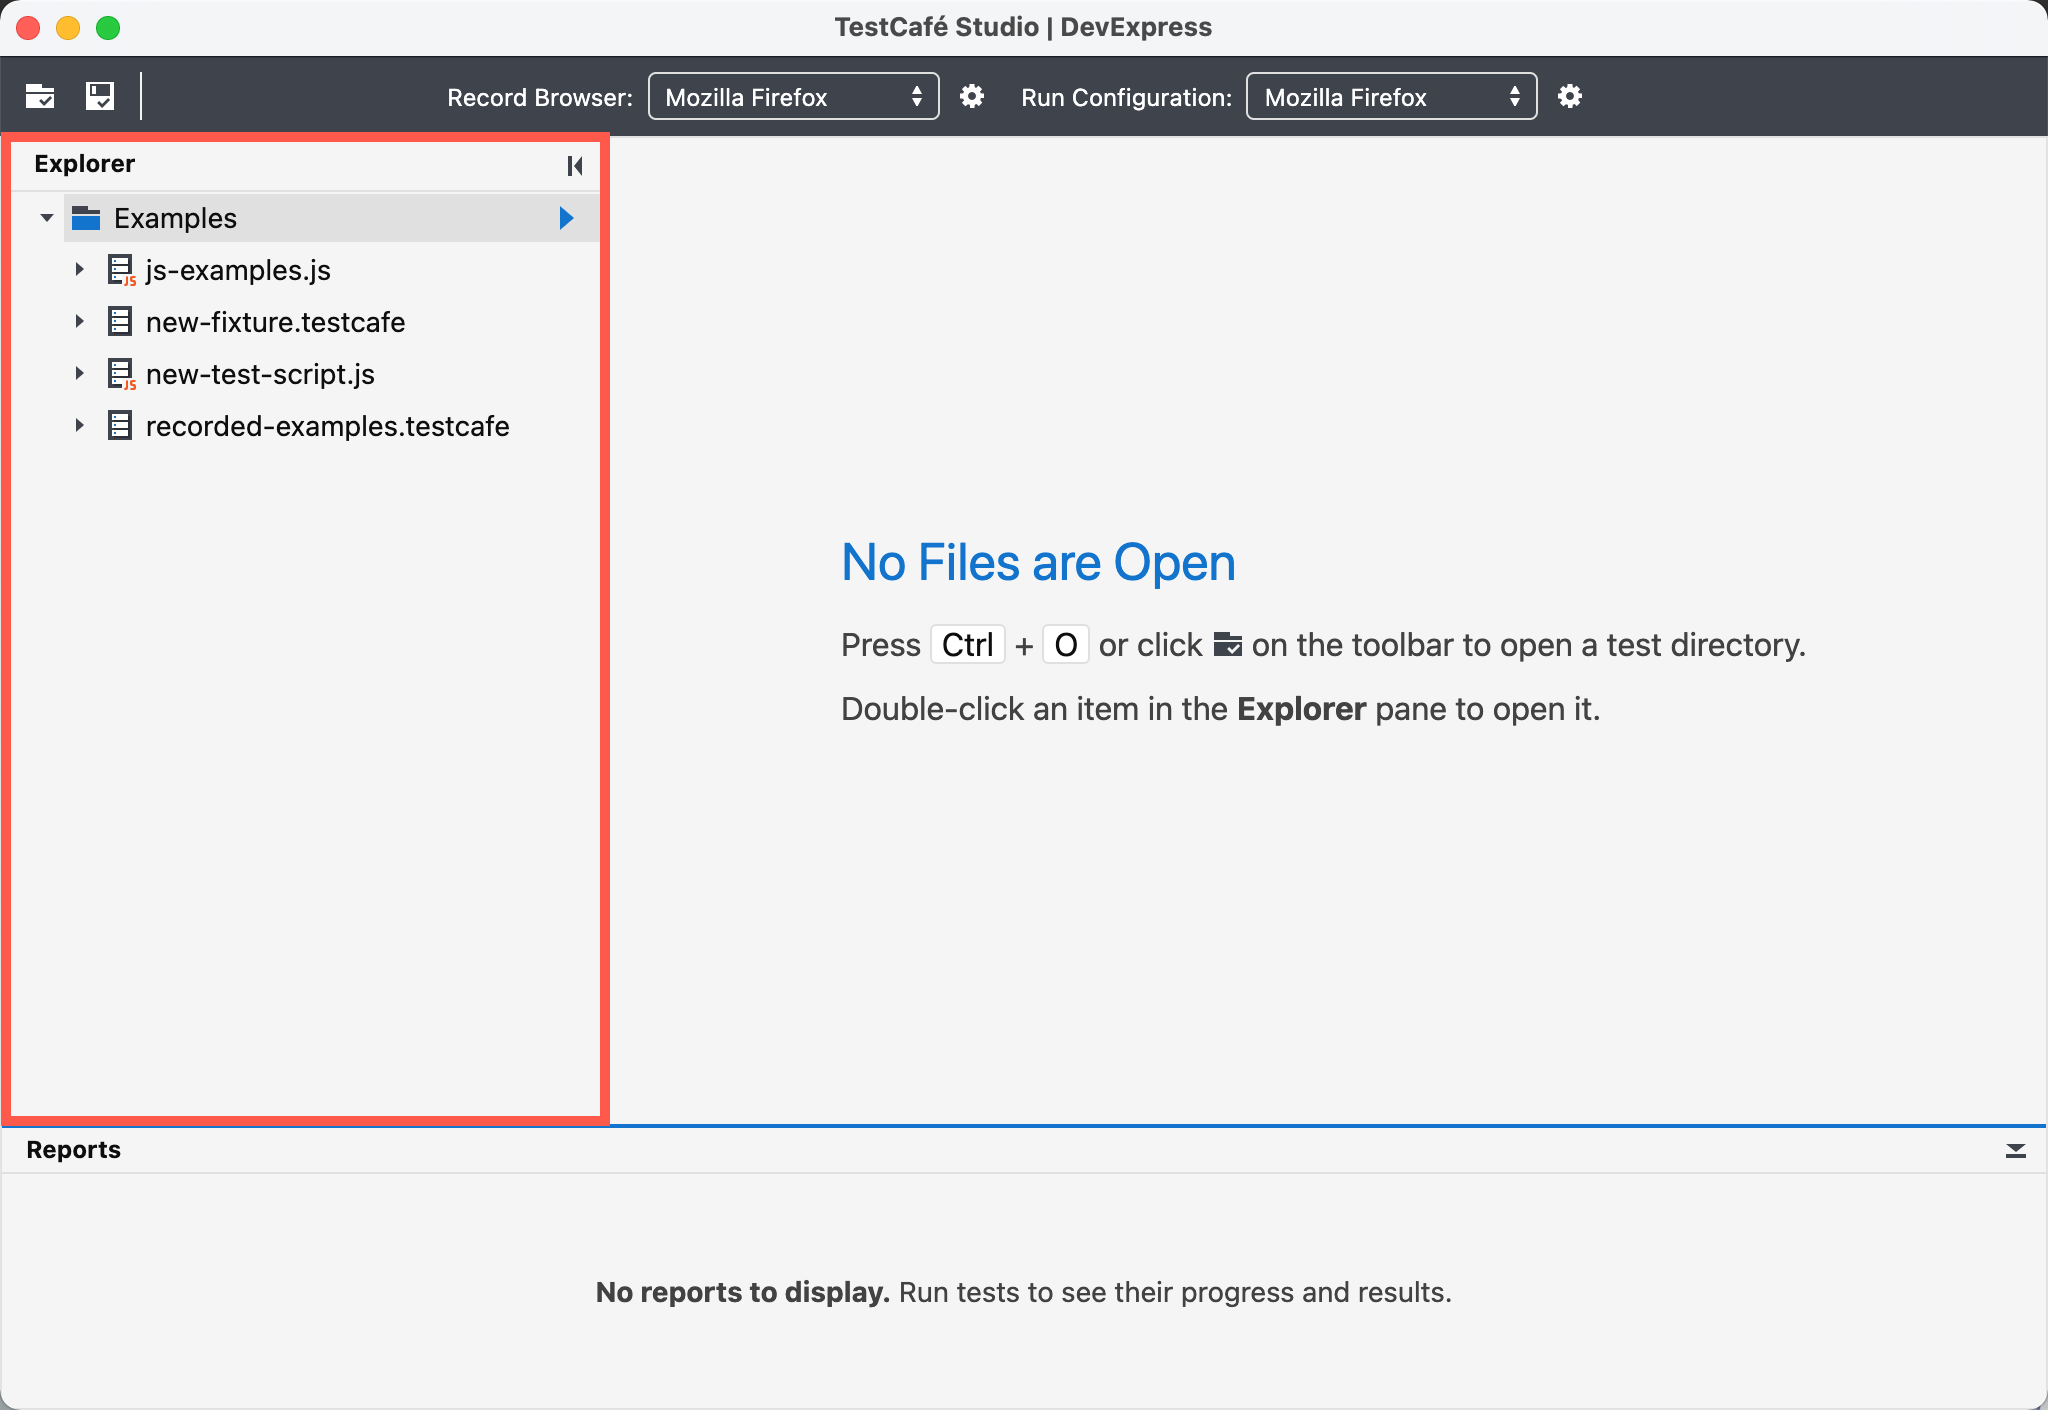
The Explorer panel allows you to view and manage files in your test directory.
The panel shows the directory’s content as a tree of subdirectories, files, and tests.

You can manage test directories, files, fixtures, and tests through context menus. The content of the context menu depends on the item.
Create a Directory
To create a new directory within an existing directory, right-click a directory entry and select  New Directory. Specify the directory name and click Create.

Create a New Fixture (Codeless Test File)
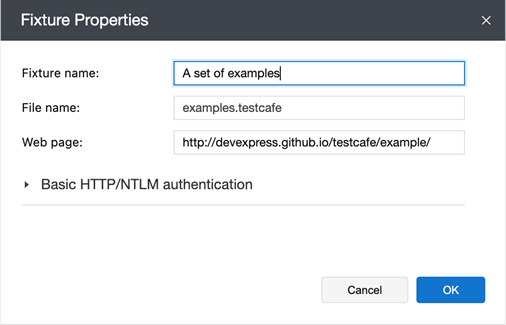
To create a new codeless fixture, right-click the destination directory and select the  New Fixture menu entry. This invokes the Fixture Properties dialog.

Specify the fixture’s properties and click Create.
Add a Codeless Test to a Fixture
Right-click the destination fixture and select  New Test. TestCafe Studio opens the New Test dialog.

Specify the test name and click Create. TestCafe Studio creates an empty test and opens it in the Codeless Test Editor.
Copy and Paste a Test or Hook
To copy a test or hook, do one of the following:
- Invoke the context menu for this item and select
 Copy from the context menu.
 - Select this item and press Cmd/Ctrl-C.
You can copy several tests at once, but you cannot copy more than one before each or after each hook.
To paste the items to a fixture, do one of the following:
- Right-click the destination file or fixture, and select
 Paste from the context menu.
 - Select a fixture or file, and press Cmd/Ctrl-V.
Create a Test Script
Right-click the destination directory and select  New Test Script. Specify the file name, the extension, and click Create.

The Code Editor opens the new file.
Create a File
To create a new file, right-click the destination directory and select  New File. Specify the file name and click Create.

The Code Editor opens the new file.
Add a Hook to a Fixture
To add an empty hook to a fixture, right-click the fixture and select Add ‘before each’ hook or
Add ‘after each’ hook.

Copy Actions to a Hook
Invoke a test’s context menu and select Copy actions to ‘before each’ hook or
Copy actions to ‘after each’ hook to copy all actions of the test to a hook.

TestCafe Studio appends these actions to an existing hook, or creates a new hook if none exists.
Run Tests
To launch any test item (test, fixture, or directory), hover the item entry. Click the ![]() Run test or
Run test or ![]() Run all tests button that appears next to this item.
Run all tests button that appears next to this item.
You can select multiple items and click the ![]() Run Tests button next to any one of them.
Run Tests button next to any one of them.

You can also right-click an item and select the ![]() Run Test command from the context menu.
Run Test command from the context menu.
Modify Fixture Properties
To edit fixture propeties, right-click a fixture and select  Edit. You can change the fixture name, file name, the test URL, and authentication credentials. Click OK to save your changes.

Rename Tests
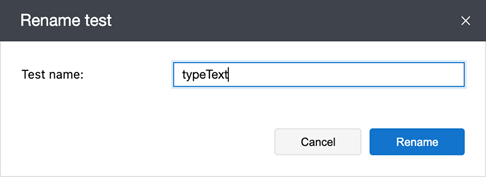
To rename a test, right-click it and select  Rename. The Rename test dialog appears. Enter the new name and click Rename.

Convert Codeless Tests to JavaScript
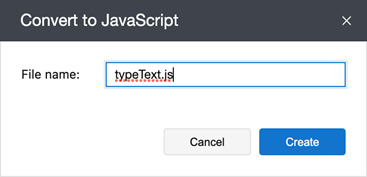
Right-click a codeless test and select Convert to JavaScript…. This invokes the Convert to JavaScript dialog. Specify the file name and extension, then click Create.

TestCafe Studio adds the test script file to the directory that contains the original test.
View Test Code
To open a test script file in the Code Editor, double-click its Explorer panel entry, or right-click it and select  Show Code.
Show Files in Windows Explorer/MacOS Finder
To view a fixture or directory in Windows Explorer and macOS Finder, right-click a fixture or directory and select  Show in Explorer/Finder/Files.
Delete Items
To delete a directory, file, codeless test, test script, or hook, right-click it and select  Delete. Click Yes in the confirmation dialog.
Note
The Delete command does not work with scripts’ test declarations. However, you can open the Code Editor and manually delete the corresponding code.
You can delete multiple items at once.
