Recording Panel
- 3 minutes to read
TestCafe displays the Recording Panel in the browser window when you record test scripts.

Click and drag the title bar to move the recording panel overlay.
Activate Tabs to switch between the default Recording mode and the Selector Inspector mode.
Pause the recorder to add an assertion to the test. When you click the Pause button, TestCafe Studio puts the recording on hold and hides tab contents.
Click either of the Recording Panel tabs or the Pause button to resume recording.
Action Recording Tab
When the Action Recording tab is active, the panel’s border is red.
The Action Recording tab features the following controls:
- The Action name field displays the name of the last action. See Record Scripts for the full list of actions that TestCafe Studio can record.
- The Selector input field helps you narrow down possible Selector queries. It contains a drop-down menu with the list of Selectors that match the target of your last action.

Test actions that interact with or examine page elements use Selector queries to identify their targets. The syntax of TestCafe Selector queries is similar to the CSS Selector syntax.
When you execute an action on a target element, the Action Recording Tab displays the action name and the target element’s selector. You can change the selector query within the input field or open the drop-down menu to pick a selector from the list of suggestions. TestCafe highlights all page elements that match that Selector.
TestCafe Studio synchronizes changes made within the Action Recording Tab with the test script in the Code Editor. However, if you first modify the action within the Code Editor, the further changes within the Action Recording tab will not be reflected within the Code Editor. TestCafe Studio does this to preserve manual code edits.
Customize your Selector Generation settings to influence the suggestions that TestCafe makes.
Read the TestCafe Selectors Guide for additional information.
If you manually edit action code, you can no longer use the Action Recording tab to modify that action’s Selector. The Selector you pick from the drop-down menu does not impact action code. TestCafe Studio does this to preserve manual code edits.
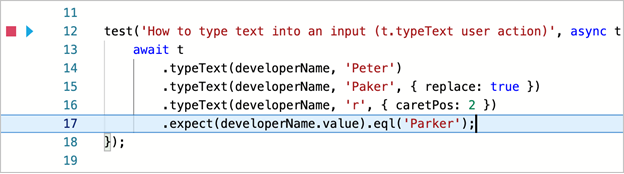
The Recording Destination Marker is visible when the Action Recording tab is active. It indicates the point at which TestCafe Studio inserts new action code. Drag the ![]() marker to move it up or down.
marker to move it up or down.

Selector Inspector Tab
When the Selector Inspector tab is active, the panel’s border is blue.
Use the Selector Inspector to generate Selectors for assertions and actions that TestCafe Studio can’t record (hover, takeElementScreenshot, etc).

The Selector Inspector tab features the following controls:
- A drop-down menu that contains Selectors.
- The Copy button. Copies your Selector pick to the clipboard.
- The Insert button. Pastes your Selector pick into the script.

When you activate the Selector Inspector mode, TestCafe pauses the recording.
When you click a page element, TestCafe generates multiple Selectors that match it, and populates the Selector Picker drop-down list. Open the drop-down to view a list of matching Selectors and pick one that you like. TestCafe highlights all page elements that match that selector.
TestCafe copies the selector to the clipboard when you do any of the following:
- Click a page element
- Pick a selector from a drop-down list
- Click the
Copybutton
Press the Insert button to paste the Selector into the current cursor position highlighted by the Paste Destination Marker.