Unbound Mode
In unbound mode, the ASPxImageSlider control is not bound to any data source or folder, and you can populate it with items manually.
You can create items manually at design time with the ASPxImageSlider Items Editor, or directly within an aspx file.
Click one of the following to invoke this dialog:
- the ellipsis button corresponding to the Items property in the Properties window;
- the Items… link at the bottom of the Properties window;
- the Items… link in the ASPxImageSlider smart tag.
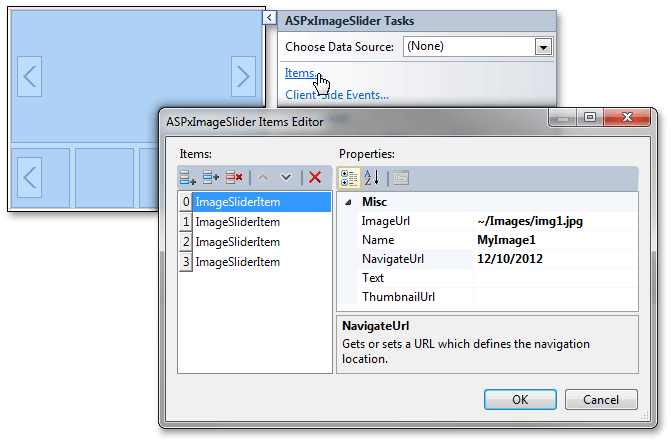
The Items Editor dialog allows you to add, delete and rearrange items, and access and customize item settings. The dialog is shown in the image below.
When the OK button is clicked, the aspx code that adds the created item structure is generated. The code is listed below.
You can write similar code to create items directly in an aspx file.
<dx:ASPxImageSlider ID="ASPxImageSlider1" runat="server" >
     <Items>
          <dx:ImageSliderItem ImageUrl="~/Images/img1.jpg" Name="MyImage1" NavigateUrl="12/10/2012" />
          <dx:ImageSliderItem ImageUrl="~/Images/img2.jpg" Name="MyImage2" NavigateUrl="11/11/2012" />
          <dx:ImageSliderItem ImageUrl="~/Images/img3.jpg" Name="MyImage3" NavigateUrl="12/11/2012" />
          <dx:ImageSliderItem ImageUrl="~/Images/img4.jpg" Name="MyImage4" NavigateUrl="12/12/2012" />
     </Items>
</dx:ASPxImageSlider>