Lesson 1 - Show the Print Preview for a Link
- 2 minutes to read
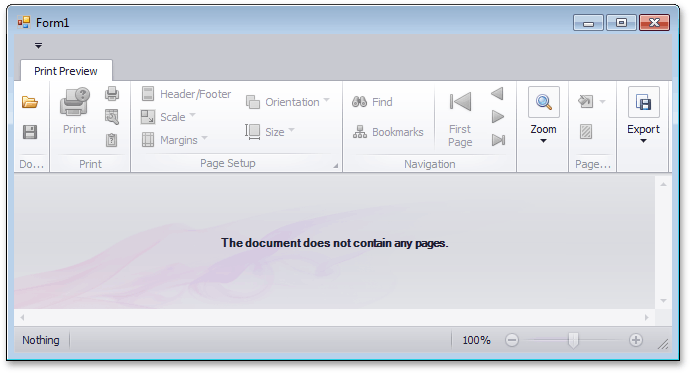
This lesson illustrates how to create a basic printing link that creates an empty document, and how to create a Print Preview in a Windows Forms Application to show this document.
To create a Print Preview and show a document in it, do the following.
- Create a new Windows Forms Application in Visual Studio.
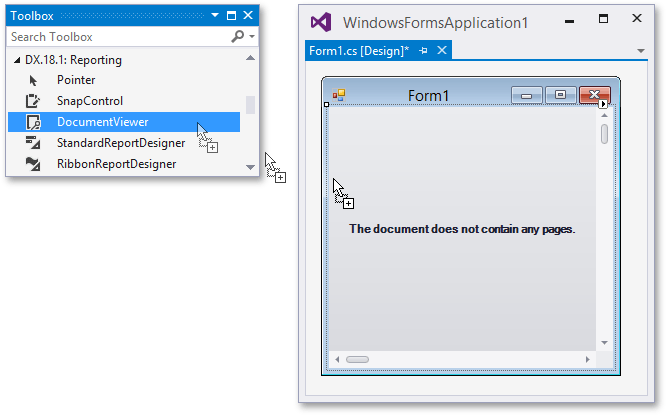
To add a print preview to your application, switch to the application’s main form in Visual Studio, and press CTRL+ALT+X to run the Toolbox. Expand the DX.26.1: Reporting category and drop the DocumentViewer control onto the form.
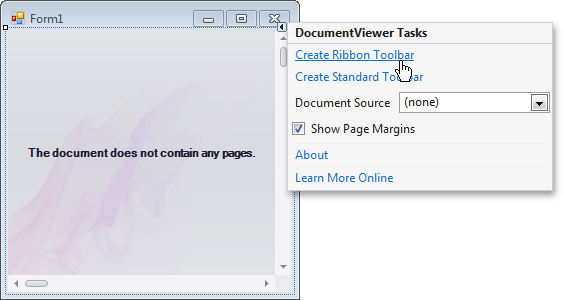
Click the smart tag of the control, and in the invoked actions list, select a toolbar that matches the user interface style of the rest of your application. In this tutorial, the ribbon toolbar is preferred over the minimal bar interface.
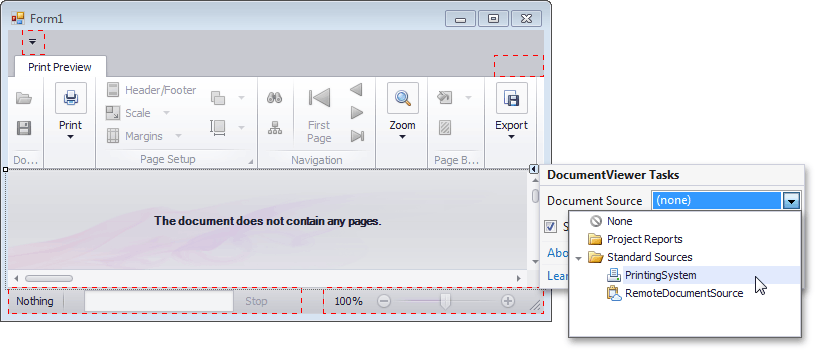
To assign a document source to the control, click its smart tag again. In the drop-down menu of the DocumentViewer.DocumentSource property, expand the Standard Sources category and select PrintingSystem.
Press F7 to switch to the code view, and declare a new public class (called Lesson1), inherited from the Link class.
using DevExpress.XtraPrinting; // ... public class Lesson1 : Link { public Lesson1(PrintingSystem ps) { CreateDocument(ps); } }Each subsequent lesson will create a class derived from the class created in the preceding lesson. Calling the Link.CreateDocument method will generate a document after making changes to it in code.
Handle the main form’s Load event and add the following code to the event handler.
using System; using System.Windows.Forms; using DevExpress.XtraPrinting; // ... private void Form1_Load(object sender, System.EventArgs e) { Lesson1 lesson = new Lesson1(printingSystem1); }In this code, the Printing System of the Document Viewer is passed, and assigned to the created printing link.
Launch the application and view the result.