How to: Create Nodes in Unbound Mode at Design Time
- 2 minutes to read
This tutorial shows how to create nodes at design time in unbound mode using the Tree List Designer.
Step 1. Creating Columns
Columns should be created before nodes. To create columns at design time, invoke the Tree List Designer and switch to the Columns page. Use the buttons at the top of this page to add, insert and delete columns.

In unbound mode, you can use the TreeListColumn.UnboundDataType property to specify the type of data the columns display. For instance, setting a column’s TreeListColumn.UnboundDataType property to int prevents an end-user from entering string data within the column. Only integer values are accepted. When the property’s value is modified, the Tree List tries to automatically convert the column’s current values to the new type.
Step 2. Creating Nodes
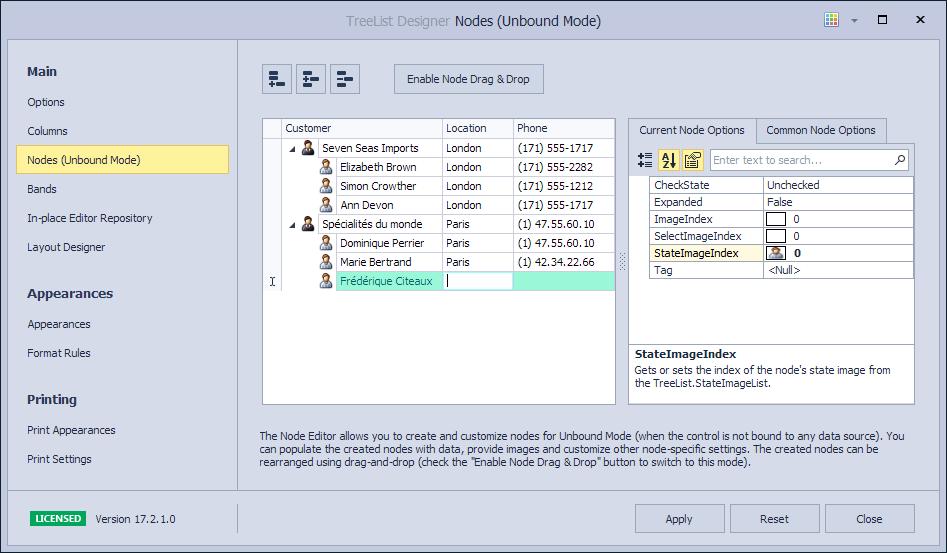
Switch to the Nodes (Unbound mode) page in the Tree List Designer. To add or delete nodes, use the corresponding buttons at the top of this page.
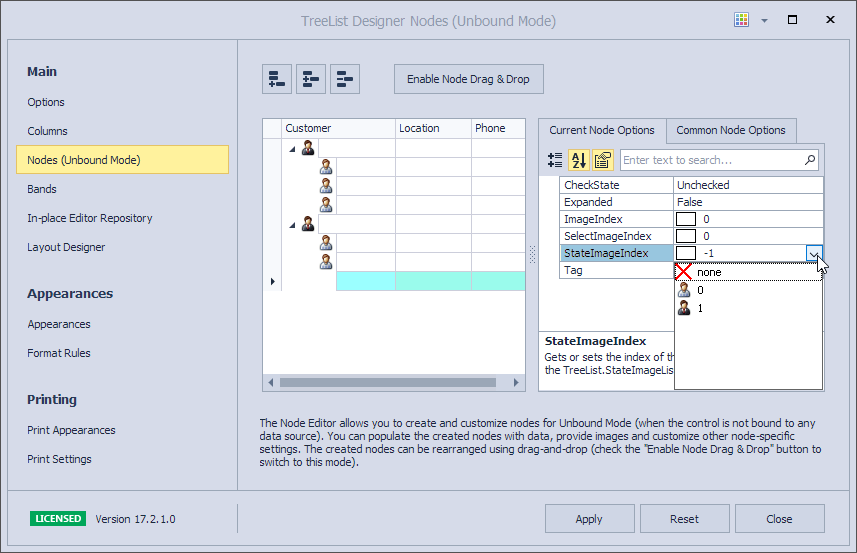
This dialog also allows the state and select images to be assigned to nodes. In the current example, state images are assigned to nodes. Ensure that the state images’ sources are specified using the Tree List’s TreeList.StateImageList property beforehand. Otherwise, the “State Image” combo box is disabled.
Here, you can also edit node cells and change the column layout.
When the Apply button is clicked, the code that adds the created nodes to the TreeList.Nodes collection is generated. This code is then added to the InitializeComponent method.
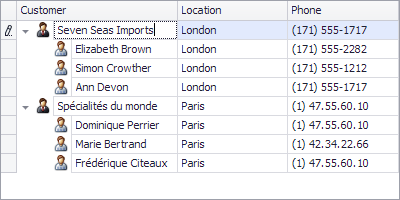
The following image shows the result: