Layout Customization
- 2 minutes to read
This topic explains how to use the auto-layout feature, as well as details how it affects gauge resizing.
Auto-Layout Feature
Auto-layout specifies how gauges are arranged within a Gauge Control.
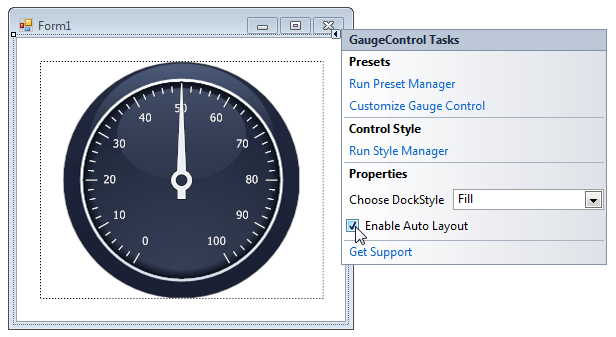
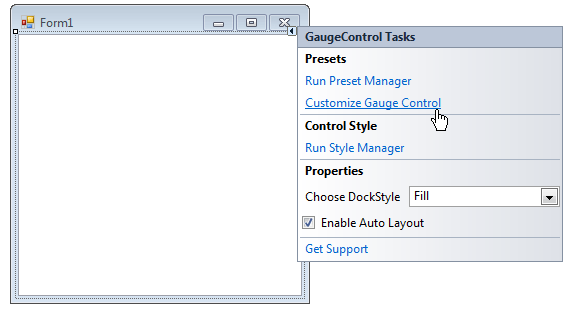
You can customize a gauge layout at design time using the gauge control designer. To do this, locate the gauge control’s smart tag on the form and select Customize Gauge Control, as shown below.
Note
By default, auto layout is enabled.
In the invoked Visual Gauge Control Designer, select the gauge you would like to add to the gauge control on the right side of the designer, and click the Add button.
The following image demonstrates the process of adding circular, linear and digital gauges into the gauge control.
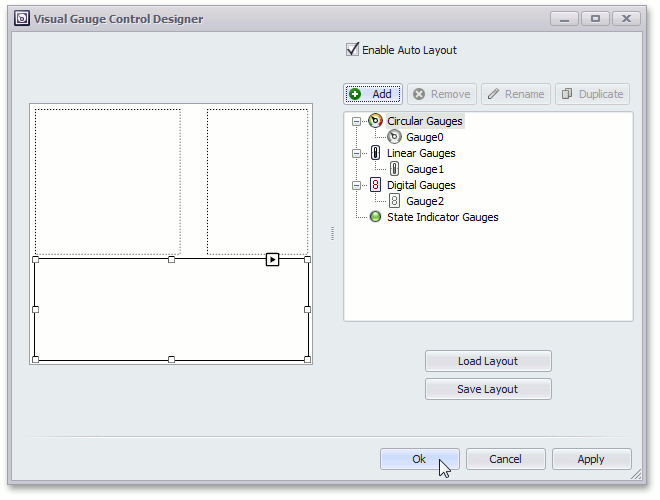
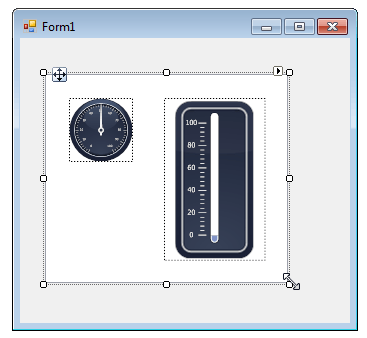
As you can see from the image above, if there is only one gauge in a Gauge Control, it’s centered within the control. If there are multiple gauges, they are automatically arranged next to each other, without overlapping.
To see each gauge on the form, you need to populate it with elements via the Gauge Designer.
The image below shows a possible result:
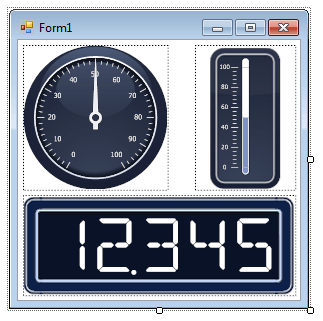
Vertical linear gauges are automatically positioned at the right edge of the Gauge Control (see the image above). Horizontal linear gauges and digital gauges are automatically positioned at the bottom of the Gauge Control. Other gauge types (circular and state indicator gauges) can occupy the remaining area.
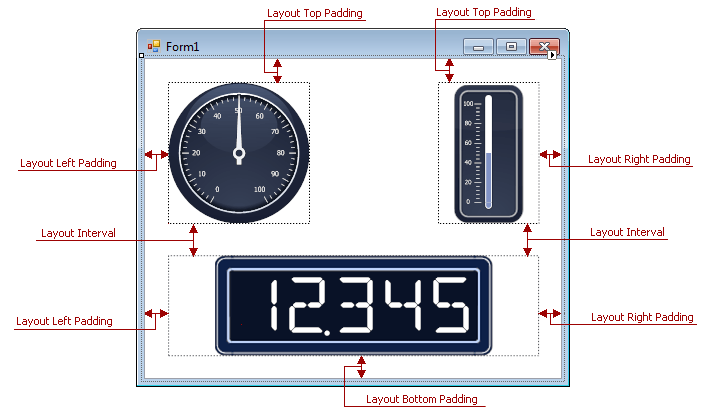
In the auto-layout mode, you can use the GaugeControlBase.LayoutPadding and GaugeControlBase.LayoutInterval properties to arrange gauges within a gauge control.
The following image illustrates how layout properties affect the gauge position on the windows form.
Also, you can change the gauges layout properties in the Gauges Layout tab of the Style Manager.
Gauge Resizing
The auto-layout feature also provides automatic resizing of gauges while you change the size of a gauge control, keeping their proportions.
But, when you change the size of gauges, this automatically deactivates the auto-layout feature.
To re-enable the auto-layout for a gauge, you can set the control’s GaugeControlBase.AutoLayout property to true. You can also enable this feature by checking the Auto Layout check box in the Gauge Control’s tag menu.