Use DevExpress Visual Studio Templates to Create an ASP.NET Web Forms Reporting App with a Report Designer
- 3 minutes to read
This tutorial describes how to use the DevExpress Template Gallery to generate a basic ASP.NET Web Forms application that contains an End-User Report Designer.
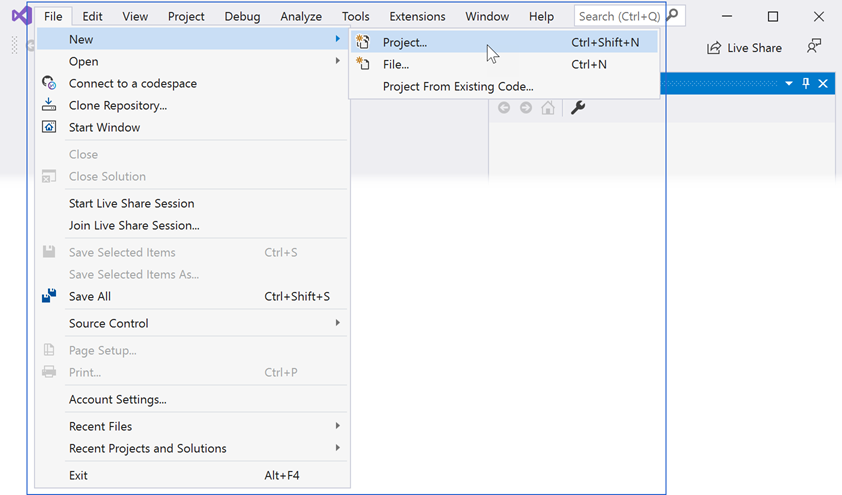
Select FILE | New | Project in the main menu or press CTRL+SHIFT+N to create a new project.
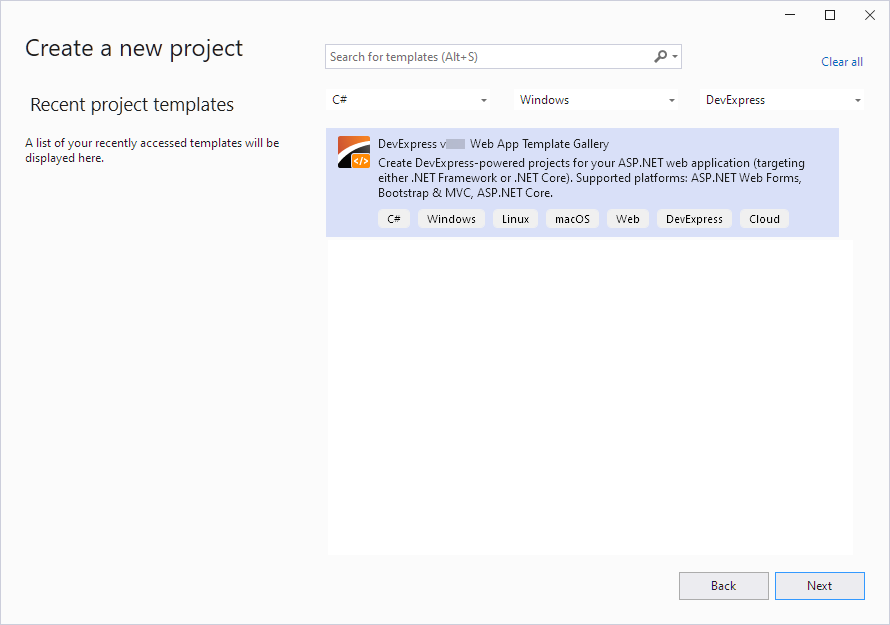
Select the DevExpress v25.2 Web App Template Gallery, and click Next:
Specify a project name and location, and click Create:

Select Reporting Web Application from the ASP.NET WebForms category in the invoked DevExpress Template Gallery and click Run Wizard.

Set Add Designer Page to true to add a page with the Report Designer control to the web application.
Tip
You can add a Web Document Viewer and a Report Designer to the application.
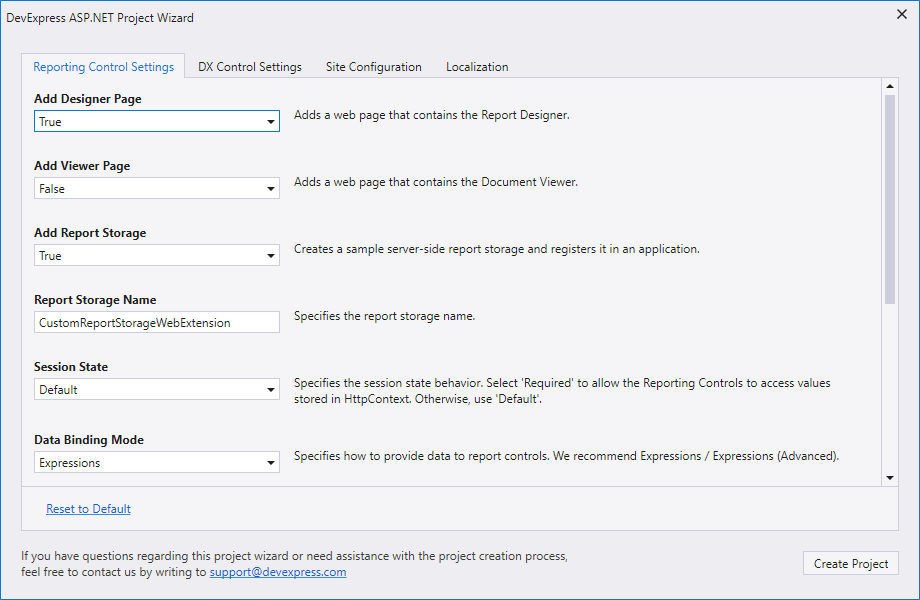
Use the following Report Designer settings:
- Add Report Storage
- Specifies whether to create a sample server-side report storage. This storage allows you to open report layout files (REPX) from the Reports folder and instances of report types predefined in the assembly. In Visual Studio, you can customize any reports included in the assembly. If you modified a report in the Web Report Designer, it is saved to the corresponding REPX file in the Reports folder.
Note
The template generates a sample storage (a ReportStorageWebExtension descendant) for demonstration purposes only. Create your own implementation for use in production.
- Report Storage Name
- Specifies the report storage class name.
- Session State
- Specifies the type of session support to handle requests. Choose Required to enable the Report Designer to access values stored in HttpContext.Session.
- Data Binding Mode
- Specifies the data fetch mode for report controls. You can switch between legacy binding mode and expression bindings.
- Add Sample Database
- Specifies whether to create a sample connection string and register it in the Report Designer to create SQL Data Sources in the Report Wizard and Data Source Wizard. The connection string is also used to register a predefined data source.
- Add Sample JSON Data Connection Storage
- Specifies whether to create a storage and register it to create JSON Data Sources in the Report Wizard and Data Source Wizard. For the storage to work correctly, set the Session State setting to Required and ensure that the System.Text.Json package is installed for .NET Framework projects. .NET projects do not require manual installation of the System.Text.Json package, as it is already included in the .NET environment. Set the
DevExpress.DataAccess.Native.Json.JsonLoaderHelper.ProcessingLibraryproperty toNewtonsoftJsonto use the Newtonsoft.Json library instead. Then, install the Newtonsoft.Json NuGet package. - Add Sample Data Object
- Specifies whether to add a sample data object to an application and register this data object to create Object Data Sources in the Report Wizard and Data Source Wizard.
- Enable Rich Text Editor
- Specifies whether to add an in-line Rich Text Editor for the RichText control.
Click Create Project to apply these settings to the project.