How to: Add a Print Preview to a Windows Forms Application
- 2 minutes to read
This document describes the steps required to add print preview to a Windows Forms Application to display printable documents from different sources.
Important
To use the DocumentViewer control (or to customize DevExpress Reporting UI controls) in a WinForms application, you need a subscription that includes DevExpress WinForms UI Controls: WinForms, DXperience, or Universal.
With the DevExpress Reporting Subscription, you can only use the ReportPrintTool and ReportDesignTool classes to display Print Preview and the End-User Report Designer dialogs.
For more information, refer to: Installation - Subscriptions that Include Reporting Components.
Follow these steps to create a print preview:
Run Visual Studio and create a new Windows Forms Application.
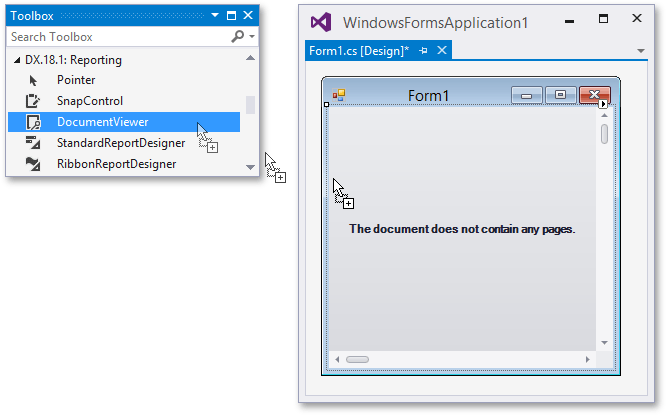
To add a print preview to your application, switch to the application’s main form in Visual Studio, and press CTRL+ALT+X to open the Toolbox. Drag the DocumentViewer control from the DX.26.1: Reporting category and drop it onto the form.
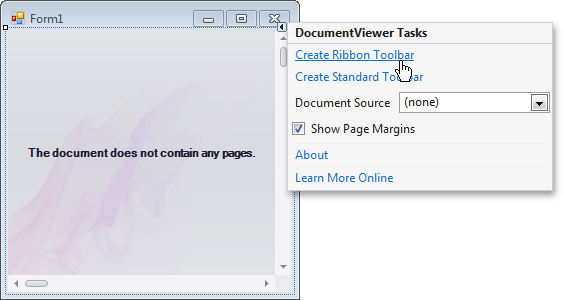
Click the control’s smart tag and select a toolbar that matches your application’s user interface style. This tutorial uses the Ribbon toolbar.
The Document Viewer uses a separate asynchronous task to create a document for preview. Asynchronous document creation does not lock other tasks performed in the application. For instance, the user interface remains responsive. To disable this behavior, set the Document Viewer’s UseAsyncDocumentCreation property to False.

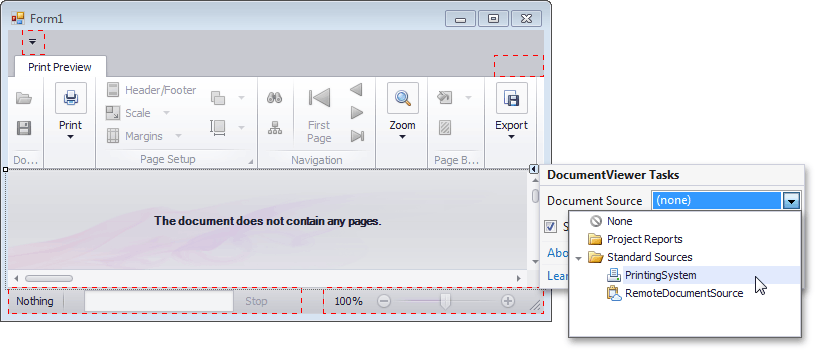
To assign a document source to the Document Viewer, click its smart tag again and select an item from the DocumentViewer.DocumentSource property’s drop-down list.
To learn how to assign different document sources, refer to the following topics:
Optional. Enable the DirectX Hardware Acceleration. Refer to the viewer’s UseDirectXPaint property description for more information.
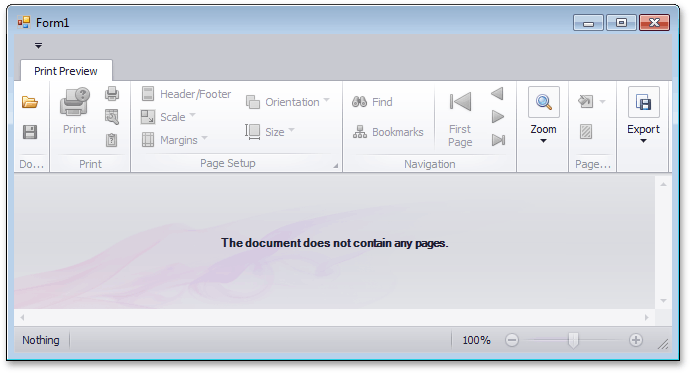
The following image illustrates a Document Viewer with no document source assigned to it.