How to: Bind a Report to an MS SQL Server Database
- 2 minutes to read
This tutorial describes how to bind a report to a Microsoft SQL Server.
To bind a report to a Microsoft SQL Server, do the following.
- Start Microsoft Visual Studio 2012, 2013, 2015, 2017 or 2019, and create a new Windows Forms Application, or open an existing application.
- Drop the SnapControl from the DX19.1: Reporting Toolbox tab onto the application’s main form.
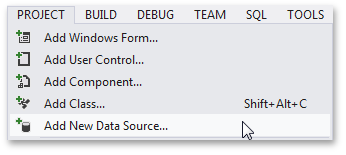
Next, open the PROJECT menu and click the Add New Data Source… command.
In the invoked Data Source Configuration Wizard, select Database and click Next.

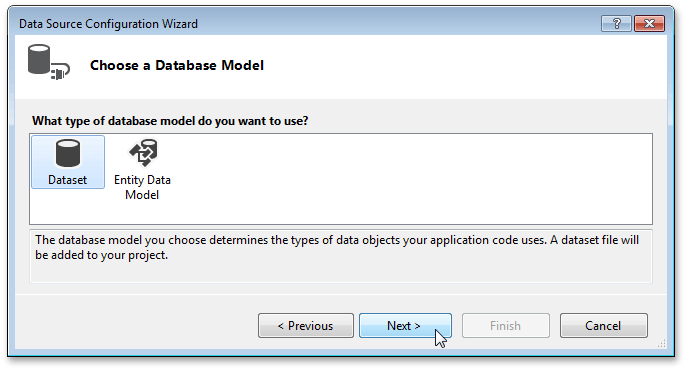
Select Dataset to specify the type of database model, and click Next.
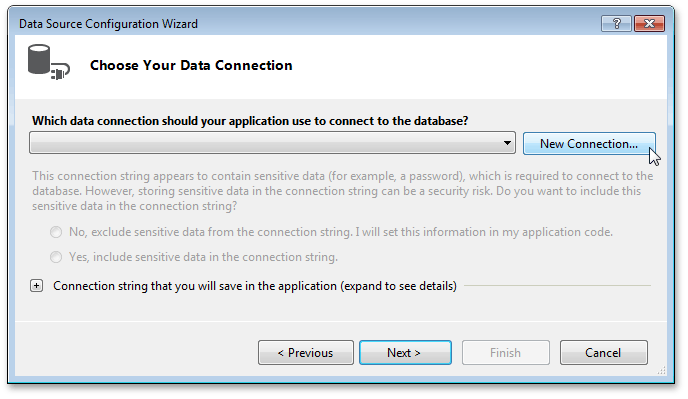
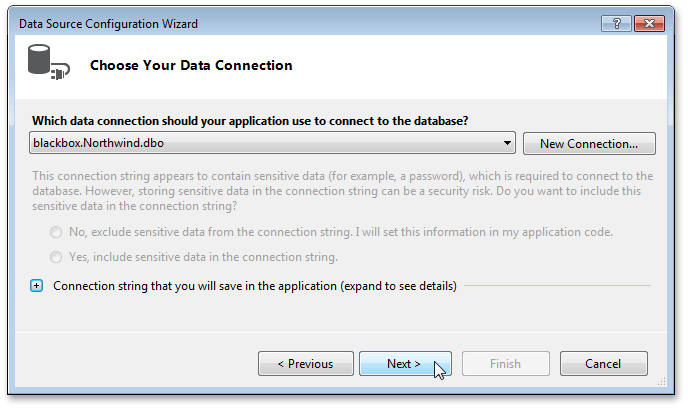
On the next page, click New Connection… to specify which data connection should be used.
In the invoked Add Connection dialog, set your data source to Microsoft SQL Server, choose the server name from the drop-down menu and specify the database name.
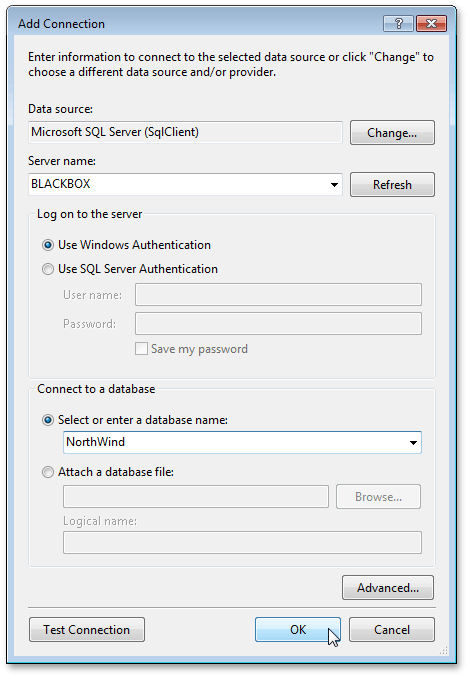
Click OK to apply the changes. In the Data Source Configuration Wizard, click Next.
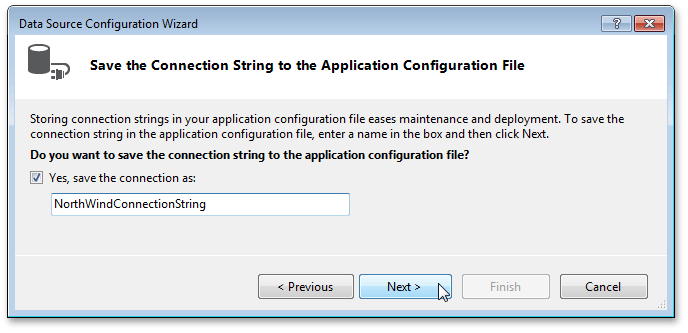
Click Next on the following page to save the newly created connection string to the configuration file.
The final wizard page allows you to choose which tables to obtain from the database. After this step, click Finish.

Next, connect the application to data by handling the Load event of the application’s main form and adding the following code to the event handler.
using System;
using System.Windows.Forms;
using BindToSQL.NorthWindDataSetTableAdapters;
// ...

private void Form1_Load(object sender, EventArgs e) {
    NorthWindDataSet ds = new NorthWindDataSet();
    var products = new ProductsTableAdapter();
    products.Fill(ds.Products);

    snapControl1.Document.DataSource = ds;
}
The Snap application is now ready. Run it to create your report.
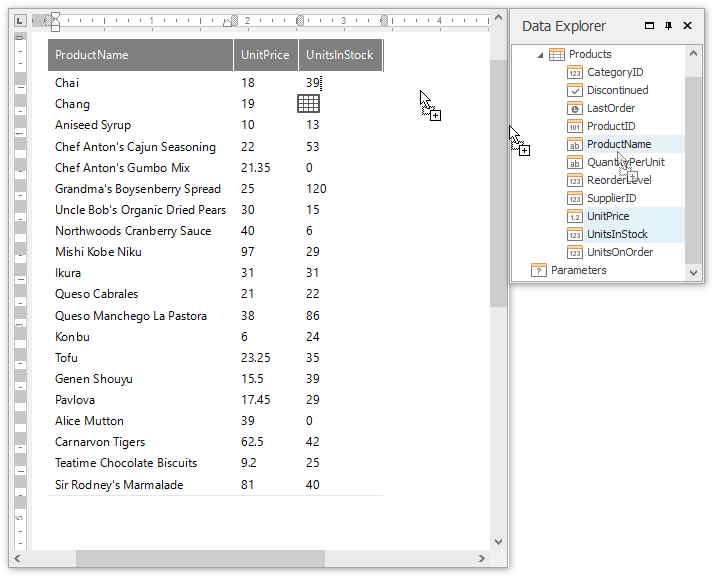
To design the report layout, drop fields from the Data Explorer onto the report editing surface.