Create a Blazor Web App in VS Code
- 3 minutes to read
This help topic contains step-by-step instructions on how to create and run a Blazor Server web application with DevExpress components in Visual Studio Code.
Create and Run a Project
- Open Visual Studio Code and switch to the Explorer view.
- Click the New DevExpress Project button.
- Specify the project name and press Enter.
- Select a project location and click the Select Folder button.
Click Blazor in the left pane of the Template Kit window.
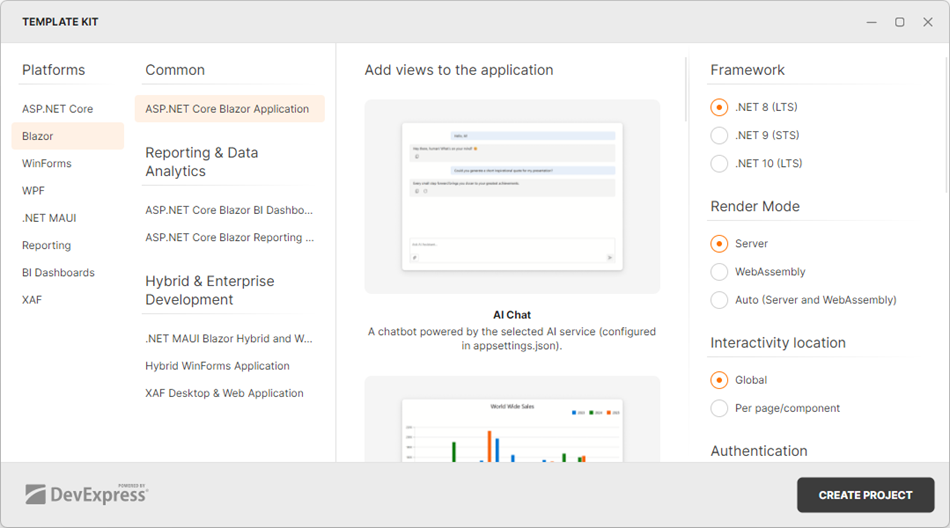
Click the Create Project button and wait for the project to open in Visual Studio Code.
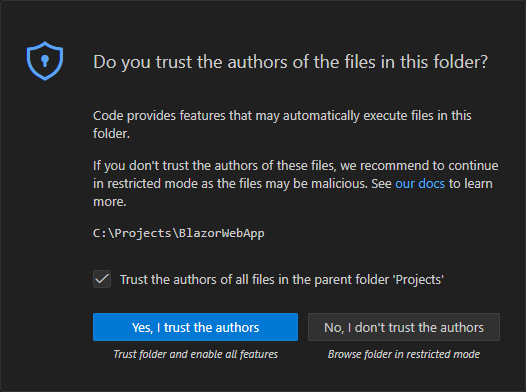
If prompted, trust the project folder to unlock all features.
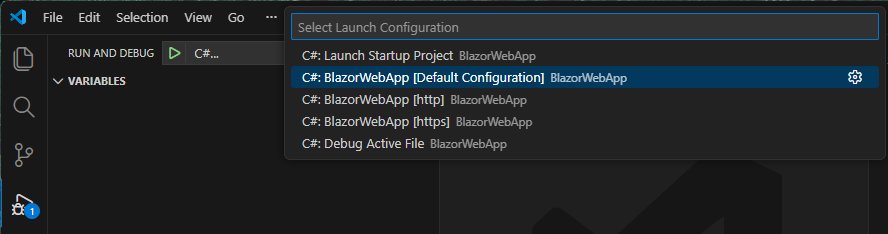
Open the Run and Debug view.
Select “C#…” from the dropdown and then select “C#: BlazorWebApp [Default Configuration]”.
Click the Start Debugging button.
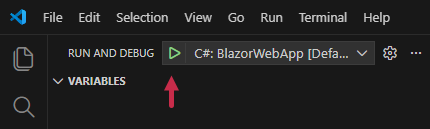
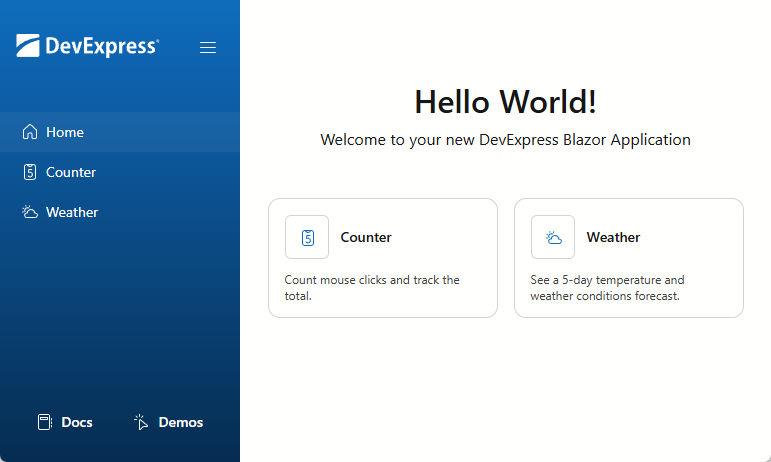
Visual Studio Code builds the project, and automatically opens the app’s home page in a web browser.
Add a DevExpress Blazor Component to the App
To get acquainted with the project structure, add a simple DevExpress Blazor component (Calendar) to the app and see it in action:
- Switch to the Explorer view.
- Create and open
Calendar.razorfile under Components → Pages. Define a component as a routable page that can handle requests from
http://localhost:####/calendar. Use the following directive:@page "/calendar"The DevExpress Calendar for Blazor does not support static render mode. Enable interactivity:
@rendermode InteractiveServerAdd a page title and heading text:
<PageTitle>Calendar</PageTitle>
<h1>Calendar</h1>
Add the DxCalendar component to the page. Bind the component to the
SelectedDatevariable to test interactivity.<DxCalendar @bind-SelectedDate="@SelectedDate" /> <p><b>Selected date:</b> @SelectedDate.ToLongDateString()</p> @code { DateTime SelectedDate { get; set; } = DateTime.Now; }Add a link to the page in the application’s sidebar. Open the Components → Layout → NavMenu.razor file and add a new DxMenuItem:
<DxMenuItem NavigateUrl="/calendar" Text="Calendar" CssClass="@MenuItemCssClass("/calendar")" IconCssClass="icon icon-demos" />Open the Run and Debug view and re-run the project.
Full code:
@page "/calendar"
@rendermode InteractiveServer
<PageTitle>Calendar</PageTitle>
<h1>Calendar</h1>
<DxCalendar @bind-SelectedDate="@SelectedDate" />

<p><b>Selected date:</b> @SelectedDate.ToLongDateString()</p>

@code {
    DateTime SelectedDate { get; set; } = DateTime.Now;
}