Create a Swiss QR Bill
- 3 minutes to read
This tutorial demonstrates how to design a report similar to the Swiss QR Bill demo. You can view the online or desktop demo (the DevExpress Demo Center should be installed).
Tip
The How to Create a Custom DevExpress Report Control - Swiss QR Bill Implementation GitHub project illustrates how to implement a custom SwissQRBill control.
Add a Report
To get started with this tutorial, open an existing reporting application or create a new application. You can review the following section that explains how to create a reporting application on different platforms: Add a Report to Your .NET Application.
Add a new blank report to your application.
Select the report on the Report Designer’s surface and switch to the Properties window. Set the following properties:
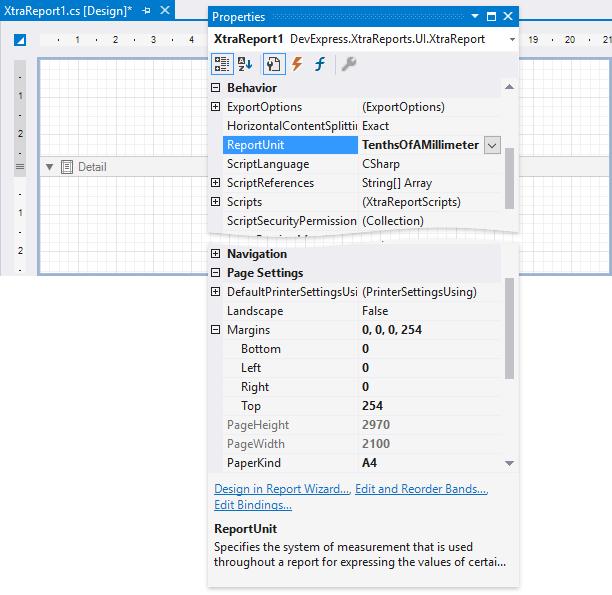
Set the report’s Page Settings | PaperKind property to A4.
Set the report’s Behavior | ReportUnit property to TenthsOfAMillimeter.
Set the report’s Margins | Left, Bottom, and Right properties to 0.
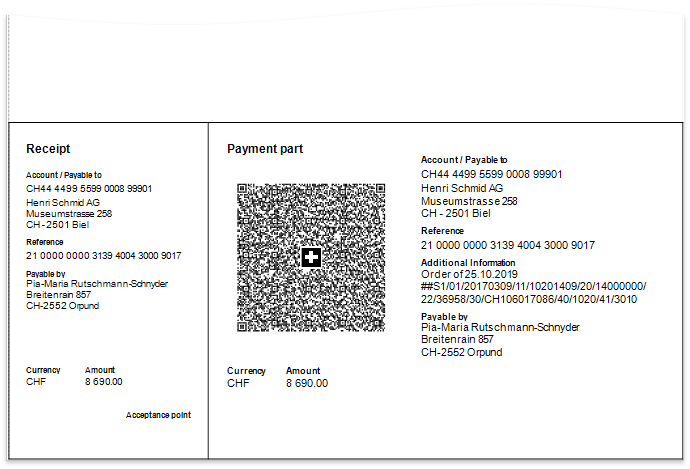
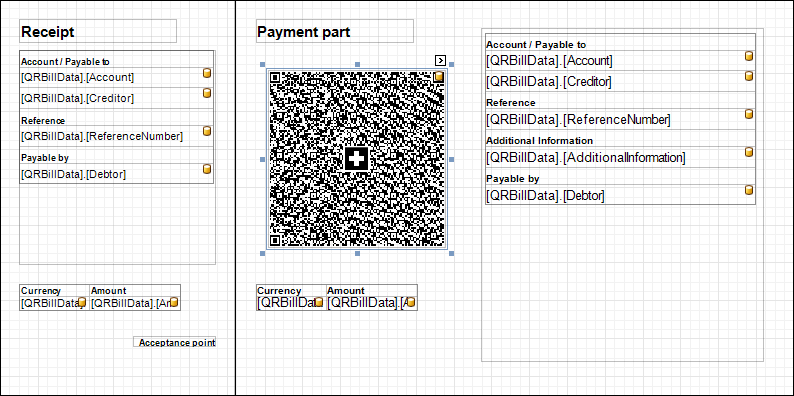
Add the QR-bill Payment Part and Receipt
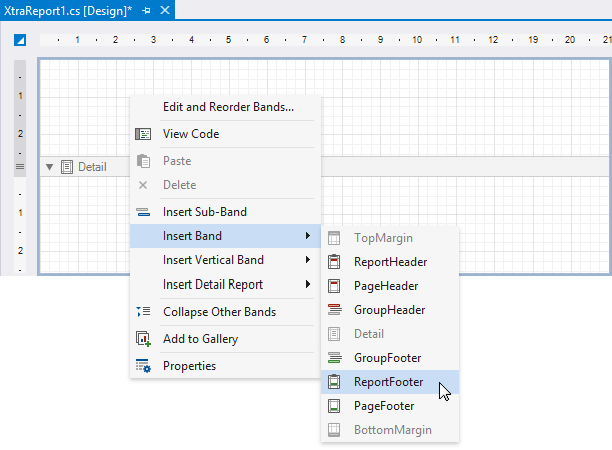
Add the Report Footer band to the report.
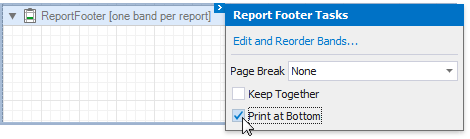
Enable the Report Footer band’s Print At Bottom property to display the band’s content at the bottom of report pages.
Add the XRPanel control to the Report Footer band’s bottom right-hand corner. The panel and report page’s bottom right corners should be at the same place.
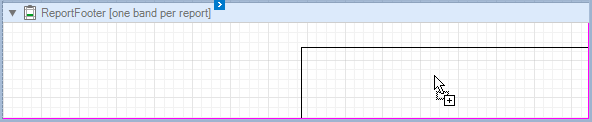
Set the panel’s Size | Height property to 1050 and the Size | Width property - to 1480. This size corresponds to A6 format.
Add one more XRPanel control to the Report Footer band’s bottom left-hand corner. The panel and report page’s bottom left corners should be at the same place.
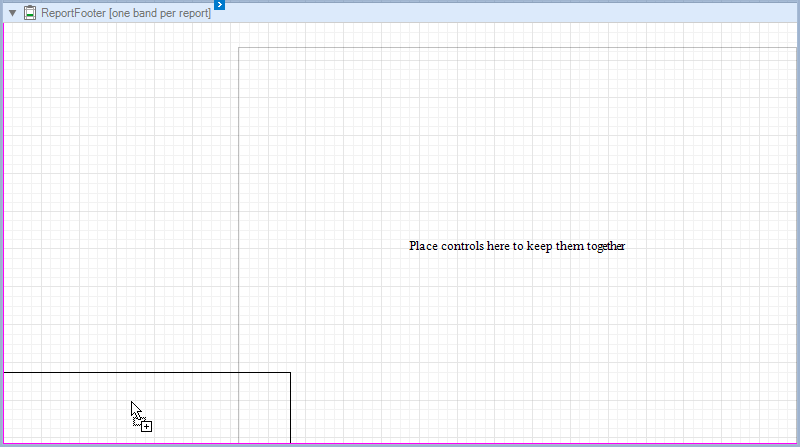
Set the panel’s Size | Height property to 1050 and the Size | Width property - to 620.
Disable the panels’ Behavior | CanGrow property to fix the panels’ size regardless their content.
Prepare Data Source
The QR payment part and receipt should contain account, creditor, and debtor information. Include this data in the report’s data source.
The Swiss QR Bill demo uses the BillDS business class as the report’s data source. Copy the SwissQRReportDataSource.cs/SwissQRReportDataSource.vb file with this class from the C:\Users\Public\Documents\DevExpress Demos 26.1\Components\Reporting\CS\DevExpress.DemoReports\SwissQRCode folder to your project to use this tutorial.
Save the project and build the solution.
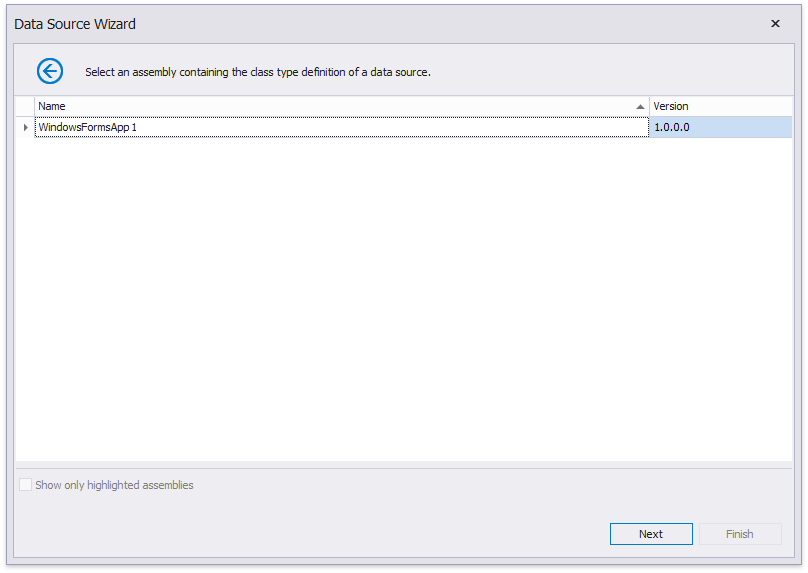
Run the Data Source Wizard to bind the report to the added class’ data.

Run the Data Source Wizard
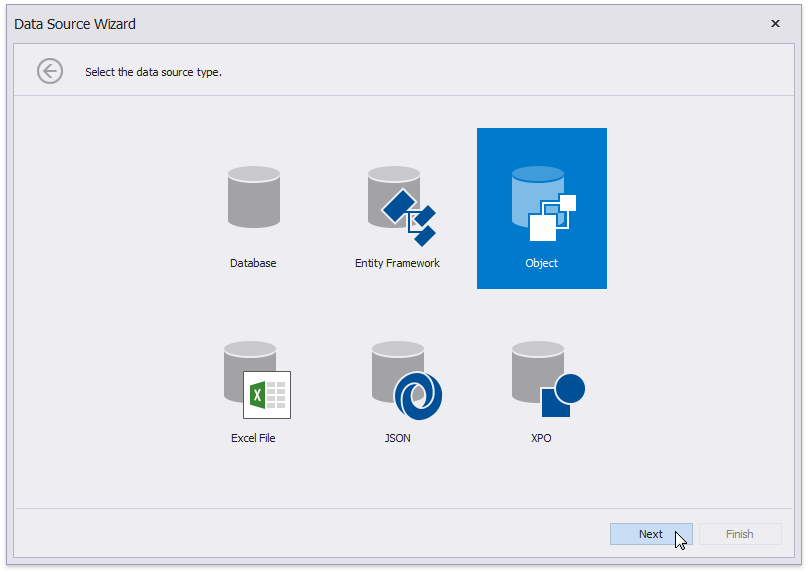
Select a Data Connection Type
Select the assembly that contains the class type to bind

Select the class type to bind
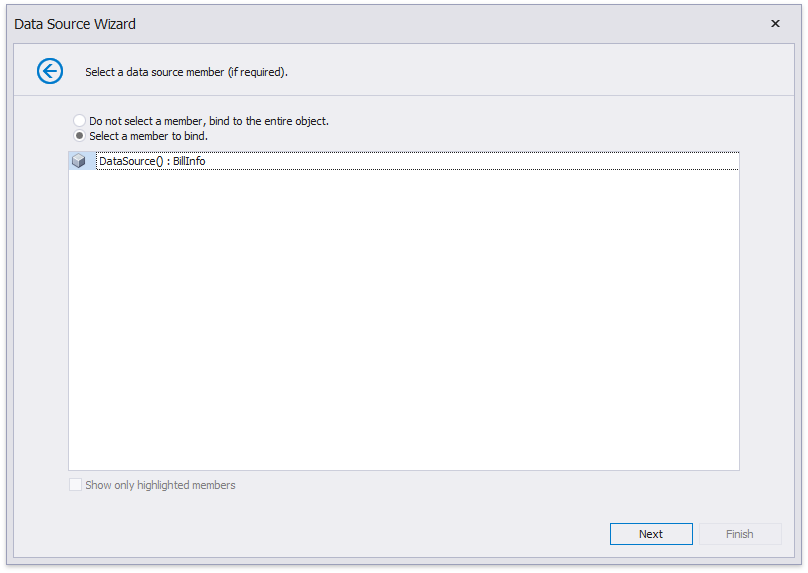
Select the class type’s member that provides data
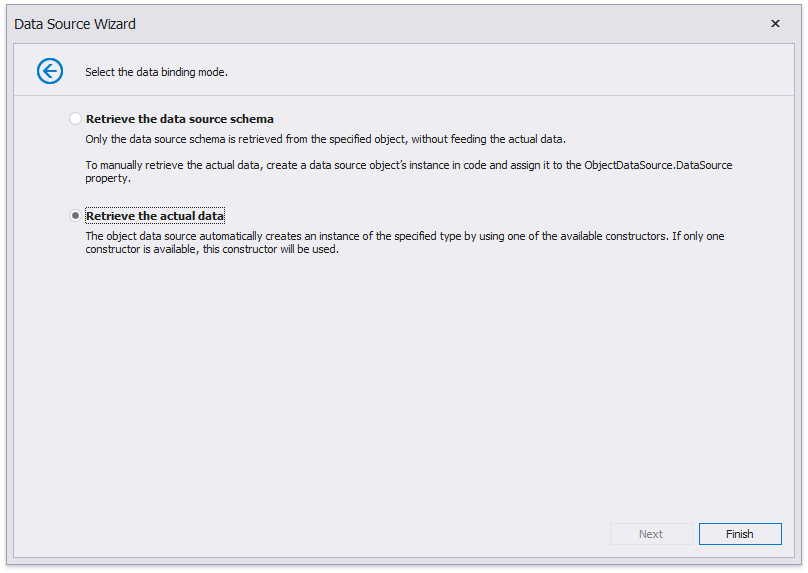
Select when to retrieve data
Add Report Controls
The receipt and QR payment part should include the following sections:
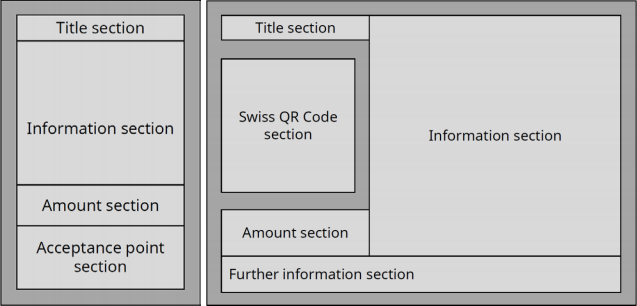
Use the following report controls for these sections:
| Section | Control |
|---|---|
| Title | XRLabel |
| Swiss QR Code | XRBarCode |
| Information | XRTable |
| Amount | XRTable |
| Acceptance point | XRLabel |
Arrange these controls on the report’s panel and apply font settings according to the QR bill guidelines.
Bind the table cells to the data source fields.
Do the following to set up the XRBarCode control:
Bind the XRBarCode control (set its Text property) to the demo data source’s [QRBillData].[QRCodeData] field. This field provides data prepared in code.
Set the Size | Width and Height properties to 460. (The guidelines recommend 46 x 46 mm).
Set the following properties:
Set the QRCode-specific properties in the Symbology group:
- Compaction Mode - to Byte,
- Error Correction Level - to M,
- Version - Version 25 (117x117),
- Logo - the Swiss cross logo. Download this logo from Payment Standardization in Switzerland.
- Include Quiet Zone - to false.
View the Result
Switch to Preview to see the result: