Create an Interactive E-Form in the Visual Studio Report Designer
- 5 minutes to read
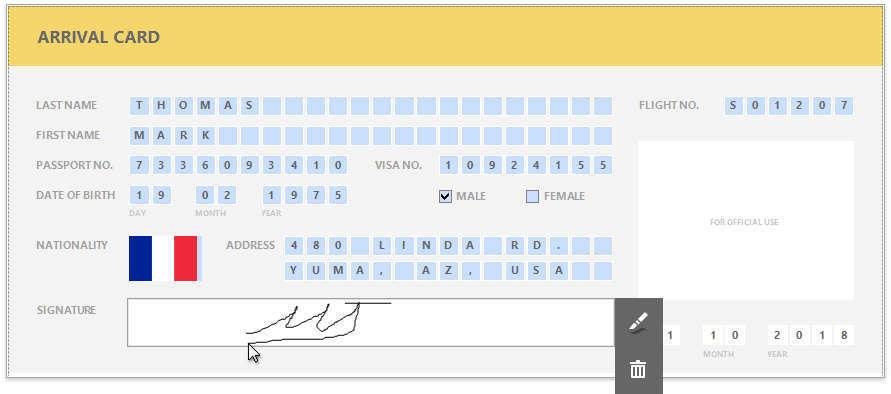
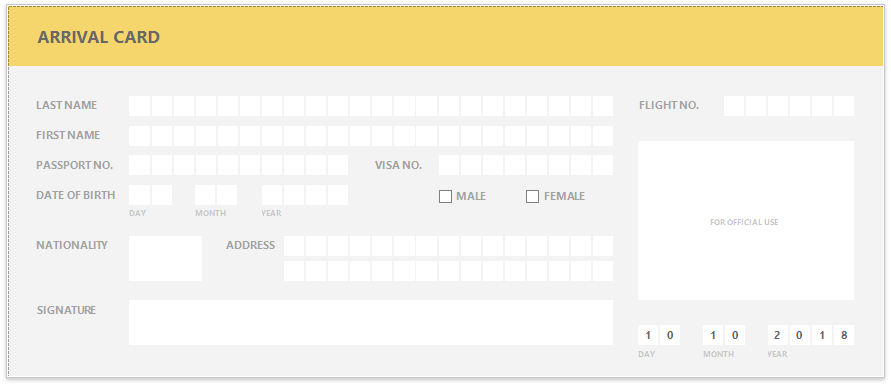
This tutorial describes how to create a report similar to the E-Form demo at design time.
- View Online Demo.
- View Desktop Demo (requires the DevExpress Demo Center to be installed).
Tip
To get started with this tutorial, open an existing reporting application or create a new application. You can review the following section that explains how to create a reporting application on different platforms: Add a Report to Your .NET Application.
Add Form Fields
Add the XRLabel report controls to the report and arrange them according to the form’s template. Set the labels’ Text property to the form’s field names.
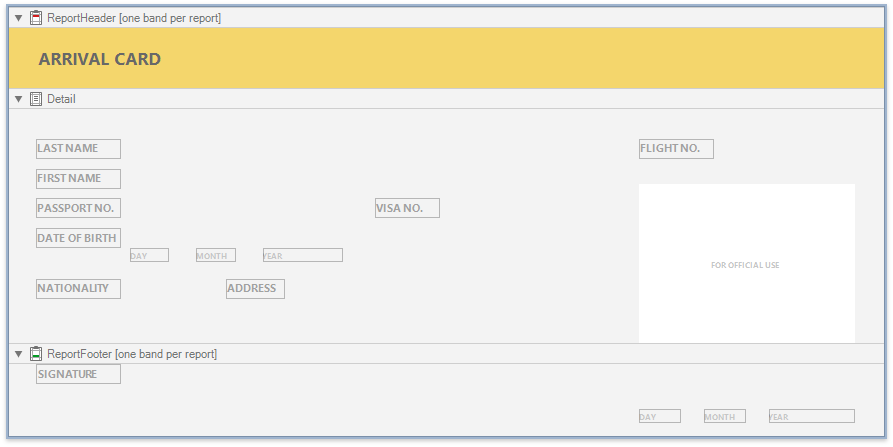
Add Fillable Cells
Use the XRCharacterComb control for the form’s text fields. This control displays letters in individual cells and allows end users to fill these cells in Print Preview.
Drop the XRCharacterComb item from the Toolbox onto the report.

Select all the added controls and set their properties in the Properties window:
- XRCharacterComb.CellSizeMode,
- XRCharacterComb.CellHeight,
- XRCharacterComb.CellWidth,
- and other cell settings.

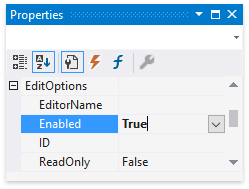
Set the controls’ XRLabel.EditOptions | EditOptions.Enabled property to True to enable content editing in Print Preview.
Choose editors for the CharacterComb controls’ edit mode.
Controls that allow end users to enter letters
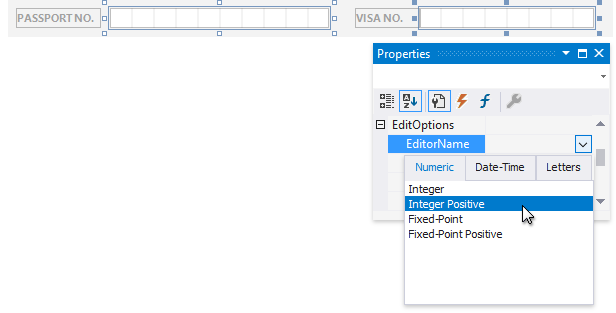
Invoke a drop-down list for the TextEditOptions.EditorName property and select the Only Uppercase Letters item in the Letters category.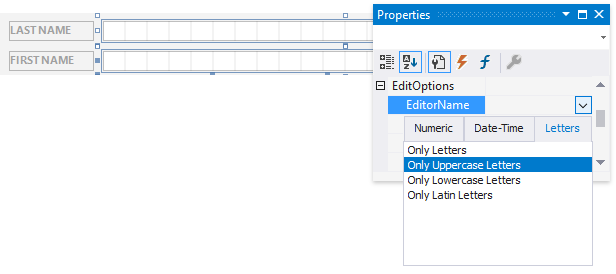
Controls that allow end users to enter integers
Invoke a drop-down list for the TextEditOptions.EditorName property and select the Positive Integer item in the Numeric category.
Add Check Box Editors
Add Check Box controls for the Male/Female fields.
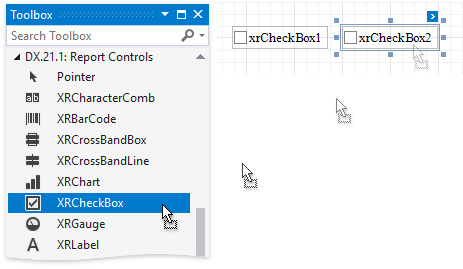
Use the following properties to set up these controls:
Set the Text property.
Set appearance properties.
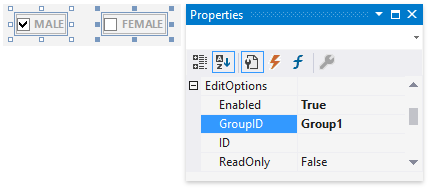
Set the EditOptions | Enabled property to True to allow end users to switch check box states in Print Preview.
Set the EditOptions | GroupID property to the same value to combine these two check boxes into a logical group. This allows end users to select only one option at a time.
Add the Signature Editor
Add the XRPictureBox report control for the form’s Signature field.

Do the following to enable drawing in Print Preview:
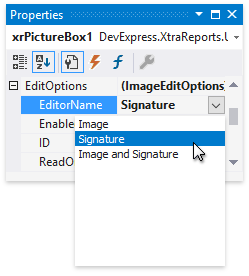
Set the control’s EditOptions | Enabled property to True.
Set the EditOptions | EditorName property to Signature.
Add an Image Collection Editor
Add the XRPictureBox report control for the form’s Nationality field.
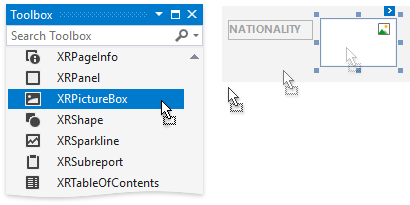
Do the following to enable image selection in Print Preview:
Set the control’s EditOptions | Enabled property to True to enable image loading in Print Preview.
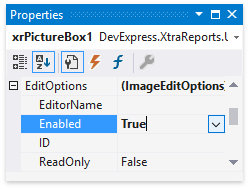
Register an editor with an embedded image collection to allow end users to select an image (a national flag in this example). The following code demonstrates how to do this:
WinForms Applications
Use the RegisterImageCollectionEditor method:
using System.Collections.Generic; using System.Drawing; using System.IO; using DevExpress.XtraPrinting.Preview; //... Dictionary<string, Image> images = new Dictionary<string, Image>(); foreach (var file in Directory.GetFiles("../../Flags/", "*.png")) { Image img = Image.FromFile(file); if (img != null) { images.Add(img); } } EditingFieldExtensionsWin.Instance.RegisterImageCollectionEditor("Nationality", "Nationality", images, true);WPF Applications
Use the RegisterImageCollectionEditorInfo method:
using System.Collections.Generic; using System.Drawing; using System.IO; using DevExpress.Xpf.Printing; //... Dictionary<string, Image> images = new Dictionary<string, Image>(); foreach (var file in Directory.GetFiles("../../Flags/", "*.png")) { Image img = Image.FromFile(file); if (img != null) { images.Add(img); } } EditingFieldExtensions.Instance.RegisterImageCollectionEditorInfo("Nationality", images, true, "Nationality");Web Applications
Use the
DevExpress.Reporting.Editing.EditingFieldExtensions.registerImageEditormethod:function RegisterNationalityEditor(s, e) { DevExpress.Reporting.Editing.EditingFieldExtensions.registerImageEditor({ name: "Nationality", displayName: "Nationality", sizeOptionsEnabled: false, searchEnabled: true, drawingEnabled: false, images: [ { url: "../../Flags/Australia.png", text: "Australia" }, { url: "../../Flags/China.png", text: "China" }, { url: "../../Flags/France.png", text: "France" } ] }); }Set the Picture Box’ EditOptions | EditorName property to the registered editor’s name.
Get the Result
Switch to the Preview tab to see the result.
Click the ![]() button on the Print Preview toolbar to highlight all the editable fields on the form.
button on the Print Preview toolbar to highlight all the editable fields on the form.
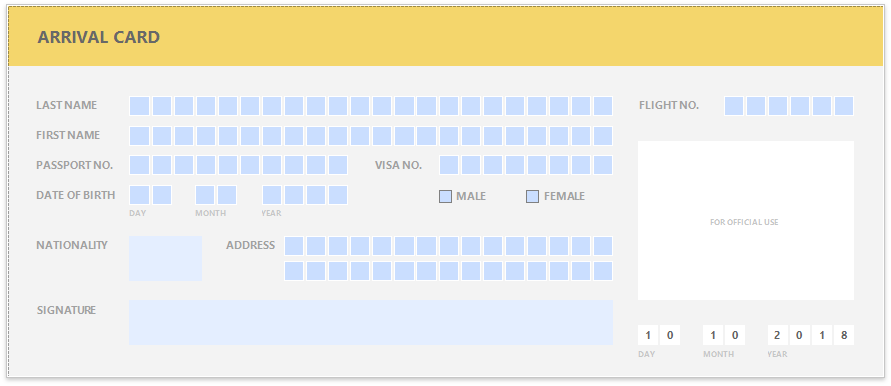
Click a field to invoke its editor.

Use TAB and SHIFT+TAB to navigate between editable fields if you preview a report in desktop applications. Web applications do not support these keys.
Create an Interactive E-Form in the End-User Report Designer
Tutorials that explain how to create different reports in EUD Report Designers for WinForms and Web are included in the End-User Documentation online help section:
- Create an Interactive E-Form in the End-User Report Designer for Web
- Create an Interactive E-Form in the End-User Report Designer for WinForms