Properties Panel
- 4 minutes to read
This document describes how to use the Properties panel to access and customize the report and report element properties.
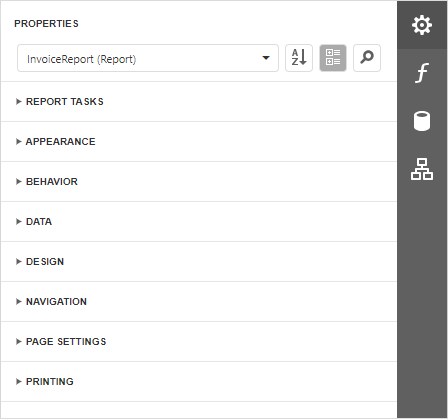
Select a Report Element
Do one of the following to access an element’s properties:
Select an element from the drop-down list at the top of the Properties panel.

Click an element on the Design Surface and invoke the Properties panel.
- Select an element in Report Explorer and click the
 button.
 - Click an element’s smart tag to invoke a panel with the element’s most commonly used properties.
Switch Between Display Modes
Element settings are displayed in alphabetical order or in categories. Use the buttons next to the selected element to switch between display modes.

Display Property Descriptions
The Properties panel displays hints with property descriptions. To display the description, select the property and click the information symbol (i) to the left of the property editor:

If necessary, you can localize property descriptions.
Tip
Information icons are not displayed if descriptions are not loaded on the client side. Explicitly specify an endpoint that the designer can use to obtain localized data:
The following code snippet uses getLocalizationAction in an Angular application:
<dx-report-designer [reportUrl]="reportUrl" height="calc(100vh - 90px)" developmentMode="true">
   <dxrd-request-options getLocalizationAction="DXXRD/GetLocalization"></dxrd-request-options>
</dx-report-designer>
Change Property Values
Each property record consists of a caption, a value editor, and an optional property marker. To change a property value, select the property and specify its value in the editor.
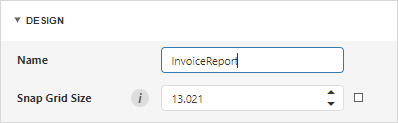
Certain properties contain nested properties which can be accessed when you click the header.
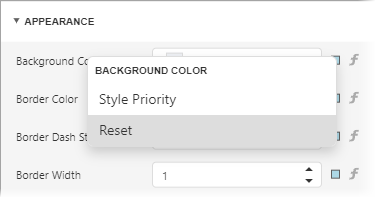
The property marker indicates whether the property value was changed:
If a property stores a default value, its property marker is gray.

If a property value was changed, the property marker becomes white.

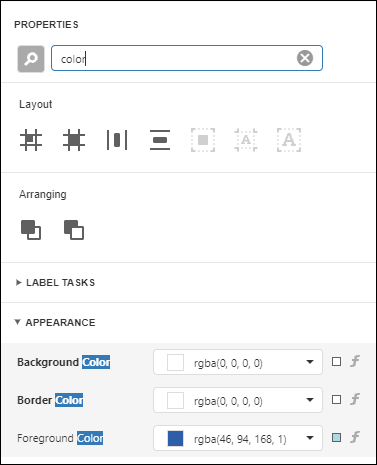
If a report style overrides a property value, the marker is light blue. This applies to appearance properties (for instance, an element’s BackColor, Font, Borders).

Reset Property Values
Click the property marker to the right of the editor. Select Reset in the invoked popup menu to restore the default property values.
Note
The Reset command resets the expression and the value you specified in the property’s editor.
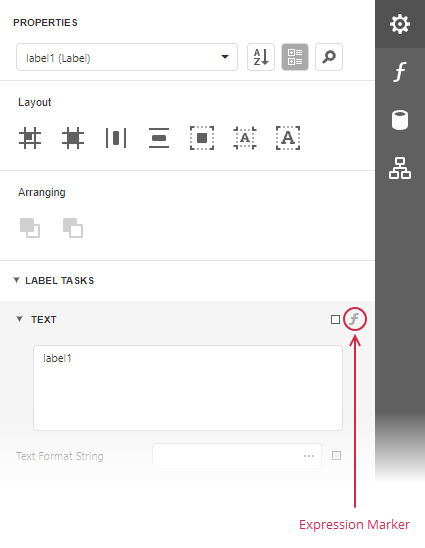
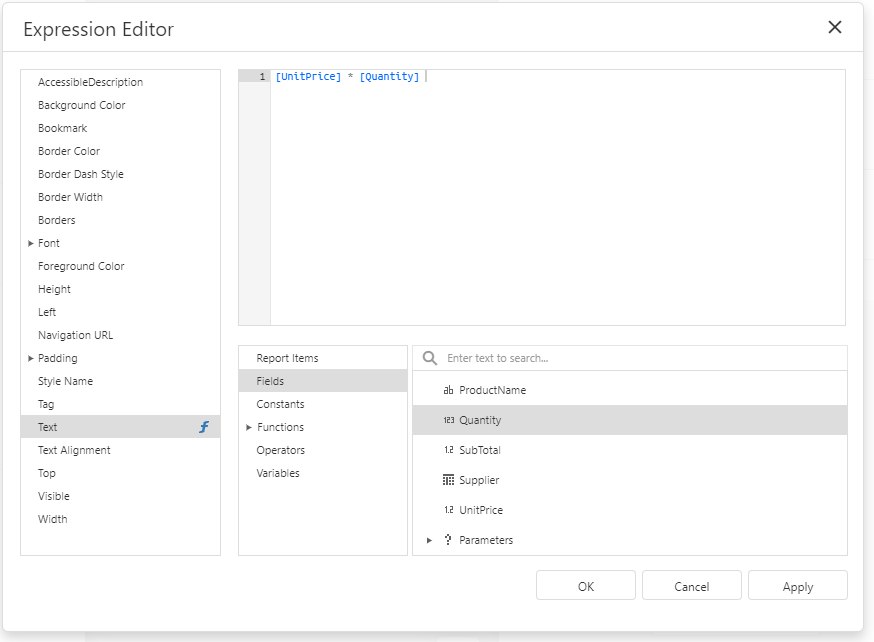
Specify Expressions
The Properties panel allows you to specify expressions that can include data fields and functions. Click an expression marker (f-marker) to invoke the Expression Editor.
Click this item to specify an expression in the invoked Expression Editor.
The blue f-marker indicates properties with expressions:
Search for Properties
Click the  button to show the search box. When you type in the search box, the Properties panel filters the list of available properties and highlights the search string in the property record.
Use Quick Actions
The Properties Panel initially does not show quick actions for the selected element. To make actions visible in the panel, set the QuickActionsVisible property to true:
<script>
    function onBeforeRender(s, e) {
        DevExpress.Reporting.Designer.Settings.PropertyGrid.QuickActionsVisible(true);
    }
</script>

@{
    var designerRender = Html.DevExpress().ReportDesigner("reportDesigner")
        .Height("100%")
        .ClientSideEvents(configure => configure.BeforeRender("onBeforeRender"))
        .Bind(Model);
    @designerRender.RenderHtml()
}
When QuickActionsVisible is set to true, the Properties panel contains the available actions for the selected report element:
Quick Actions allow you to do the following:
Add new bands, if you selected a report.

Manage a table element’s cells, rows, and columns.

Align and position report elements (for instance, align and resize elements to the snap grid, specify horizontal and vertical alignments) for individual and multiple selected report elements.

Customize the Panel at Runtime
You can use client-side API to hide unnecessary editor groups, and hide or disable individual editors in the Properties panel.
To hide a particular property or disable the property editor, use the ASPxClientReportDesigner.GetPropertyInfo method. For JavaScript frameworks, use the JSReportDesigner.GetPropertyInfo method.
To hide the Task group (for example, Report Tasks) from the Properties panel, set the TaskGroupVisible property to false.