Navigation Bars
- 4 minutes to read
A typical Windows Store-inspired application is by itself very limited in terms of navigation elements. End-users click tiles to navigate from a start-up Tile Container to other application screens, which display the embedded Back button and sometimes container-specific navigation elelements (like tab headers in Page Group containers). Other than that, there are no buttons, editors, check boxes and other UI elements that can be seen in traditional toolbars or Ribbon-based applications.
There are two ways of adding additional navigation elements to your WindowsUI View-based applications.
- Adding buttons directly to content containers. See the WindowsUI Buttons article to learn about this approach.
- Using Navigation Bars - two bars arranged along the upper and bottom edge of your application. The figure below illustrates an example.
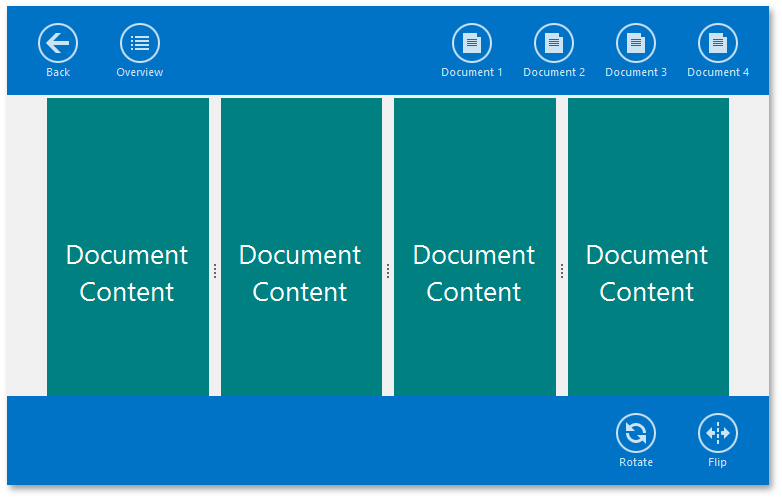
Navigation bars pop up at runtime when a user presses Escape or right-clicks a free application space. The second Escape hit or clicking anywhere outside navigation bars will conceal these bars. This process fires the following chain of events.
- WindowsUIView.NavigationBarsShowing - handles this cancelable event to get the currently viewed content container and, if needed, hide navigation bars before they are shown.
- WindowsUIView.NavigationBarsShown - occurs after navigation bars are shown.
- WindowsUIView.NavigationBarsHidden - occurs after navigation bars are dismissed.
Navigation bars can be packed with buttons (also called actions) of three types.
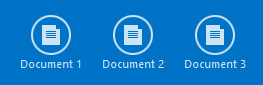
Default Actions | |
| These are buttons shown automatically for any content container.
|
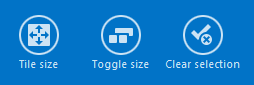
Container-Specific Actions | |
| These buttons are shown only for certain types of content containers.
|
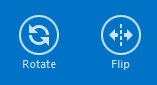
Custom Actions | |
| Any custom actions of both simple push and pop-up types. See the WindowsUI Buttons topic to learn more. |


The WindowsUIView.NavigationBarsButtonClick event fires for any navigation bar button clicked, except for Back button (it raises the WindowsUIView.BackButtonClick event instead). Handle it to identify which button was clicked and perform the required actions.
To remove certain default and container-specific navigation bar actions for individual content containers, handle WindowsUIView.ContentContainerActionCustomization event. Note that this event is for removing actions only, not for adding your own custom actions.
void windowsUIView1_ContentContainerActionCustomization(object sender, ContentContainerActionCustomizationEventArgs e) {
    string name = e.ContentContainer.Name;
    switch(name) {
        //The default 'Back' action
        case "page1":
            e.Remove(ContentContainerAction.Back);
            break;
        //The default split group 'Overview' action
        case "slideGroup1":
            e.Remove(SplitGroupAction.Overview);
            break;
        //The default tile container 'Clear Container' action
        case "tileContainer1":
            e.Remove(TileContainerAction.ClearSelection);
            break;
        //Custom action
        case "pageGroup1":
            e.Remove(myAction);
            break;
    }
}