Creating Columns and Binding Them to Data Fields
- 2 minutes to read
When the ASPxTreeList is bound to a data source, you need to create columns and bind them to data fields. There are two ways to add columns and bind them to fields:
Automatically create columns for all data fields (default behavior).
The ASPxTreeList automatically renders columns for all fields in the data source. The order of columns is the same as the order of fields in the data source. The ASPxTreeList.Columns collection is populated at runtime. This collection is empty at design time.
This behavior is controlled by the ASPxTreeList.AutoGenerateColumns property. This can be useful when the structure of the underlying data source is unknown (e.g. switching between data tables).
Note
By default, service columns bound to the ASPxTreeList.KeyFieldName and ASPxTreeList.ParentFieldName data fields, are not created. To automatically create columns for these data fields, enable the ASPxTreeList.AutoGenerateServiceColumns option.
Create columns and bind them to data fields manually.
Switch the ASPxTreeList.AutoGenerateColumns option off. In this instance, you should manually create all the necessary columns, add them to the ASPxTreeList.Columns collection and bind them to data source fields using their TreeListDataColumn.FieldName property.
Creating and Binding Columns at Design Time
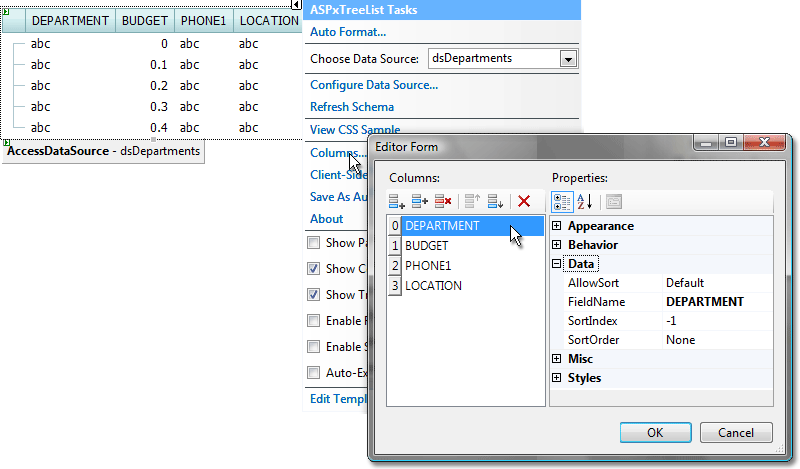
Once you have bound the ASPxTreeList to a data source, it automatically creates data columns for all data source fields and switches the ASPxTreeList.AutoGenerateColumns option off. To access the columns collection, invoke the Columns edit form.

This form allows you to add, delete, access and customize column settings, and perform other common collection management tasks.
Creating and Binding Columns at Runtime
The example below creates a data column, and adds it to the ASPxTreeList’s columns collection: