Printing and Export in Reporting Tools for Web
- 6 minutes to read
Reporting tools for Web support printing on both the server and client side. You can print reports in code or via User Interface commands.
Print Reports
Server-Side Printing
In the code that runs on the server, call the PrintToolBase.Print/PrintToolBase.PrintAsync(String) methods. This method sends a document to the server’s default or specific printer, and applies default print settings. You can also specify printer settings when you handle the StartPrint event. Note that we cannot validate whether your printer supports all printer options you specify. The printer may ignore unsupported options.
Cross-Platform Printing
Printing on server is supported both on Windows and non-Windows environments. It means that the printing task and the associated processes, such as formatting, spooling, and sending the job to the printer, are handled by a print server. You should add printers to your server so you have a printer to use. See the following instructions:
Take into account the following aspects for non-Windows environments:
- To support server printing on Linux, install the libcups library.
- Your print server should be located on a local machine.
- You can print only from a local print server, but both local and network printers are supported.
- Printer authentication is not supported.
- The printer should support PostScript or PDF rasterization.
Use one of the ExportTo... methods to export a report to a specific format. For more information, review the following help topic: Document Export Overview.
Client-Side Printing
The Document Viewer renders the report in PDF. You can print the report within the Document Viewer’s interface or in code.
Print Reports within the Document Viewer’s UI
Click Print to print the entire document or click Print Page to print the currently active document page.


Use the PDF Plugin
If the PDF plugin is installed in your browser, the Print dialog is invoked. To print the document, specify print settings and click Print:
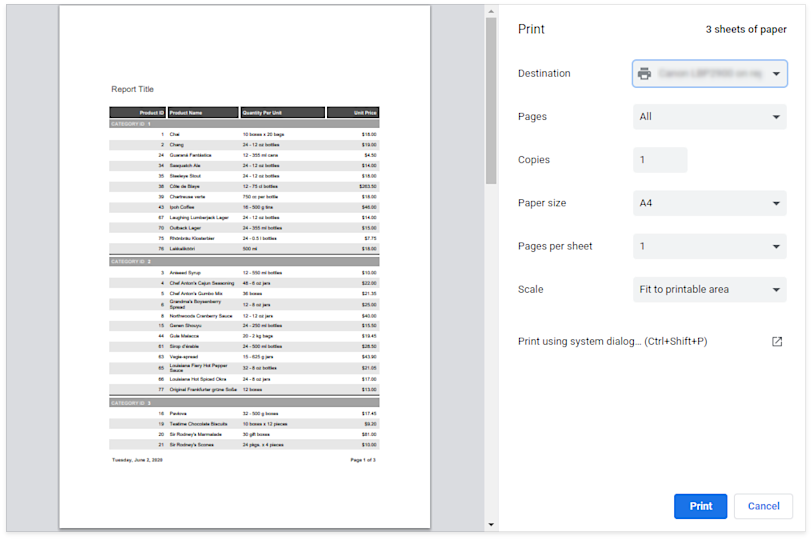
If the PDF plugin is unavailable, the Document Viewer exports the report document to a PDF file and offers to download this file instead of printing. The resulting PDF file contains a script that invokes the Print dialog when the PDF viewer opens the file.
Print in the Same Tab
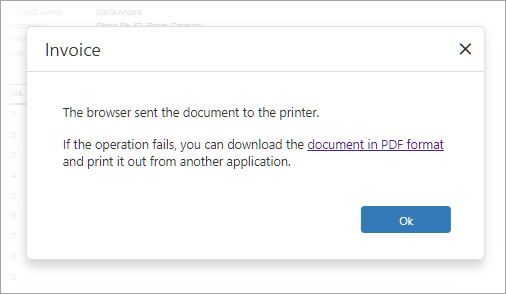
The browser prints the document in the same tab. You can set the UseSameTab property to false to open a new tab (page) to print a document. The ShowPrintNotificationDialog property allows you to show or hide an additional dialog with a link to the PDF file that was just sent to the printer:
Print Reports in Code
Use the IPreviewModel.Print method to print a report. The method returns PDF data and the Document Viewer passes this data to the browser.
Print Without a Preview
To print a report on the client’s printer, export the report to PDF and send it to the browser. The browser invokes the built-in PDF viewer to open the PDF content. You can use the viewer’s Print command to print the document.
You can also send PDF content to a separate IFrame. In this case, the browser shows only the Print dialog and does not open a new PDF Viewer window.
Refer to the following examples for implementation details:
Export Reports
Client-Side Export
Export Reports within the Document Viewer’s UI
Click Export To and select an export format from the list to download the report in the selected format.
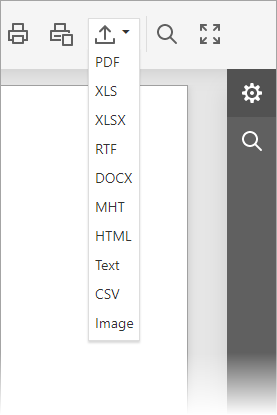
The browser exports the document in the same tab. You can set the UseSameTab property to false to open a new tab (page) to export a document.
You can click Export Options to invoke the Export Options Panel and specify format-specific options:
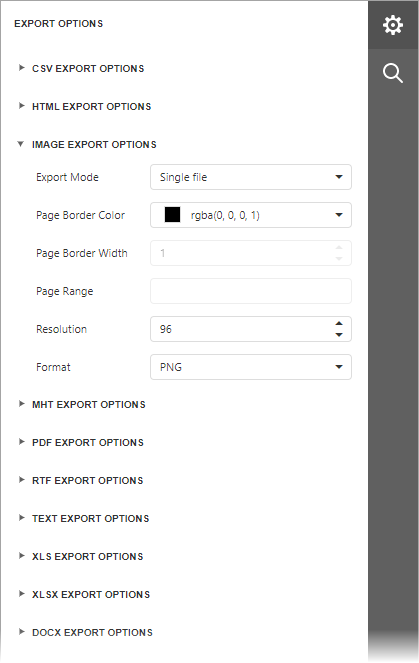
You can customize the Document Viewer panel as follows:
- hide the Export Options panel
- exclude export formats from the drop-down list
- hide options for the specified export format
- change the default export options displayed in the Export Options panel.
To do this, handle the CustomizeExportOptions event (ASP.NET) or specify the CustomizeExportOptions callback function (JavaScript frameworks). The function argument is an ASPxClientCustomizeExportOptionsEventArgs object. You can use its properties and methods to specify export options and customize the export panel.
Export to EMF and WMF formats is not supported in Linux environments. You can handle the client-side CustomizeExportOptions event to remove the Format combo box in the Image Export Options section of the Export Options tab:
function onCustomizeExportOptions(s, e) {
          e.HideProperties(DevExpress.Reporting.Viewer.ExportFormatID.Image, "Format");
}
The default Image export format is PNG. If you wish to set it to a different value, change the ImageExportOptions.Format property in the report’s ExportOptions.Image settings.
To sign the exported PDF document, implement the IPdfSignatureOptionsProviderAsync interface to register available signature options. Select a signature from the Signature drop-down list in the PDF Export Options section:
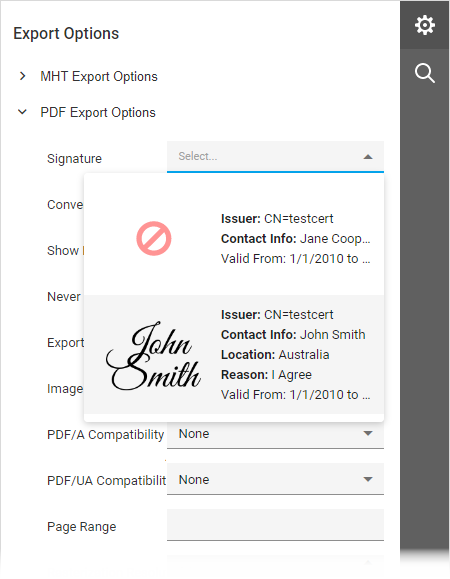
The following example shows how to sign the exported PDF document:
Export Reports in Code
Use the ExportTo method to export a document. Handle the CustomizeExportOptions client-side event to specify export options.
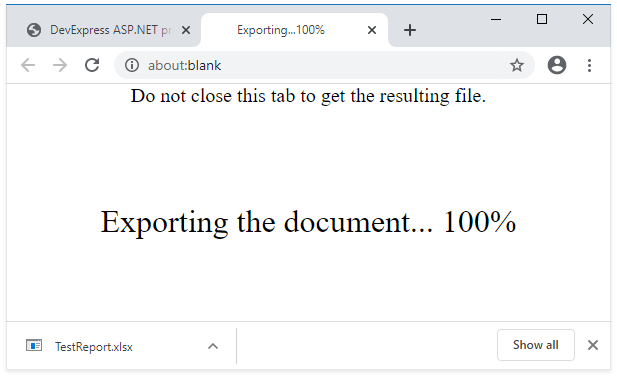
Web Document Viewer can export reports asynchronously (export operations run in the background). To switch to asynchronous export mode, set the UseAsynchronousExport property to true or use the client-side AsyncExportApproach property. The export action opens a new page that displays the progress indicator:
Customize Export Procedure
The server-side reporting engine generates a report document and exports it to the specified format. You can implement the WebDocumentViewerOperationLogger service and override the ExportDocumentStarting method to add custom code that runs when the user selects the Export command. This technique allows you to redefine built-in export.
You can also retrieve the exported document and modify it. To do this, override the CustomizeExportDocumentOnFinish.
Export Without a Preview
You can export a report on the server side and send the exported document back to the client.
Use one of the ExportTo… methods to export a report to the desired format. For more information, review the following help topic: Document Export Overview.