Lesson 1 - Create a Simple Rich Text Editor
- 3 minutes to read
This document provides you with step-by-step instructions on how to create a simple application with RichEditControl. Also, it describes how you can programmatically provide end-users with the capability to perform basic file operations (creating, saving and loading a document) in the RichEditControl.
Tip
A complete sample project is available in the DevExpress Code Examples database at http://www.devexpress.com/example=E2586.
This tutorial includes the following sections:
Step 1. Create a New RichEdit Application
- Create a new WPF Application project and open the MainWindow.xaml file in the Visual Studio Designer.
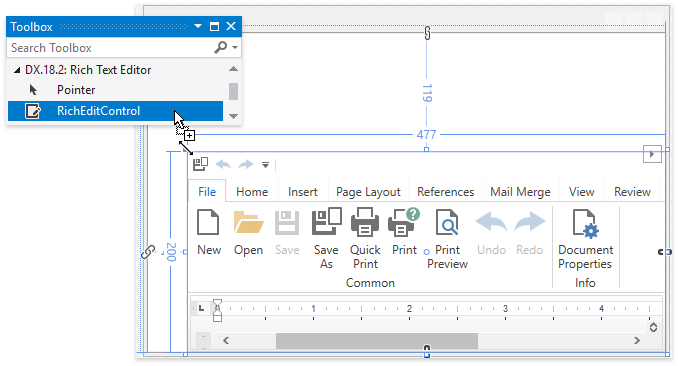
Add the RichEditControl object to your project. You can do this by dragging the RichEditControl item from the DX.18.2: Rich Text Editor Toolbox tab to the canvas.
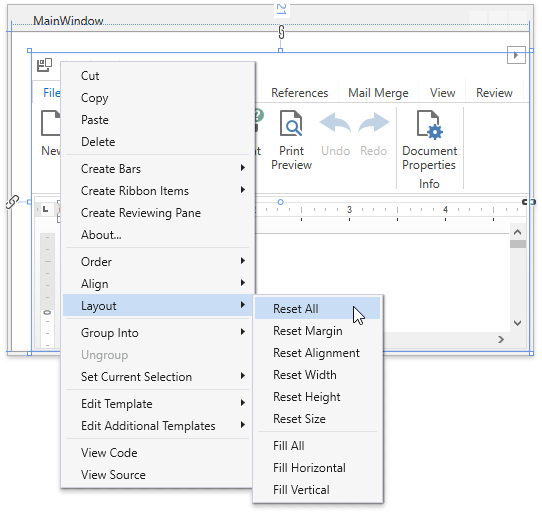
Right-click the RichEditControl object and select Layout | Reset All in the context menu, or manually set the RichEditControl.HorizontalAlignment and RichEditControl.VerticalAlignment properties to Stretch. This will stretch the RichEditControl to fill the entire window.
After this, your XAML should look like the following (if it does not, you can overwrite your code):
<Window xmlns="http://schemas.microsoft.com/winfx/2006/xaml/presentation"
        xmlns:x="http://schemas.microsoft.com/winfx/2006/xaml"
        xmlns:d="http://schemas.microsoft.com/expression/blend/2008"
        xmlns:mc="http://schemas.openxmlformats.org/markup-compatibility/2006"
        xmlns:local="clr-namespace:WpfApplication1"
        xmlns:dxre="http://schemas.devexpress.com/winfx/2008/xaml/richedit"
        x:Class="WpfApplication1.MainWindow"
        mc:Ignorable="d"
        Title="MainWindow" Height="350" Width="525">
    <Grid>
        <dxre:RichEditControl CommandBarStyle="Ribbon"/>
    </Grid>
</Window>
Note that you can add the RichEditControl by overwriting your MainWindow.xaml file with this code without dragging the RichEditControl control to the window. However, in this case, you need to manually add references to the following libraries.
- DevExpress.Data.v18.2.dll
- DevExpress.Mvvm.v18.2.dll
- DevExpress.Office.v18.2.Core.dll
- DevExpress.Pdf.v18.2.dll
- DevExpress.Printing.v18.2.Core.dll
- DevExpress.RichEdit.v18.2.Core.dll
- DevExpress.Images.v18.2.dll
- DevExpress.Xpf.Core.v18.2.dll
- DevExpress.Xpf.Docking.v18.2.dll
- DevExpress.Xpf.DocumentViewer.v18.2.dll
- DevExpress.Xpf.Layout.v18.2.Core.dll
- DevExpress.Xpf.Printing.v18.2.dll
- DevExpress.Xpf.Ribbon.v18.2.dll
- DevExpress.Xpf.RichEdit.v18.2.dll
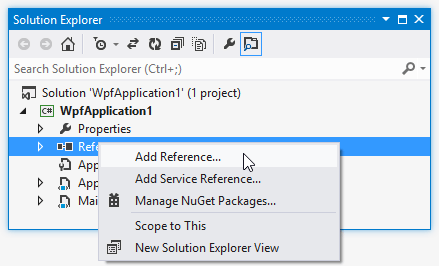
To add references, right-click the References node in the Solution Explorer and select Add Reference… in the invoked context menu.
Note
Normally, when adding references to these assemblies, you should choose them from the Global Assembly Cache (GAC). However, if you prefer to copy them locally, or need to include them later into your product’s installation, you can find copies of them in the following directory:
C:\Program Files (x86)\DevExpress 18.2\Components\Bin\Framework\
Load a document into the RichEditControl. You can do this in XAML by using the RichEditControl.DocumentSource property. Documents can be loaded from a stream, byte array or from a location specified by the full file path or Uri. An empty document is created if the RichEditControl.DocumentSource property is null.
The following code snippet uses a pack Uri as a document source to load a sample document that was added to the root of current project as a resource file:
Note
A complete sample project is available at https://github.com/DevExpress-Examples/dxrichedit-getting-started-lesson-1-create-a-simple-rich-text-editor-e2586.
<Grid>
    <dxre:RichEditControl CommandBarStyle="Ribbon" DocumentSource="pack://application:,,,/WpfApplication1;component/Document.docx"/>
</Grid>
In this example, WpfApplication1 is the name of the WPF project, and Document.docx is the loaded document.
Tip
The RichEditControl comes complete with a ribbon which uses SVG icons by default. Set the ApplicationThemeHelper.UseDefaultSvgImages property to false before the Ribbon is initialized to switch to the bitmap icons.
Run the project. The image below shows the result.

Remove the Integrated Ribbon
The newly created WPF Rich Edit application has an integrated ribbon UI. If you do not require ribbon UI, you can remove it by doing one of the following:
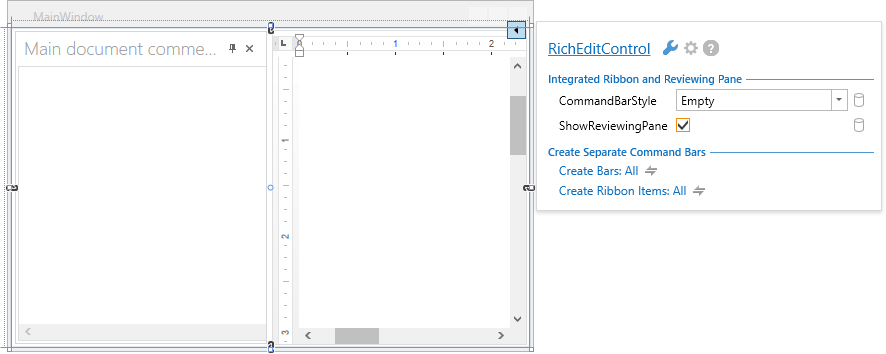
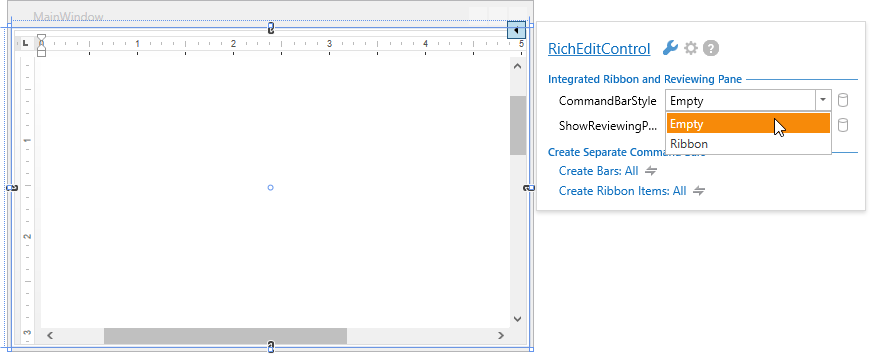
Click the RichEditControl’s smart tag. In the invoked menu, under Integrated Ribbon and Reviewing Pane, select Empty from the CommandBarStyle drop-down list.
- In XAML, set the RichEditControl.CommandBarStyle property to CommandBarStyle.Empty, or simply remove it from the markup.
Add the Reviewing Pane
To provide the application with the built-in Reviewing Pane for displaying comments, click the RichEditControl’s smart tag and check ShowReviewingPane box. As a result, an integrated Reviewing Pane is shown when running the application.