Create a Blazor Web App
- 3 minutes to read
This help topic contains step-by-step instructions on how to create and run a Blazor Server web application with DevExpress components in Visual Studio.
Create and Run a Project
Note
This help topic applies to Visual Studio 2022. Steps may vary slightly in other versions.
- Open Visual Studio and click File → New → Project….
- In the Create a new project dialog, search for DevExpress Template Kit.
Select the DevExpress v25.2 Template Kit template.

Click the Next button.
- Specify the project name and location.
- Click the Create button.
Click Blazor in the left pane of the Template Kit window.
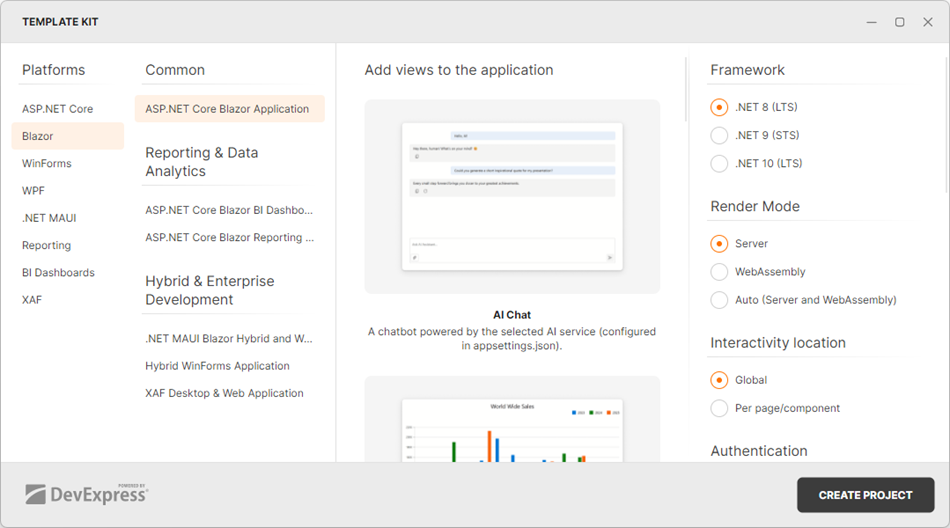
Click the Create Project button.
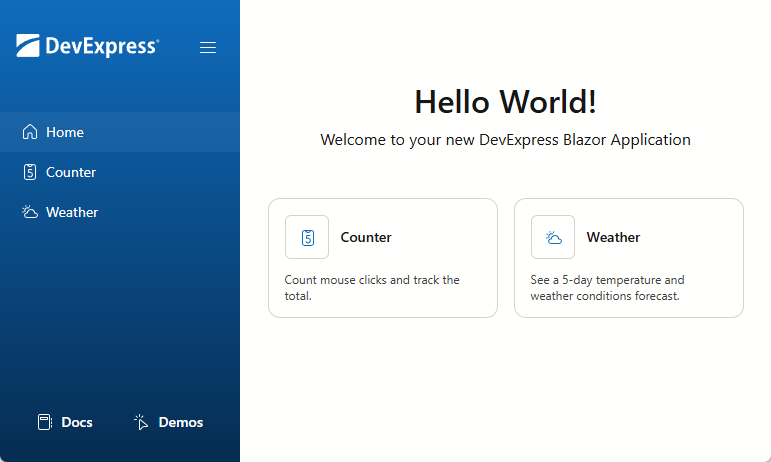
- Press F5 to run your new Blazor application.
Visual Studio builds the project and automatically opens the app’s home page in a web browser.
Add a DevExpress Blazor Component to the App
To get acquainted with the project structure, add a simple DevExpress Blazor component (Calendar) to the app and see it in action:
- Create a new Razor Component (
.razorfile) under Components → Pages in the Solution Explorer. Name the fileCalendar.razor. - Open the
Calendar.razorcomponent and remove all autogenerated content to start from scratch. Define a component as a routable page that can handle requests from
http://localhost:####/calendar. Use the following directive:@page "/calendar"The DevExpress Calendar for Blazor does not support static render mode. Enable interactivity:
@rendermode InteractiveServerAdd a page title and heading text:
<PageTitle>Calendar</PageTitle>
<h1>Calendar</h1>
Add the DxCalendar component to the page. Bind the component to the
SelectedDatevariable to test interactivity.<DxCalendar @bind-SelectedDate="@SelectedDate" /> <p><b>Selected date:</b> @SelectedDate.ToLongDateString()</p> @code { DateTime SelectedDate { get; set; } = DateTime.Now; }Add a link to the page in the application’s sidebar. Open the Components → Layout → NavMenu.razor file and add a new DxMenuItem:
<DxMenuItem NavigateUrl="/calendar" Text="Calendar" CssClass="@MenuItemCssClass("/calendar")" IconCssClass="icon icon-demos" />Press F5 to run your Blazor application and switch to Calendar.
Full code:
@page "/calendar"
@rendermode InteractiveServer
<PageTitle>Calendar</PageTitle>
<h1>Calendar</h1>
<DxCalendar @bind-SelectedDate="@SelectedDate" />

<p><b>Selected date:</b> @SelectedDate.ToLongDateString()</p>

@code {
    DateTime SelectedDate { get; set; } = DateTime.Now;
}