Cross-IDE Template Kit (Windows, macOS)
- 4 minutes to read
Visual Studio 2022/2026 Integration (for Windows)
The DevExpress Template Kit allows you to create a new project or project item in just a few steps. The DevExpress Unified Component Installer automatically adds this kit as a Visual Studio extension. If you do not use the installer or are working in VS Code or JetBrains Rider, you can install the kit manually.
- Install the Template Kit on Windows Manually (w/o .NET Installer)
- Visual Studio Code Integration (for Windows or macOS)
- JetBrains Rider Integration (for Windows or macOS)
DevExpress Template Kit for Visual Studio includes the following template types:
- Project template allows you to create XAF-powered projects.
- Item templates allow you to add new items to your application, such as business objects, controllers, and templates.
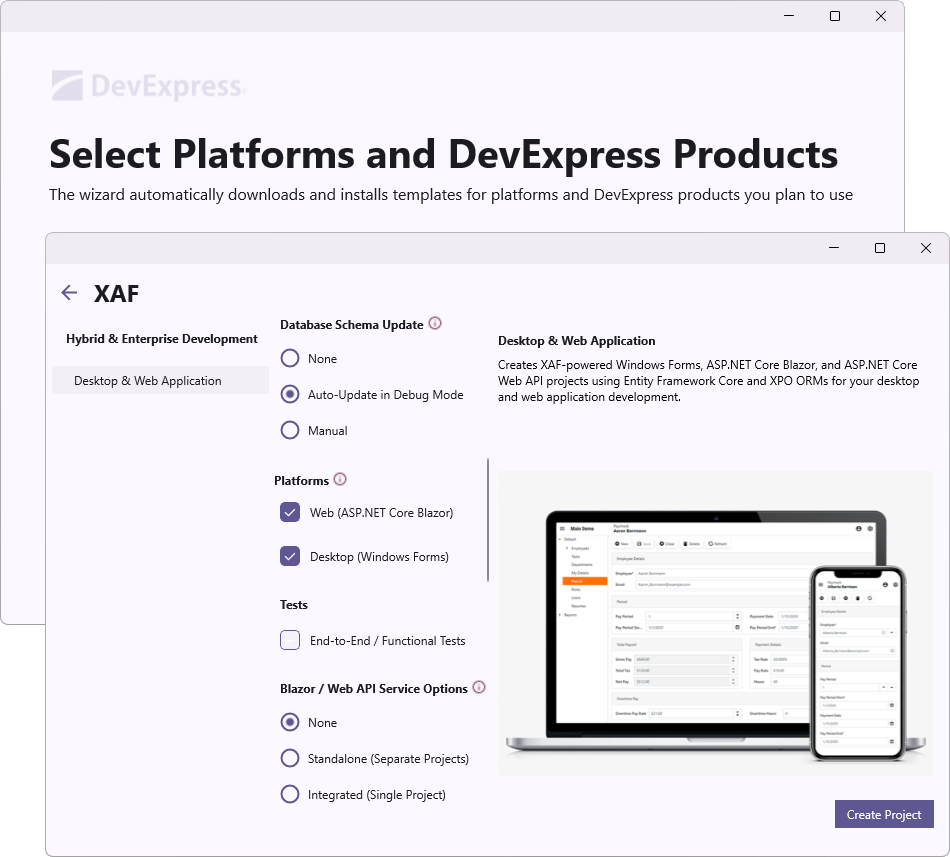
Create a New Project
To create a new project, follow the steps below:
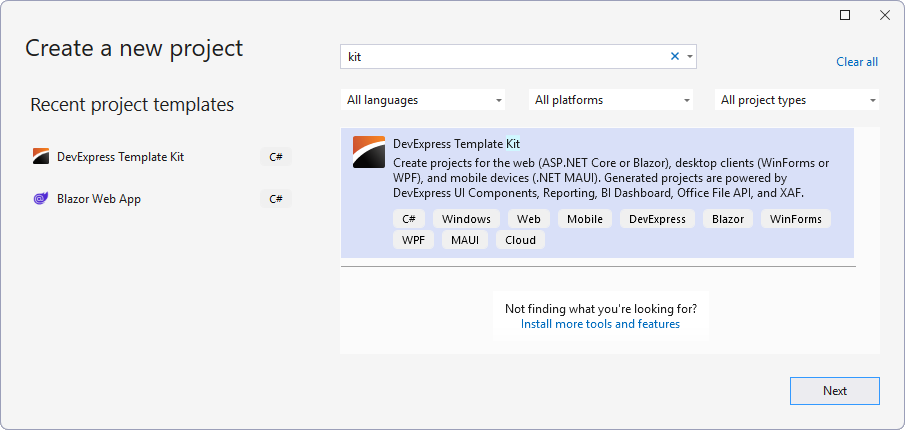
- In Visual Studio, select File → New → Project…
In the Create a new project window, select DevExpress 25.2 Template Kit and click Next.
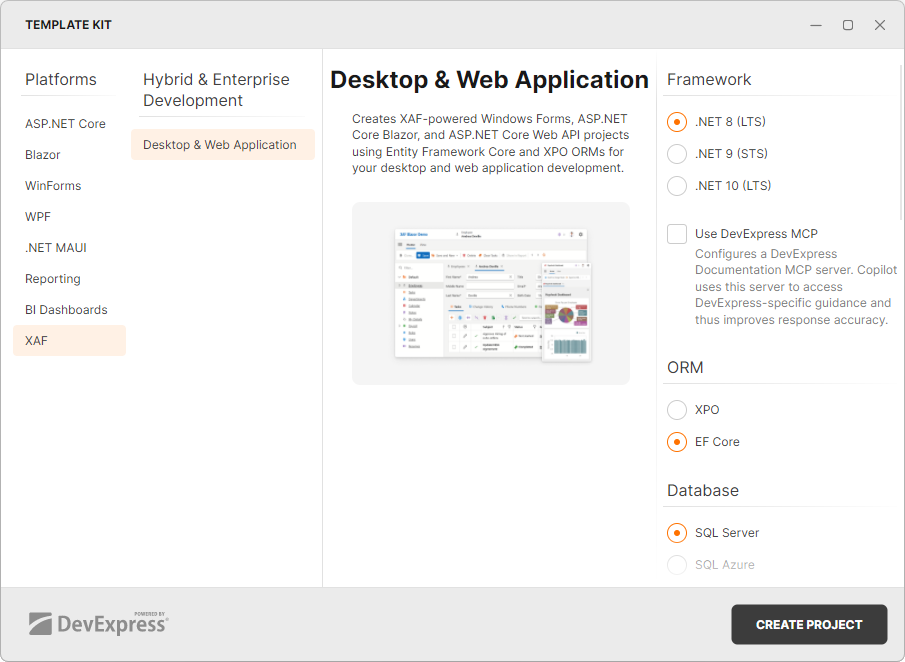
Specify the project name and location, and click Create.
In the invoked Template Kit window, select the XAF platform, configure project parameters, and click CREATE PROJECT.
Create a New Item
The Template Kit allows you to add the following items in an XAF application:
- EF Core, XPO, and Non-Persistent Business Objects
- View and Window Controllers
- Blazor Templates
- WinForms Templates
To create a new item, follow the steps below:
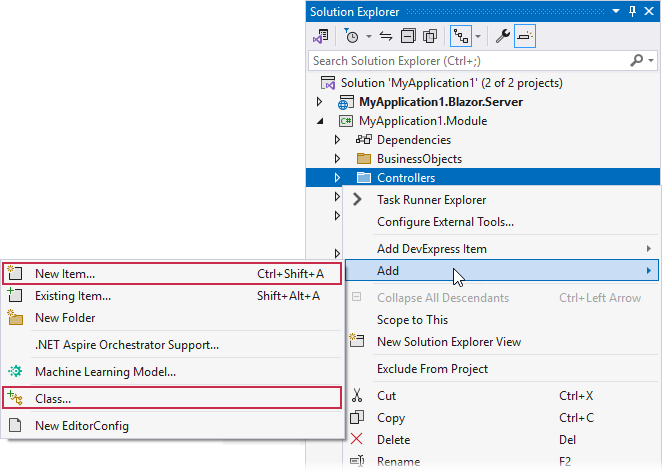
Invoke context menu in Solution Explorer. Select Add | New Item… or Add | Class…
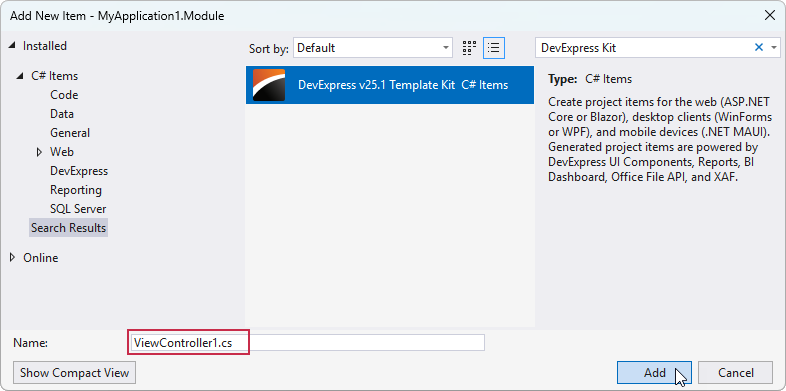
In the opened dialog, select DevExpress 25.2 Template Kit, specify the item name, and click Add.
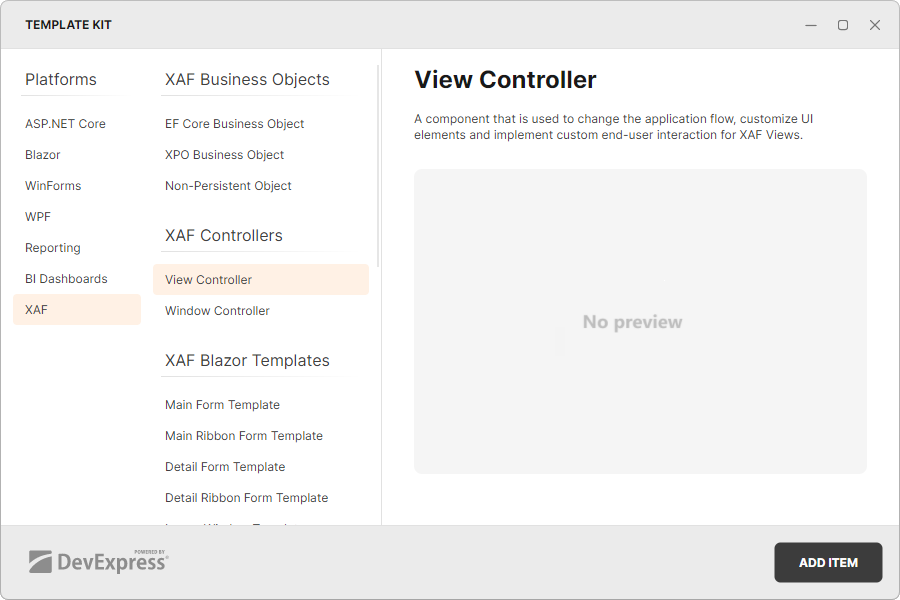
In the XAF platform section, select an item to add and click ADD ITEM.
Install the Template Kit on Windows Manually (w/o .NET Installer)
The DevExpress Template Kit for Visual Studio is available as a VSIX extension based on the dotnet CLI. You can install the extension for Visual Studio in the following ways:
- Use Extension Manager.
- Download the extension at the following link: DevExpress Template Kit for Visual Studio. Once ready, install extensions without using Extension Manager.
Visual Studio Code Integration (for Windows or macOS)
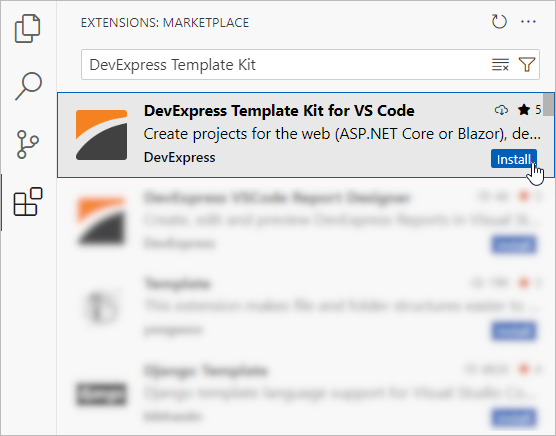
In Visual Studio Code, open the Extensions tab, find the DevExpress Template Kit for VS Code, and click Install.
To run the Template Kit, follow the steps below:
Ensure that no folder is open in VS Code. In the Explorer tab, click the New DevExpress Project button:
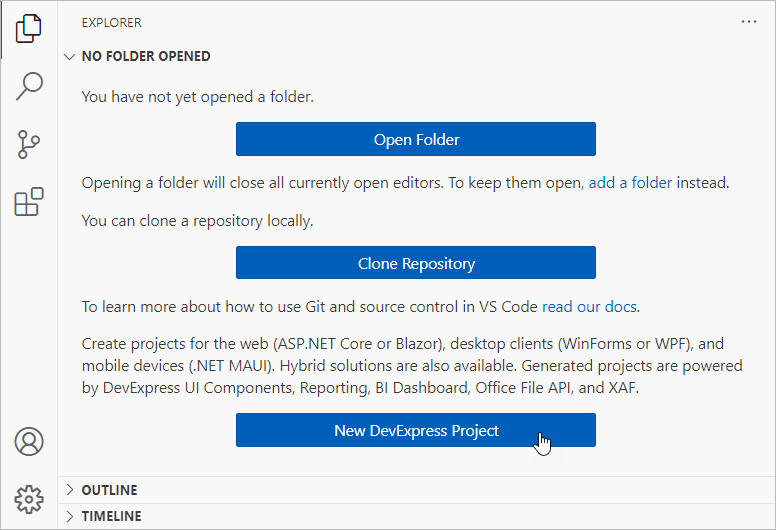
Specify the project name and press Enter.
- Select a project location and click the Select Folder button.
- In the invoked Template Kit window, select the XAF platform, configure project parameters, and click CREATE PROJECT.
Tip
You can use .NET CLI Integration to install DevExpress XAF project templates and create XAF ASP.NET Core Blazor, Web API Service, and Windows Forms applications from the console.
JetBrains Rider Integration (for Windows or macOS)
You can download the DevExpress Template Kit plugin for Rider at the following link: DevExpress Template Kit plugin for Rider. Once ready, install the plugin from disk.
To create a new project, follow the steps below:
- Click the New Solution button.
Select DevExpress Template Kit in the Other category and click Create.
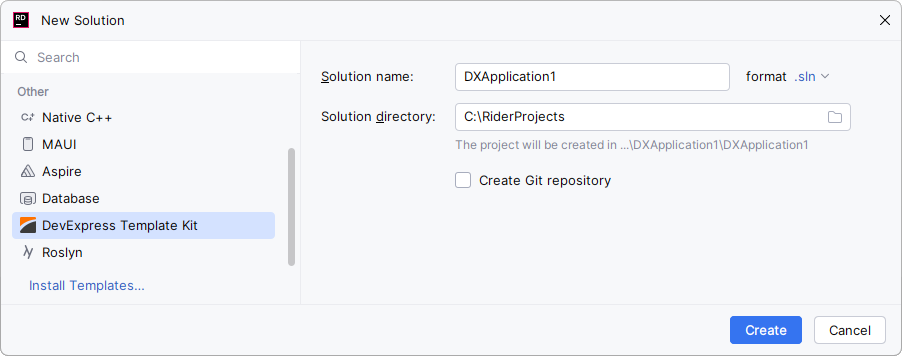
In the invoked Template Kit window, select the XAF platform, configure project parameters, and click CREATE PROJECT.
Build the Project
Install DevExpress component packages to build your project. You can use the DevExpress Unified Component Installer that adds a local NuGet feed to your machine.
As an alternative to the installer, you can configure a personal DevExpress NuGet Feed that loads the required packages from the DevExpress NuGet Gallery. To do this, follow the instructions below:
- Obtain your NuGet feed URL.
Register the source. You can do this in your IDE or from a CLI:
- Register your .NET license key.