Create a Report with Cross-Band Content and Populated Empty Space in the VS Report Designer
- 5 minutes to read
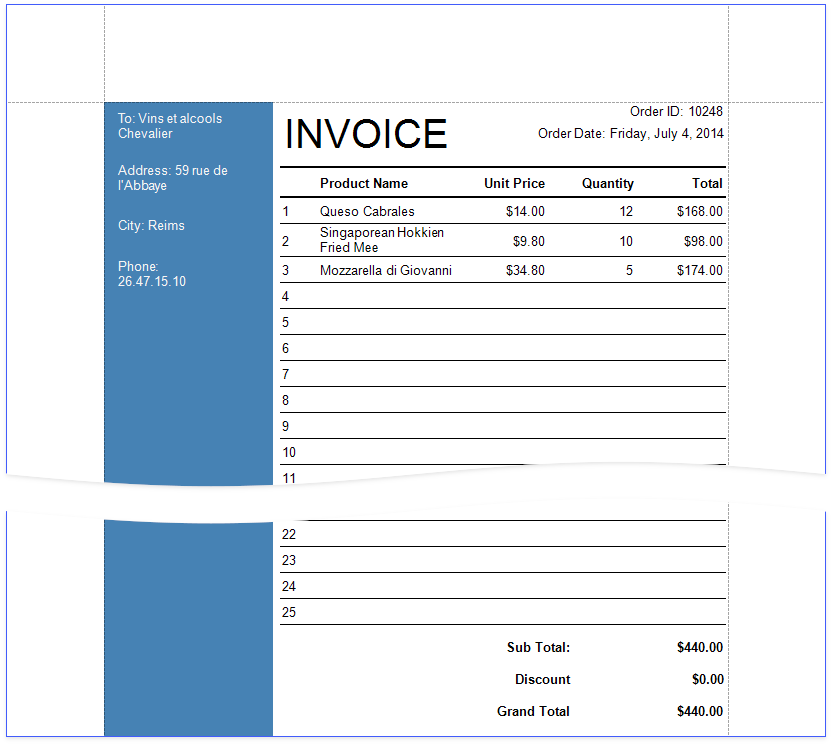
This tutorial describes how to create a report similar to the Cross-Band Content demo that includes the following layout options:
- Print part of the content across bands (the blue panel).
- Populate the empty space between the detail and footer information with blank rows.
You can view the online demo or view the desktop demo (requires the DevExpress Demo Center to be installed).
Bind to Data
Add a new blank report to your application.
Bind the report to the OrderDetailsExtended view from the sample Northwind database. Join the following tables/views:
- The OrderDetailsExtended view to the Orders table by the OrderID field.
- The Orders table to the Customers table by the CustomerID field.
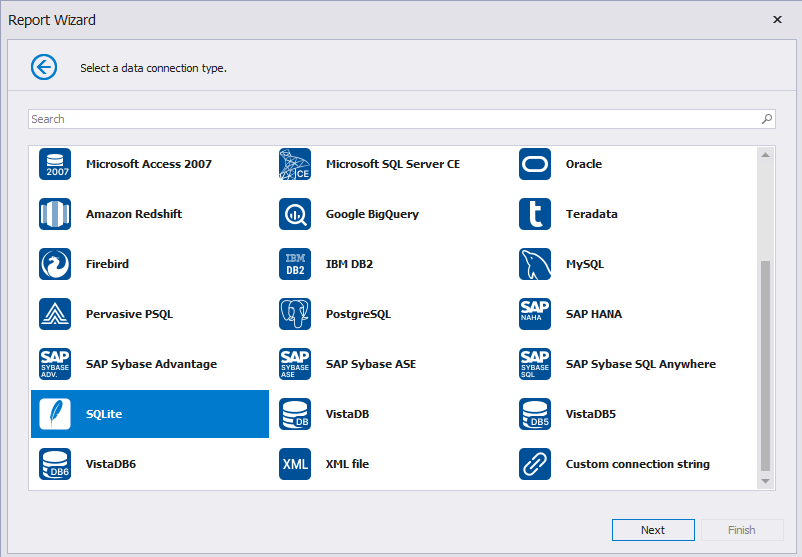
Select SQLite and click Next.
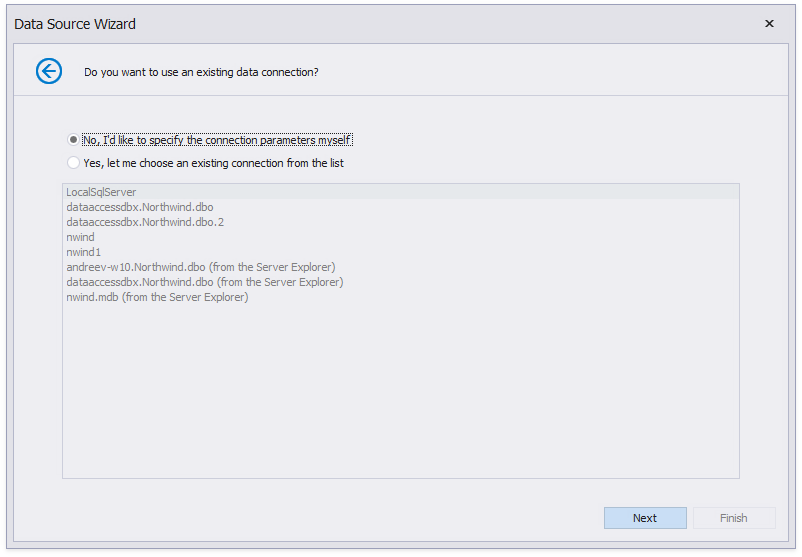
Choose No, I’d like to specify the connection parameters myself and click Next.
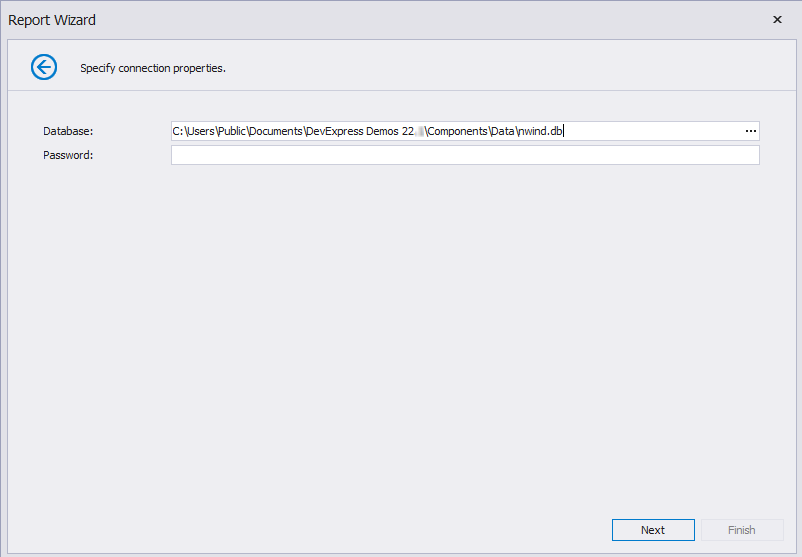
Specify connection parameters. Click Next.
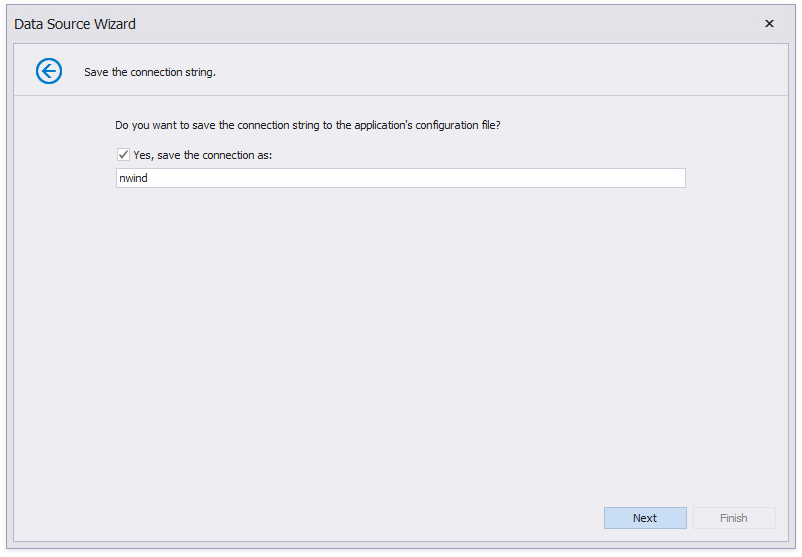
Save the connection and click Next.
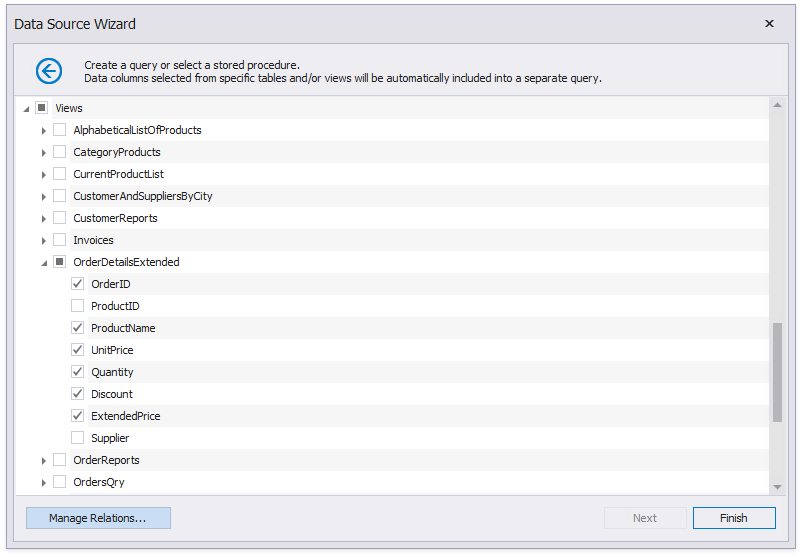
Select data tables and fields. Click Manage Relations.
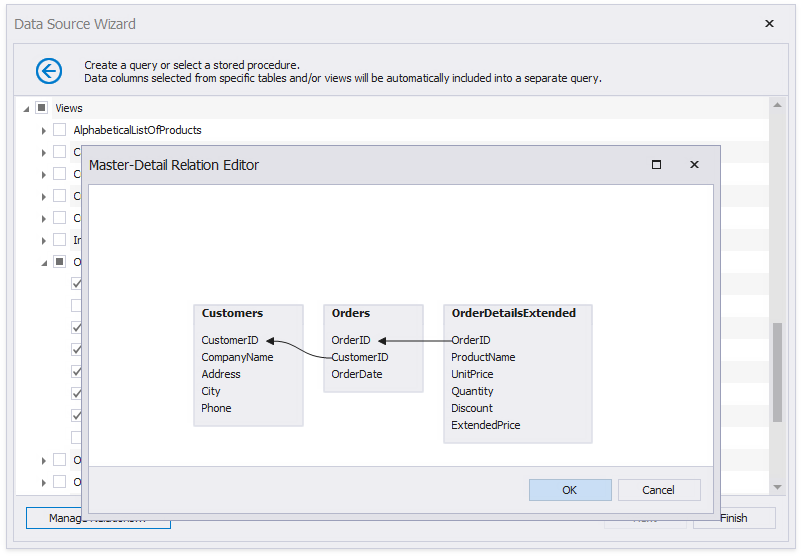
Specify relationships between the data tables and click OK. Click Finish to close the Data Source Wizard.
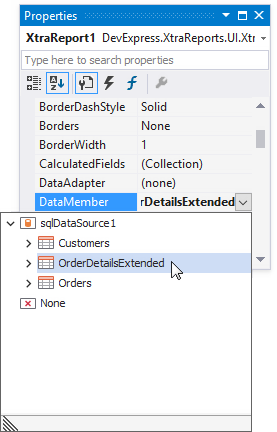
Set the report’s DataMember to OrderDetailsExtended.
Add a Data Table
Expand the OrderDetailsExtended query in the Field List and select the ProductName, UnitPrice, Quantity, and ExtendedPrice fields. Hold CTRL or SHIFT and click the fields to select multiple fields and drop them onto the Detail band.
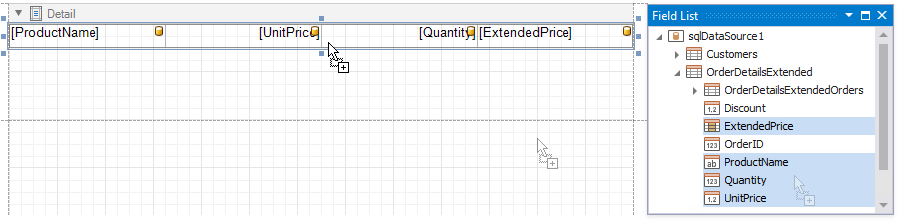
This creates an XRTable with each cell bound to a data field.
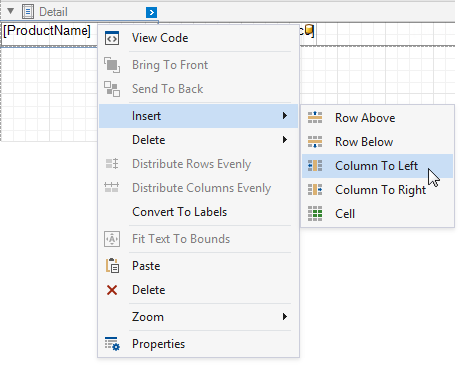
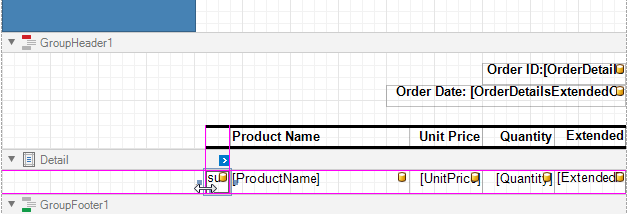
Add line numbers. Right-click the ProductName cell and select Insert | Column to Left from the context menu.
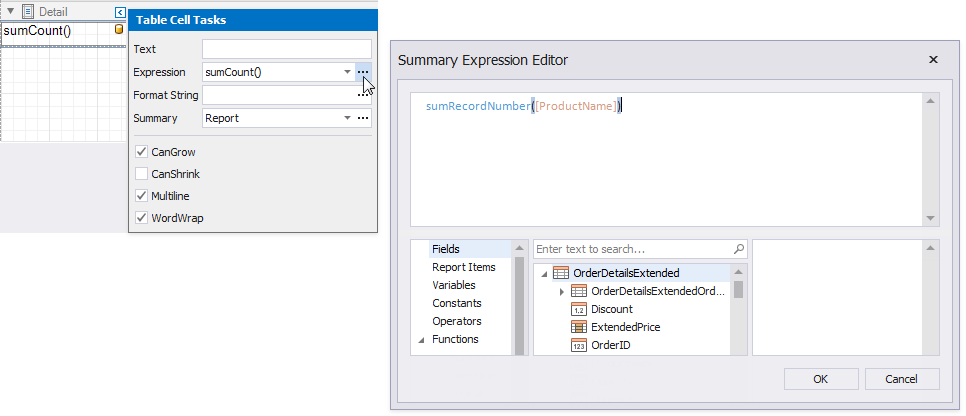
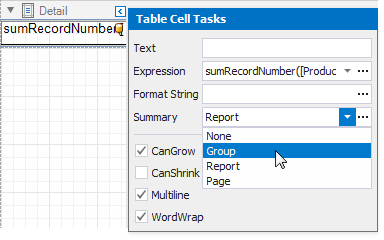
Select the new cell and specify the following property values:
- Summary: Report
- Expression: sumRecordNumber([ProductName])
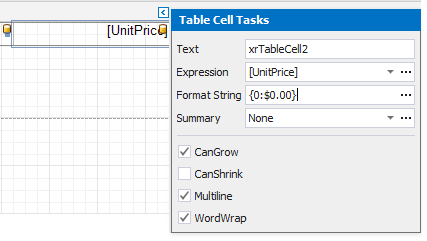
Format the currency data. Click the UnitPrice cell’s smart tag and set Format String to {0:$0.00}. Set the ExtendedPrice cell’s format string to the same value.
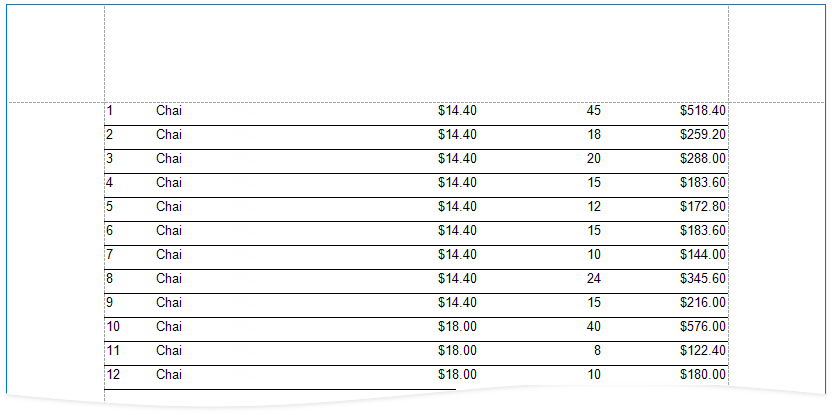
The resulting report lists all items from all invoices.
Group Data
Group table data by Order ID to produce invoices.
Right-click the design surface. Select Insert Band / GroupHeader from the context menu.

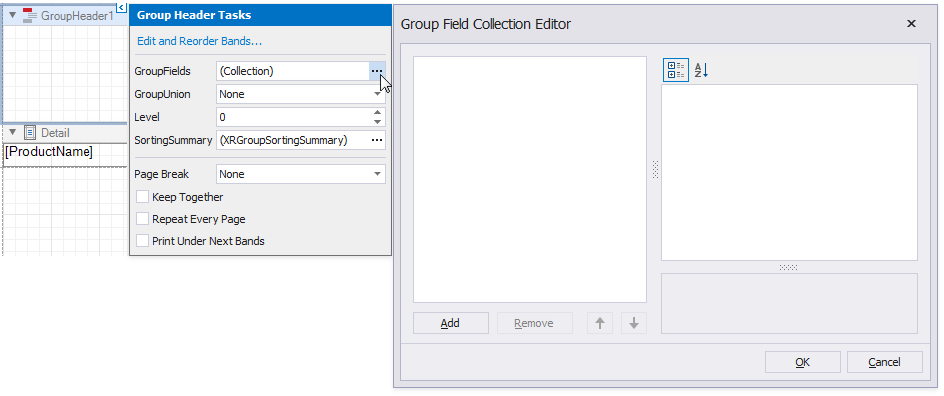
Click the GroupFields property’s ellipsis button in the GroupHeader‘s smart tag to invoke the Group Field Collection Editor.
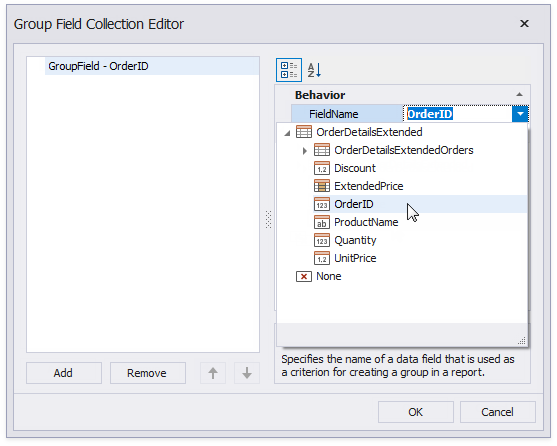
Click the Add button to add a group field. Expand the FieldName property’s drop down and select OrderID from the list.
Correct the line numbers, as the records are now arranged in groups. Select the cell that displays line numbers and change the Summary property to Group.
The GroupHeader band is printed for each group. Use it to add a heading that includes column titles, an invoice ID, and a date.
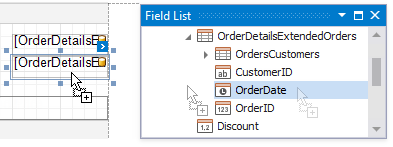
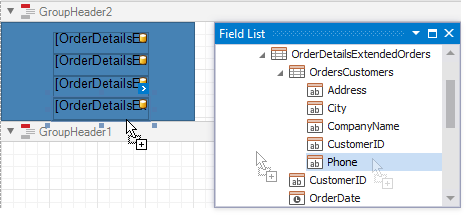
Switch to the Field List and select the fields for which you want to create column titles. Drag the selected fields onto the GroupHeader band with the right mouse button.

Switch to the Field List, select the OrderID field, and drop it onto the band. Do the same with the OrderDate field.
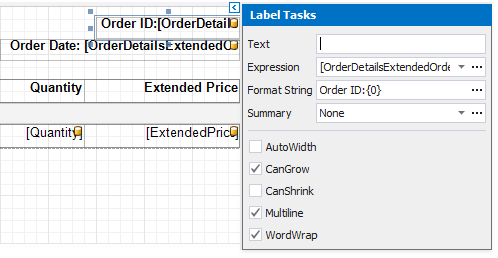
Add captions to the Order ID and OrderDate fields:
Click the OrderID label’s smart tag and set its Format String property to Order ID: {0}.
Click the OrderDate label’s smart tag and set its Format String to Order Date: {0:dddd, MMMM d, yyyy}.
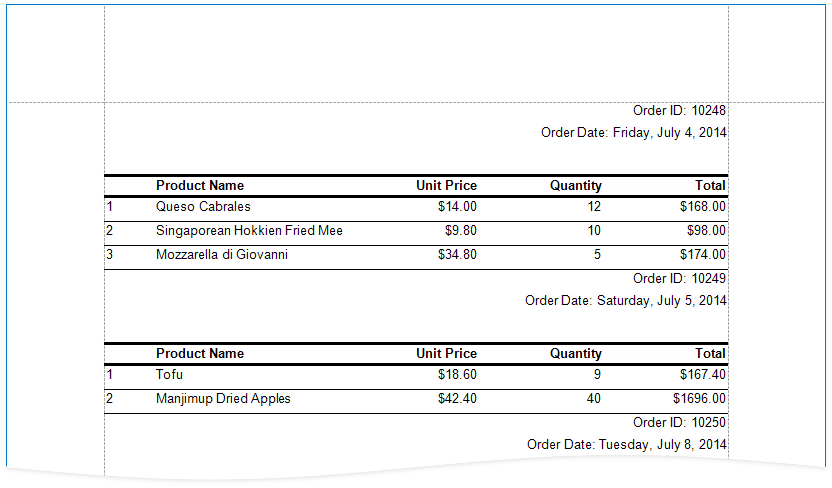
The records are now grouped by orders.
Add Totals
Add a footer to display totals and other summary data on invoices.
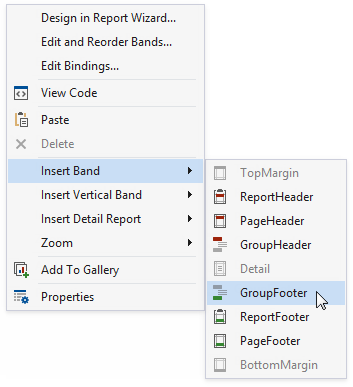
Right-click the design surface. Select Insert Band / GroupFooter from the context menu.
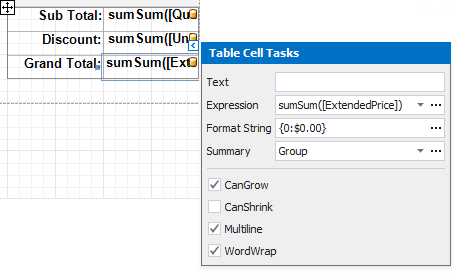
Drop an XRTable from the Toolbox. Configure the table’s cells to display the following totals:
Caption
Format String
Summary
Expression
Sub Total:
{0:$0.00}
Group
sumSum([Quantity] * [UnitPrice])
Discount:
{0:$0.00}
Group
sumSum([UnitPrice] * [Discount] * [Quantity])
Grand Total:
{0:$0.00}
Group
sumSum([ExtendedPrice])
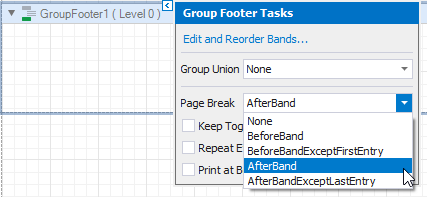
Place each invoice on a separate page. Click the GroupFooter‘s smart tag and set the PageBreak property to AfterBand.
Align the invoice totals to the bottom of the page. Click the GroupFooter‘s smart tag and check the PrintAtBottom property.
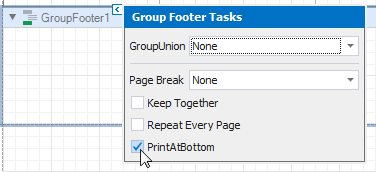
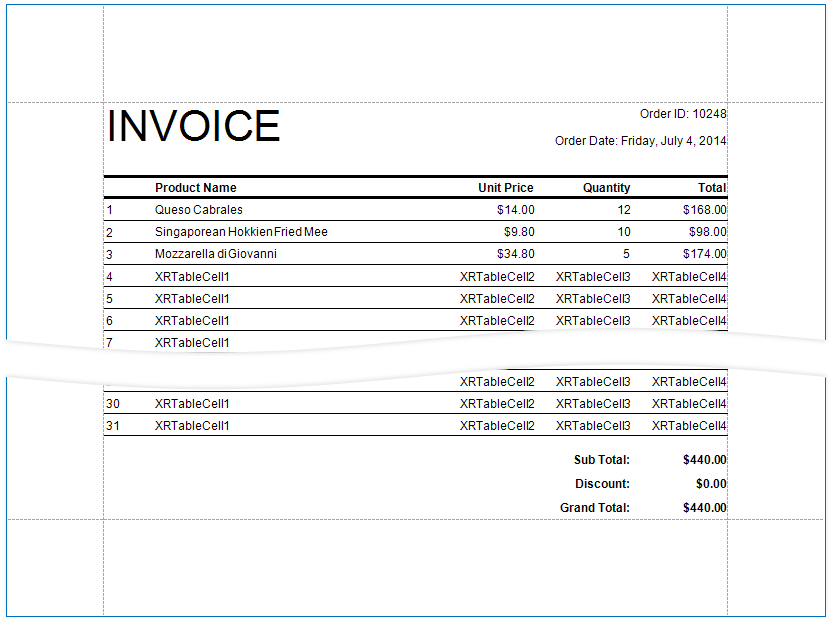
Each invoice is now placed on a separate page and the invoice totals are printed at the page bottom.
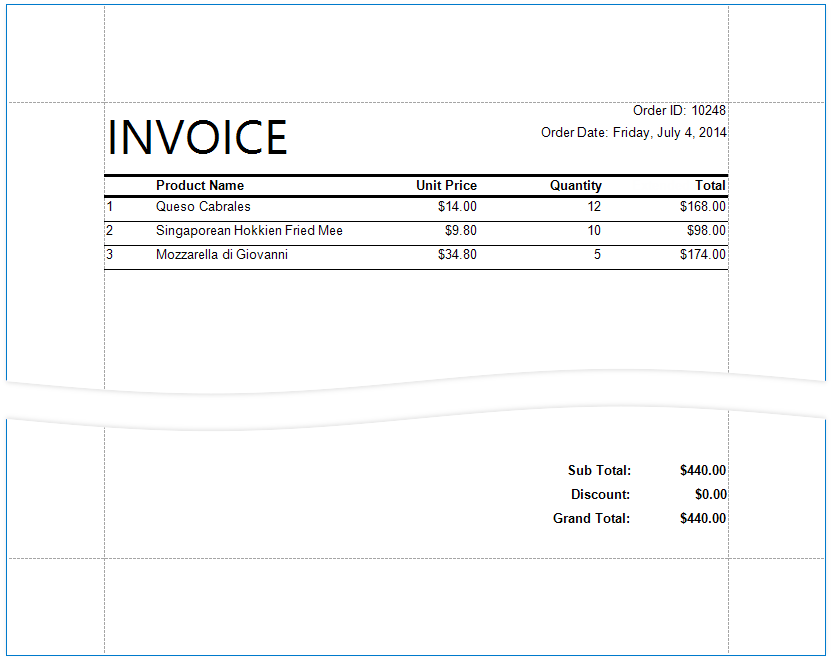
Populate the Empty Space
Add empty lines to invoices to populate the empty space between the Detail band’s data and the totals.
Click the Detail band’s smart tag and check the FillEmptySpace property.
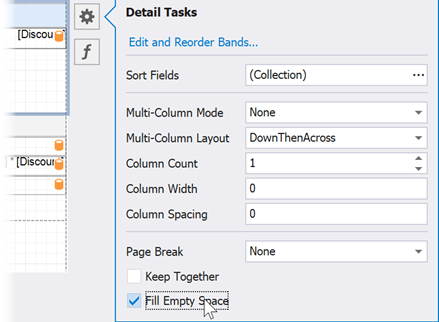
The empty region below the Detail band is populated with copies of the band. The band retains its layout, but report controls are printed without data. Their Text property values are displayed instead.
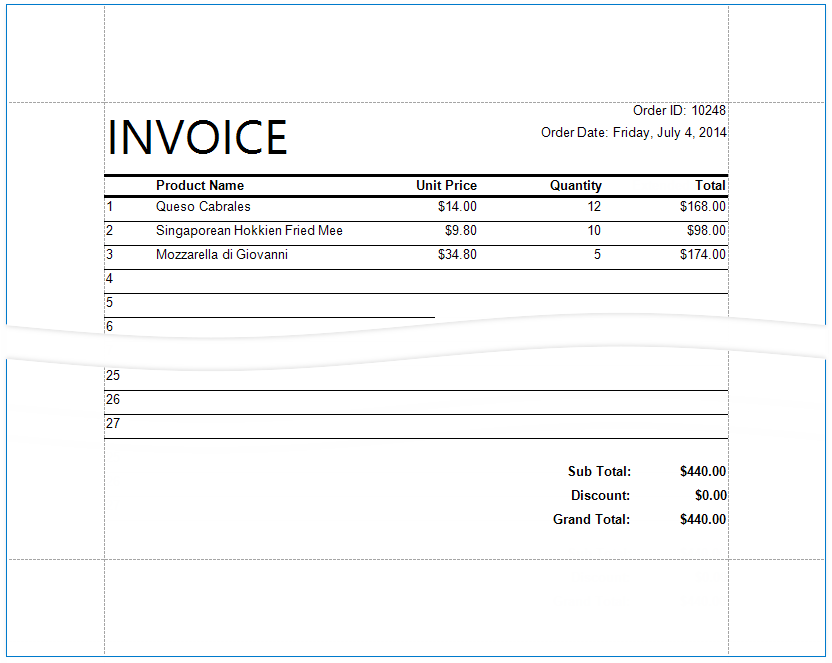
Click each cell’s smart tag and clear the Text property to display empty lines.

Add Cross-Band Data
Add a panel with recipient details across the entire invoice. Place the panel on a separate GroupHeader band that is printed in the background of other bands.
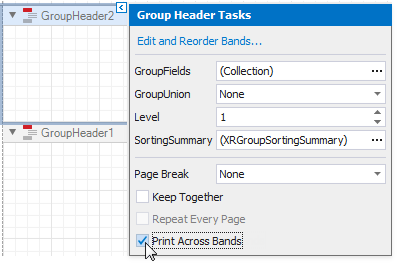
Add another GroupHeader band to the top of the report. Click the added band’s smart tag and set the PrintAcrossBands property. This makes the band content start at the top of the GroupHeader1 and end at the bottom of the GroupFooter1 band.
Tip
Choose PageHeaderBand instead of the GroupHeader band to limit the cross-band content to a page, even if the GroupFooter is on the next page.
As the new GroupHeader band is above the invoice header, it is not grouped by orders. To include it in the grouping, remove the OrderID group field from the GroupHeader1 band, and add it to GroupHeader2.
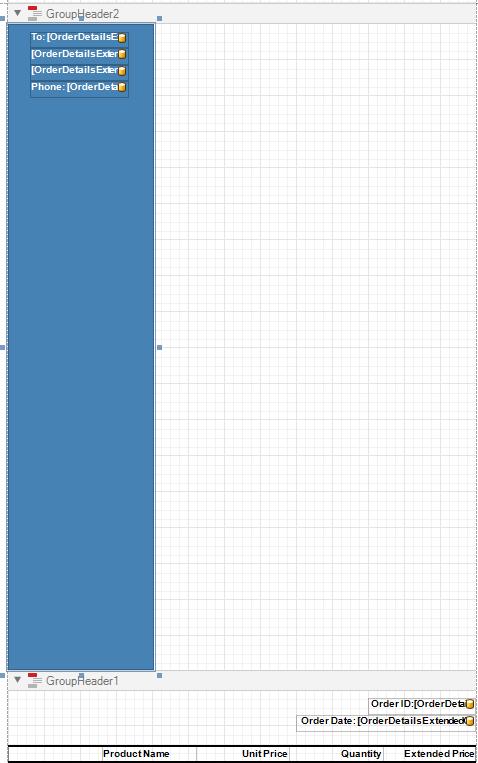
Add an XRPanel control to the GroupHeader. Specify the panel’s BackColor property and drop fields onto the panel.
Adjust the panel’s width and height. The height should match the page height, as the GroupFooter is printed at the bottom of the page.
Switch to Print Preview. The panel is printed on the background of the group content.
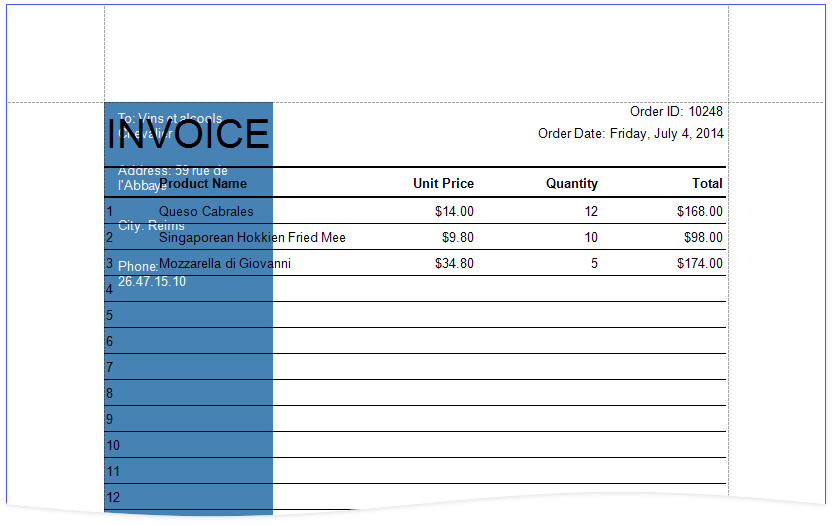
Adjust the content in other bands to print it side-by-side with the panel.
See the final report in Print Preview.
Create a Report with Cross-Band Content and Populated Empty Space in the End-User Report Designer
Tutorials that explain how to create different reports in EUD Report Designers for WinForms and Web are included in the End-User Documentation online help section: