Options Layers
- 4 minutes to read
CodeRush stores configuration settings in layers. Options Layers allow you to perform the following actions:
- Share options with team developers working on the same solution.
CodeRush applies these options automatically to all team members when the solution is open.
- Use different options for different solutions.
For example, the “bb” Template Name Variable shortcut can reference your custom “BigBus” class in one solution, and the “BelgianBeer” class in another.
The following table describes the predefined layers:
| Name | Priority | Description | Location | Which Options to Store |
|---|---|---|---|---|
| Solution Personal | Highest | Your preferences for the current solution | Solution directory (.cr\personal). You need to correct .gitignore or .hgignore file if you use git or mercurial as the source control to exclude the .cr\personal folder. | Solution Team options you need to override |
| Solution Team | Middle | Preferences shared with a team | Solution directory (.cr\team). If you want to share files with your team, add these files to the .cr\team directory and commit them to the source control. | Code Style, Code Analysis options, etc. |
| Personal | Lowest | The default preferences for all your solutions | User’s AppData directory | Coding Assistance, Visualization options, etc. |
You can also add child options layers to any predefined layer. The custom layers are used to specify options that are not defined in the base layer. See the Custom Layers section for more information.
Smart Save
If you modify an option, CodeRush automatically updates the layer in which this option was previously set. If an option is not found in existing layers, CodeRush saves it to the user’s AppData directory.
For example, you set the default Right Margin value to 150. CodeRush saves this change to the Personal layer. Next, your team leader then sets this value to 160 in the team-shared solution, and CodeRush saves this value to the Solution Team layer. Modifications are visible after you pull changes from your VCS. Finally, you set the Right Margin value to 170. CodeRush now changes the option value only in the Solution Personal layer. This allows you to use the new options value without modifying the Solution Team layer.
Save Options to a Specific Layer
Use one of the following approaches to save options to a specific layer:
1) The CodeRush Options window.
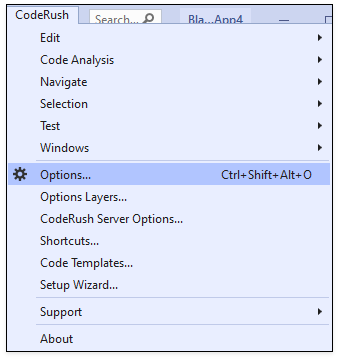
Choose CodeRush | Options… menu item in Visual Studio to access options.
Change options, click the Save To drop-down button, and choose the layer from the list.
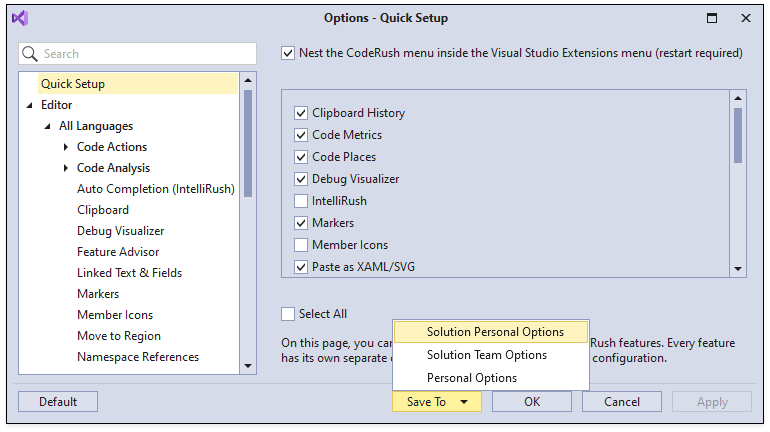
CodeRush closes the Options window and saves changes to the selected layer.
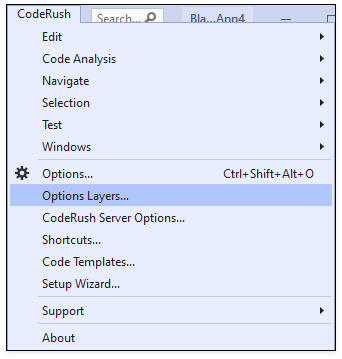
2) The Options Layers window.
Select the CodeRush | Options Layers… menu item to open the Options Layers window.
Double-click a layer or select it and click Edit (
 ) to edit its configuration.
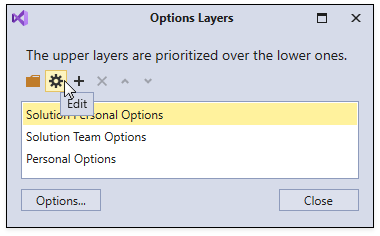
CodeRush opens the Layer Options window.
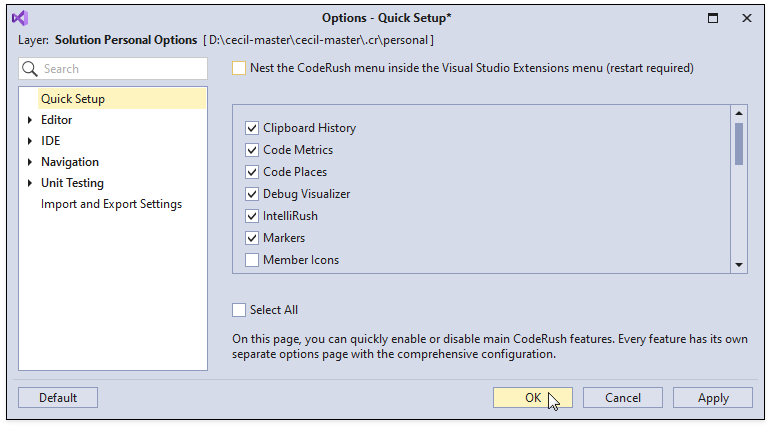
Modify options and click OK to save the changes and close this window.
CodeRush stores options whose values are different from the default ones. Refer to the Storing a Default Value in a Layer section for information on how to store a default value.
Layers Merging
The actual configuration settings are determined by merging all layers. Options defined in higher priority layers override the corresponding options in lower priority layers.
The table below shows an example of layer merging.
| Option | Default | Personal | Solution Team | Solution Personal | Merged |
|---|---|---|---|---|---|
| Enable Debug Visualizer | true | undefined | undefined | undefined | true |
| Enable Smart Semicolon | false | true | undefined | undefined | true |
| Right Margin Value | 120 | 160 | 80 | undefined | 80 |
| Local declaration style | Use implicit | undefined | Use explicit | undefined | Use explicit |
| Apply variable declaration style | false | true | true | false | false |
Note
To make an option undefined, set it to its default value.
Storing a Default Value in a Layer
When you edit a layer in the Options Layers window, you can store values different from the default layers.
To override an option value stored in the Solution Team layer with the default value, store the default value in the Solution Personal layer. For this, use one of the ways described in the Save Options to a Specific Layer section.
Custom Layers
You can add options custom layers to any predefined layer. For example, if you do not want to setup your personal navigation options for every solution. Options custom layers have a higher priority than the shipped layers.
Follow the steps below to add a new custom layer.
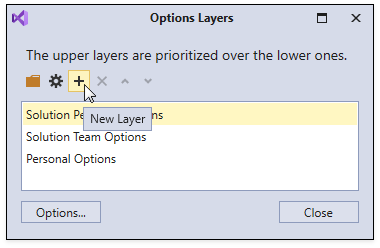
Open the Options Layers window.
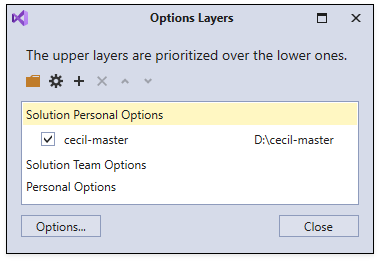
Select the layer you want to override and click the “+” button.
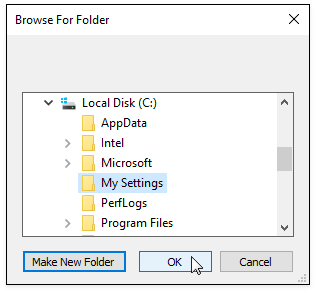
Specify a folder to store new settings or use a folder with pre-existing settings, and click OK.
You can store custom layers in any directory.
Reorder Custom Layers
Use arrow buttons to reorder custom layers.
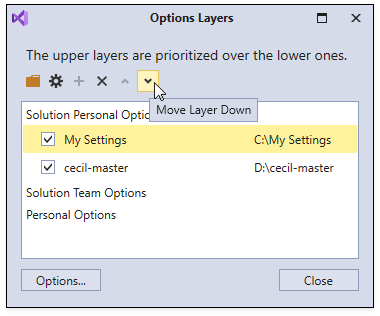
The top custom layers have the highest priority.
Delete a Custom Layer
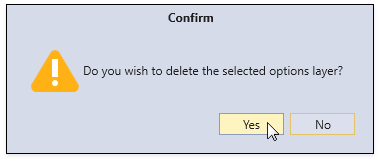
Select a custom layer and click the cross (x) button.
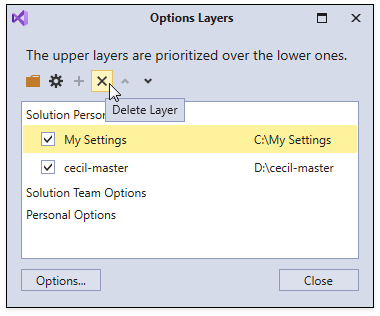
Click Yes to confirm the deletion.