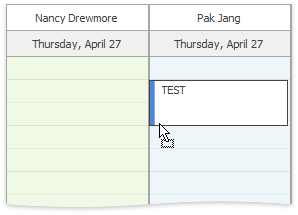
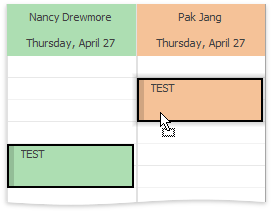
Visual Style Adjustments in version v17.1 and higher
- 2 minutes to read
This document describes the changes in behavior and appearance that have been implemented to make the UI similar to Microsoft Outlook 2016.
Description | v16.2 defaults | v17.1 defaults |
|---|---|---|
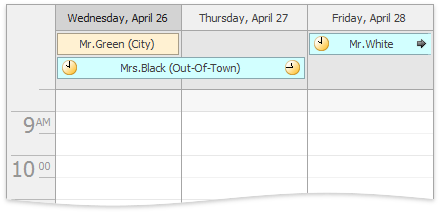
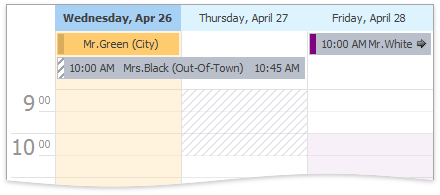
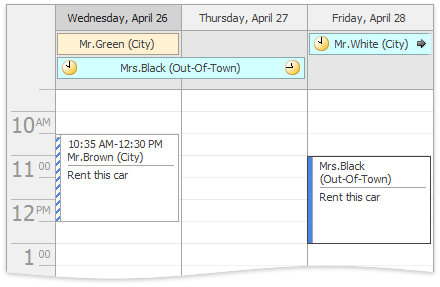
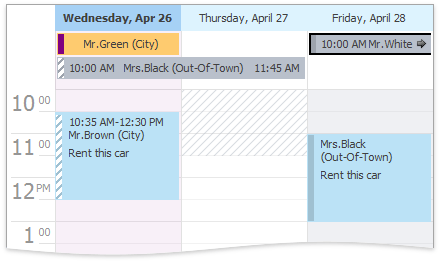
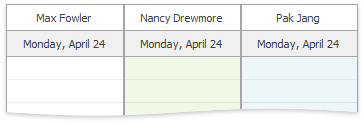
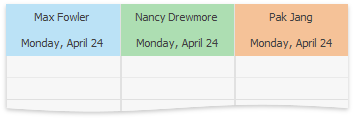
Filled Timecells with the appointment status texture and color. Use the SchedulerViewBase.StatusDisplayType option. If multiple appointments with different statuses occupy the same interval, the highest priority status is displayed. The priority is defined as follows (the lower number is higher priority): |
|
|
Cell selection color. You can use Skin Editor and Office 2016 skins to change the selection color, in addition to the AppearanceObject.BackColor and AppearanceObject.BackColor2 properties. | align = “center” | | align = “center” | |
Appointment Status Line orientation is vertical by default and does not indicate an appointment duration. Use the following options: WeekViewAppointmentDisplayOptionsEx.ShowAppointmentStatusVertically MonthViewAppointmentDisplayOptionsEx.ShowAppointmentStatusVertically TimelineViewAppointmentDisplayOptionsEx.ShowAppointmentStatusVertically |
|
|
All-day (Appointment.AllDay) appointments indicate their status as a vertical bar regardless of the DayViewAppointmentDisplayOptions.AllDayAppointmentsStatusDisplayType option value. To revert to the previous behavior, set the DayViewAppointmentDisplayOptionsEx.ShowAllDayAppointmentStatusVertically option to false. |
|
|
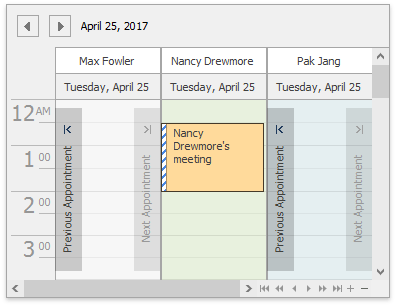
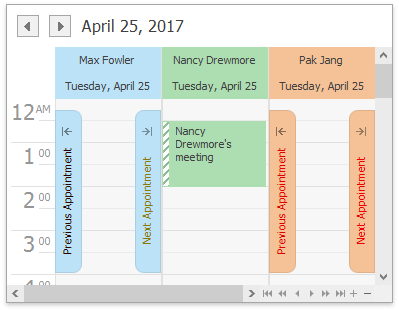
Office 2016 skins: Navigation Button appearance. |
|
|
Office 2016 skins: Day Header appearance. |
|
|
Office 2016 skins: Resource Header appearance. |
|
|
Office 2016 skins: Date Navigation Bar appearance. |
|
|
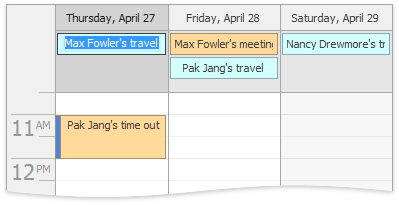
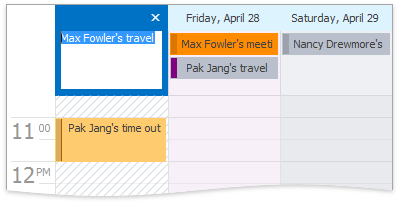
Inplace Editor has the Outlook 2016 style (a multiline editor) by default. Use the SchedulerOptionsView.UseInplaceEditor2016 option to switch back to the previous style (a single line editor). |
|
|
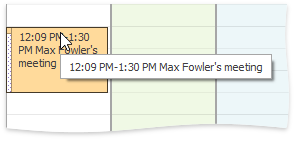
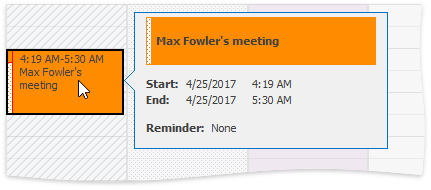
Shows Appointment Flyout instead of a tooltip by default. Set the SchedulerOptionsCustomization.AllowDisplayAppointmentFlyout property to false to show the tooltips. |
|
|
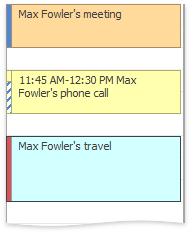
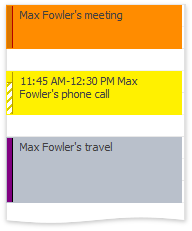
Appointment Status color matches the appointment label color, except the Out-Of-Office status, which is always displayed using its own color. |
|
|
Appointment without a label has the color of the status to which it belongs. |
|
|
Appointment Out-Of-Office color. Use the SchedulerCompatibility.StatusOutOfOfficeColor option to set the color as your needs dictate. |
|
|
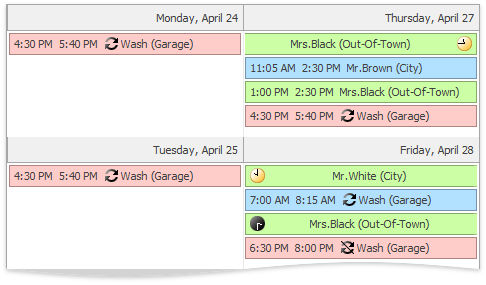
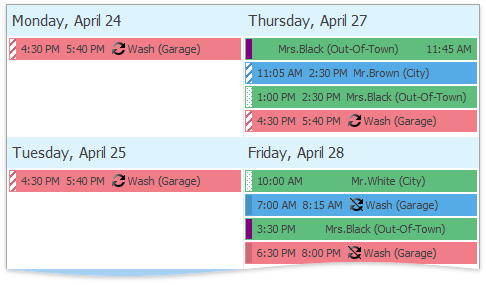
Appointment Start and End time display. The default AppointmentDisplayOptions.TimeDisplayType value is Text, so that an appointment’s start and end time is always shown as text. |
|
|
