Place an Action in a Different Location
This lesson explains how to move an Action to a different location. Here we show how to move the ClearTasksAction to the Edit Action Container. You defined this action in the Add a Simple Action lesson.
You will move the ClearTasksAction to the Edit Action Container. You defined this action in the Add a Simple Action lesson.
Note
Before you proceed, take a moment to review the following lessons:
Step-by-Step Instructions
- In the MySolution.Module project, double-click the Model.DesignedDiffs.xafml file to invoke the Model Editor.
In the Model Editor, navigate to the ActionDesign | ActionToContainerMapping node. Its child nodes correspond to the Action Containers. The Actions are mapped to Action Containers according to the Category property values. Expand the View node that is the View Action Container. Drag the ClearTasksAction child node to the Edit node. Set the node’s Index to
0.
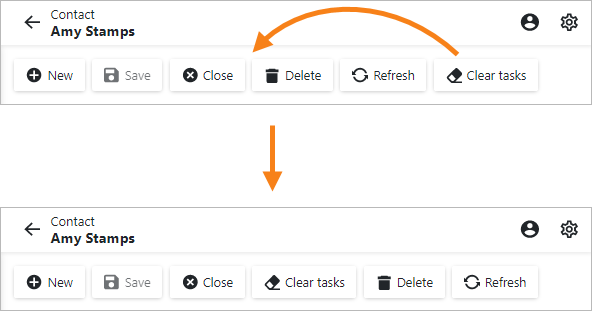
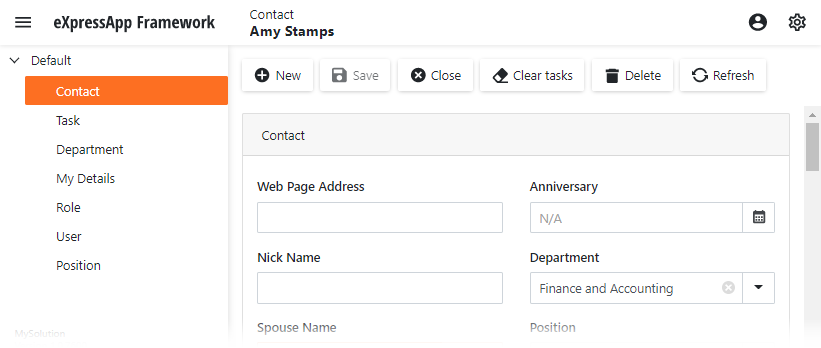
Run the application. In the Task detail view, the ClearTaskAction button is displayed to the left of the Delete button.
Tip
You can handle the ActionControlsSiteController.CustomizeContainerActions event to change an Action location in code.