How to: Display a List View as a Pivot Grid Table and Chart (WinForms)
- 3 minutes to read
This topic demonstrates how to display a default List View as a pivot table in XAF applications:
Note
This scenario is based on the MainDemo Blazor Server demo application that ships with XAF. You can find this demo in the following folder: %PUBLIC%\Documents\DevExpress Demos 25.2\Components\XAF\MainDemo.NET.EFCore\CS\MainDemo.Blazor.Server.
The article uses a sample Order business object with the Customer, Product Name, Product Category, Price, and Units Purchased fields.

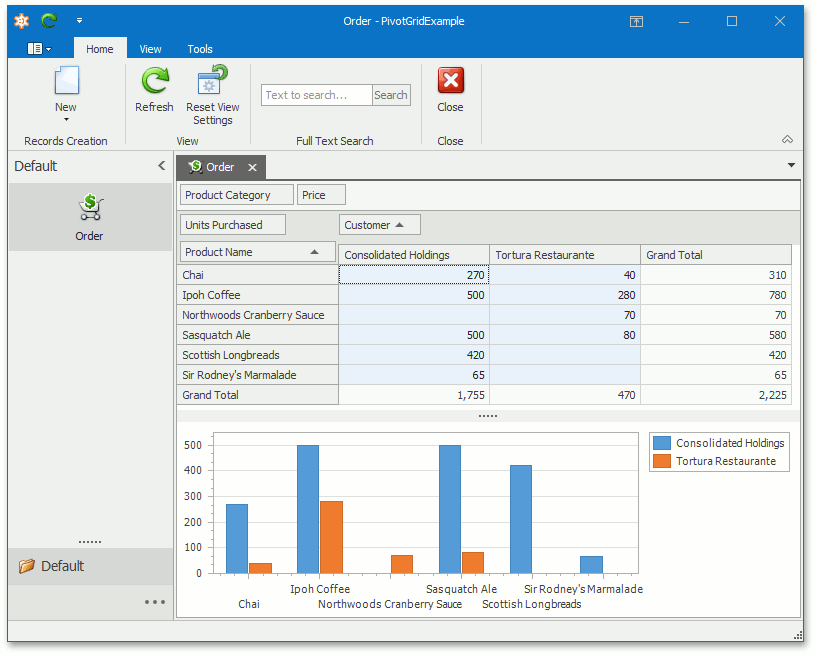
You can display the Order List View as a pivot table by adding the Pivot Grid Module to your application and replacing the default Grid List Editor with the Pivot Grid List Editor. The screenshot below demonstrates the result.
You can see examples with Pivot Grid List Editors in the FeatureCenter demo shipped with XAF. The default location of the application is %PUBLIC%\Documents\DevExpress Demos 26.1\Components\XAF\FeatureCenter.NET.XPO.
Add the Pivot Grid Module
You can add modules to your application when you use the Template Kit to create a new XAF solution. Select modules in the Additional Modules section.
- To add an extra module in code, add it to the XafApplication.Modules or ModuleBase.RequiredModuleTypes list (adding a reference to the module assembly is insufficient).
In XAF applications, you can call the AddPivotGrid(IModuleBuilder<IWinApplicationBuilder>) method in your WinForms application builder.
Change the List View’s List Editor
- Double-click the Module.Win project’s Model.DesignedDiffs.xafml file to invoke the Model Editor for this project.
Navigate to the Views | Order_ListView node. In the EditorType (IModelListView.EditorType) property’s drop-down, select “DevExpress.ExpressApp.PivotGrid.Win.PivotGridListEditor” instead of XAF’s default List Editor.

Specify Pivot Grid Settings
- Invoke the Model Editor from the Module.Win project.
Navigate to the Views | Order_ListView_PivotGrid | PivotSettings node.

- Set the IPivotSettings.ShowChart property value to
trueand IPivotSettings.CustomizationEnabled tofalse. Select the IPivotSettings.Settings property and click the ellipsis button to invoke the PivotGrid Designer.

In the PivotGrid Designer, navigate to Main | Layout. Place the Product Name field in the Row Header Area, the Customer field in the Column Header Area area, and the Units Purchased field into the Data Header Area – as shown in the screenshot. Drag the Product Category and Price fields onto the Filter Header Area area to exclude them from the pivot table. This yields a pivot grid table that summarizes sales by customer.

Run the Application
Run the Windows Forms application and select the Order Navigation Item to display the pivot table.

Tip
For additional information on working with pivot tables, refer to the Pivot Grid control article (Windows Forms) and watch the DevExpress Pivot Grid: Getting Started (Windows Forms) video.