Create Blazor Report Viewer Application from DevExpress Template
- 5 minutes to read
Prerequisites
- Install the .NET 5.0 SDK.
- Install Visual Studio 2019 (latest version) with the ASP.NET and web development workload.
- Use the DevExpress .NET Product Installer to install DevExpress Blazor components.
When you use the DevExpress .NET Product Installer to install Blazor components, the DevExpress Template Gallery automatically appears in Visual Studio’s New Project menu. The Gallery contains DevExpress Blazor project templates.
Create a New Blazor Application
Perform the following steps to create a sample Blazor application in Visual Studio:
Click Create a new project on Visual Studio’s start page and select the DevExpress v21.2 Blazor App Template Gallery.
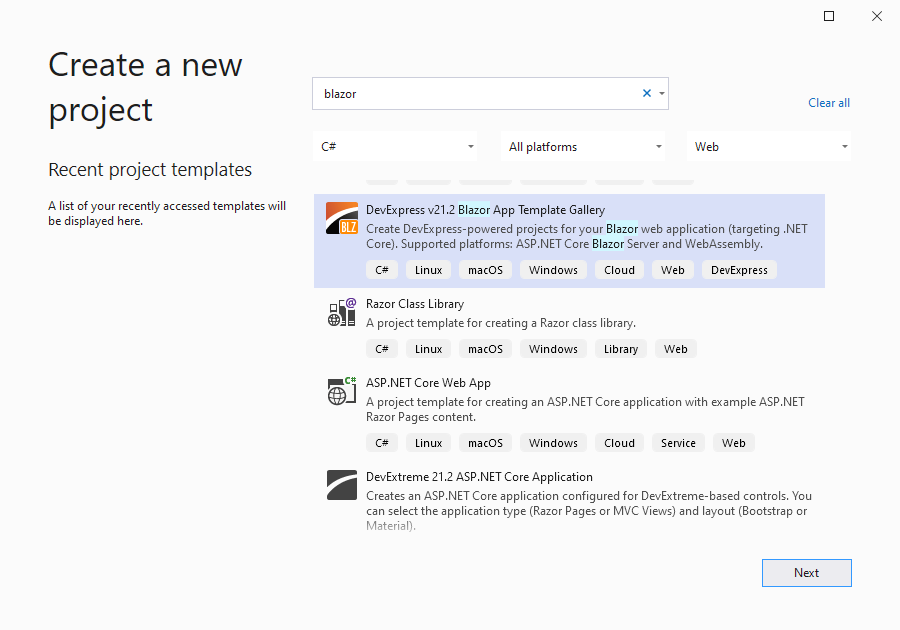
Click Next.
Specify the project name and location.
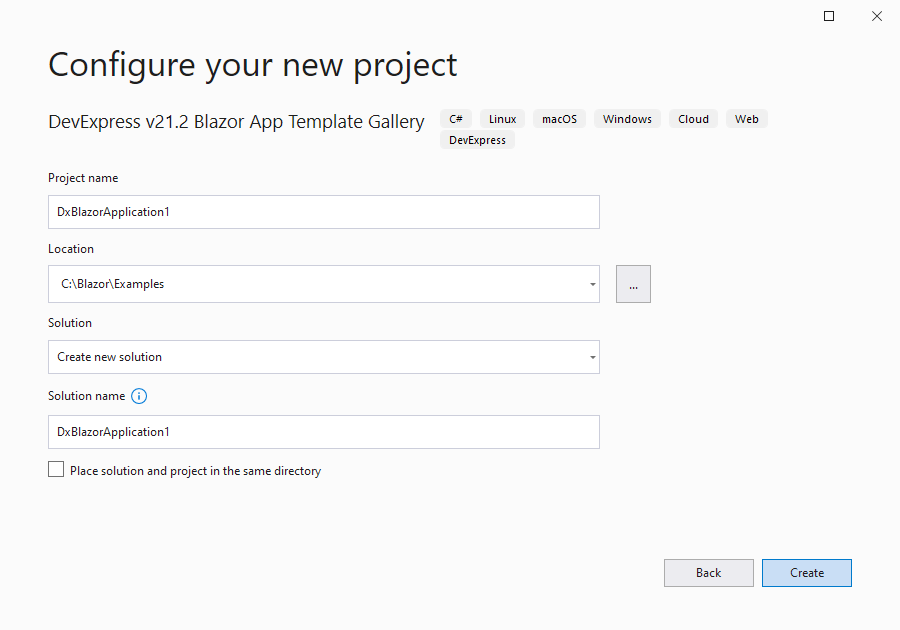
Click Create.
Select the Blazor Server Application.
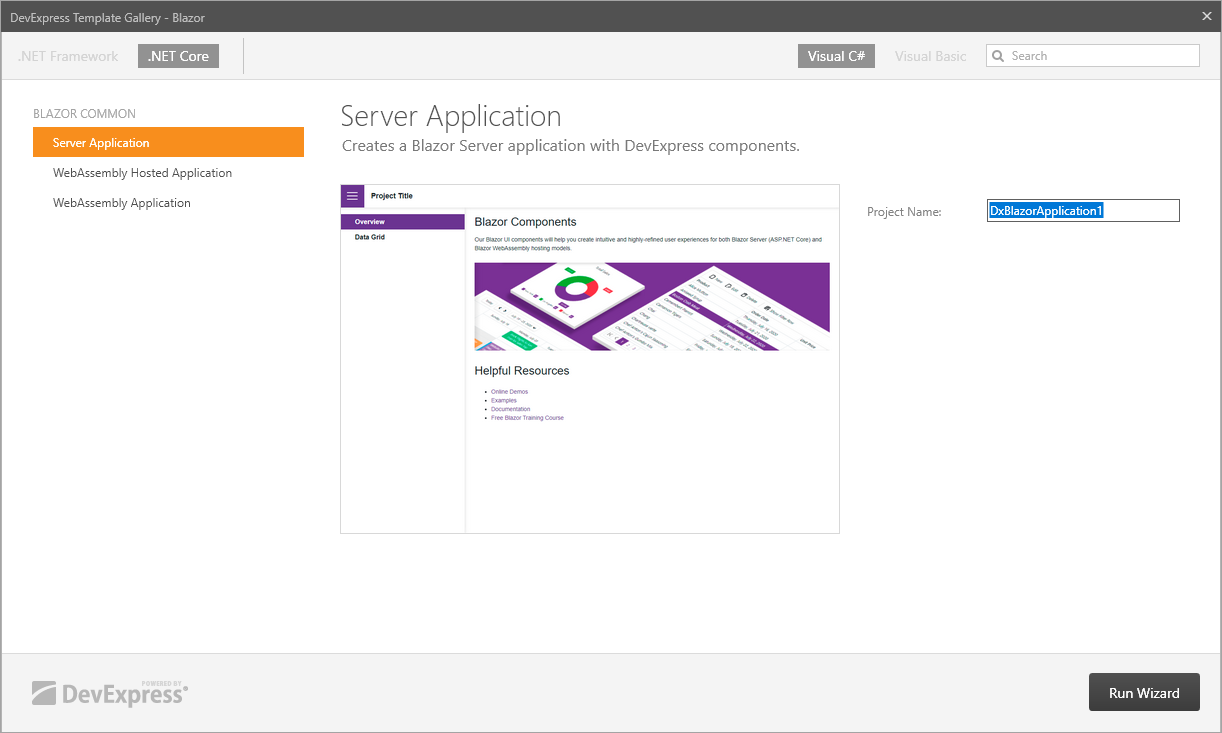
Click Run Wizard.
The DevExpress Blazor Project Wizard allows you to select a theme to change the appearance of all components, and specify the culture used to localize UI elements. Click Create Project.
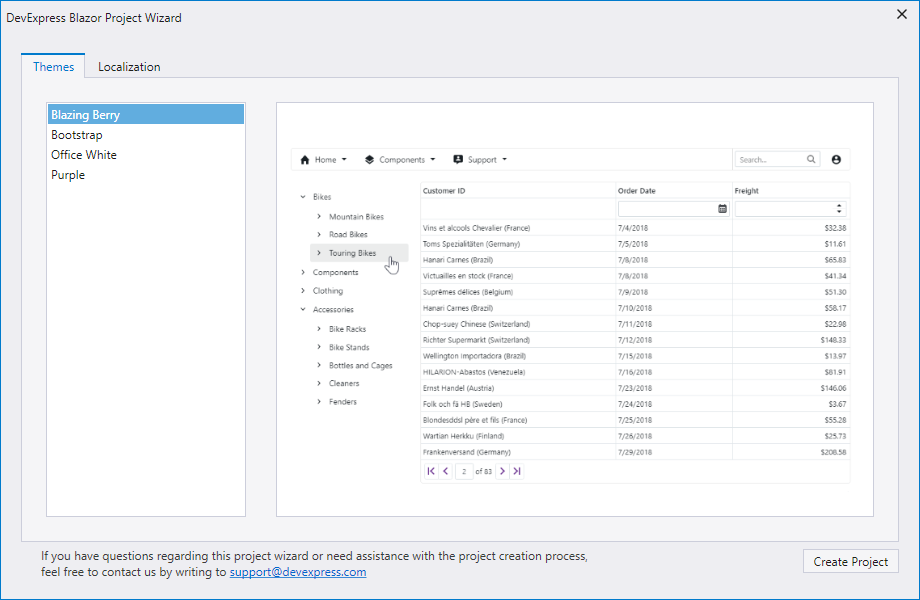
The Server Application template creates a project that includes the following:
- References to the DevExpress Blazor NuGet package and DevExpress resources
- The DevExpress Blazing Berry theme
- Sidebar navigation based on the TreeView component
- The Data Grid component
Install the DevExpress Blazor Reporting NuGet Package
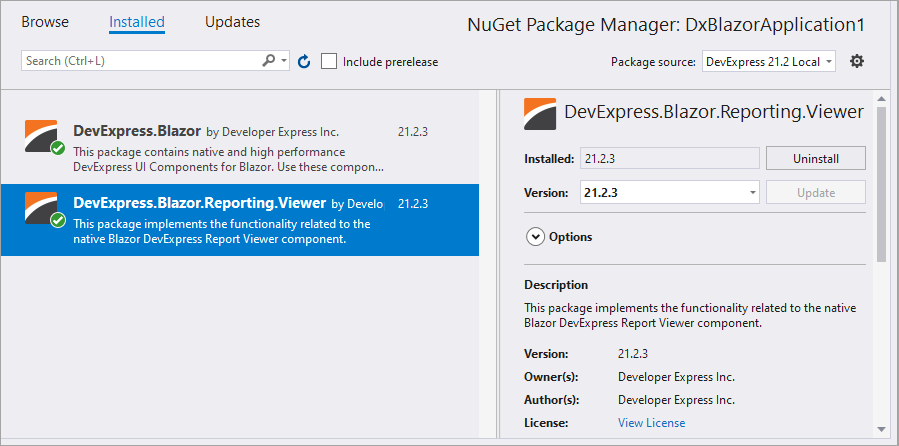
Right-click the Dependencies node in the Solution Explorer and select Manage NuGet Packages in the context menu.
In the invoked dialog, click the Browse tab, select the DevExpress 21.2 Local package source, and install the
DevExpress.Blazor.Reporting.ViewerNuGet package.The DevExpress 21.2 Local package is automatically added as a package source to your NuGet configuration files if you use the DevExpress .NET Product Installer.
Note
The
DevExpress.Blazor.Reporting.ViewerNuGet package contains the Report Viewer native component for Blazor.The
DevExpress.Blazor.Reporting.JSBasedControlsNuGet package contains the Document Viewer and Report Designer JavaScript-based components.The
DevExpress.Blazor.ReportingNuGet package contains all Blazor Reporting components - the Report Viewer, Document Viewer, and Report Designer. This is a legacy package for Blazor Reporting apps. Please use one of the packages mentioned above for new projects.Build the project.
Register DevExpress Components
The DevExpress.Blazor NuGet package automatically adds the AddDevExpressBlazor method to the project. This method is necessary. You should check whether your project calls this method at startup (
Startup.DevExpress.csfile).Call the following methods to register services and apply settings specific to DevExpress:
- AddDevExpressServerSideBlazorReportViewer method
- UseDevExpressServerSideBlazorReportViewer method
- MapControllers method to specify endpoint routing.
Add the following lines to the Startup.cs file:
using Microsoft.AspNetCore.Builder;
using Microsoft.AspNetCore.Hosting;
using Microsoft.Extensions.DependencyInjection;
using DevExpress.Blazor.Reporting.Extensions;
// ...
    public class Startup {
        // ...
        public void ConfigureServices(IServiceCollection services) {
            services.AddRazorPages();
            services.AddServerSideBlazor();
            // ...
            services.AddDevExpressServerSideBlazorReportViewer();
        }

        public void Configure(IApplicationBuilder app, IWebHostEnvironment env) {
            // ...
            app.UseDevExpressServerSideBlazorReportViewer();
            // ...
            app.UseEndpoints(endpoints => {
                endpoints.MapBlazorHub();
                endpoints.MapFallbackToPage("/_Host");
                endpoints.MapControllers();
            })
        }
        // ...
    }
Implement the Export Controller
- In Visual Studio, create a new
Controllersfolder. Add a new class file
ReportingControllers.cswith the following content:using DevExpress.Blazor.Reporting.Controllers; using DevExpress.Blazor.Reporting.Internal.Services; public class DownloadExportResultController : DownloadExportResultControllerBase { public DownloadExportResultController(ExportResultStorage exportResultStorage) : base(exportResultStorage) { } }
Add Report Viewer
- Create a new
Viewer.razorpage in the Pages folder. - Add links to the DevExpress Blazor stylesheets.
- Add the
<DxReportViewer>…</DxReportViewer>markup.
The following code illustrates how to add a Report Viewer with a standard stylesheet:
@page "/viewer"

@using DevExpress.Blazor.Reporting

<h3>Viewer</h3>
<link rel="stylesheet" href="_content/DevExpress.Blazor/dx-blazor.css">
<link rel="stylesheet" href="_content/DevExpress.Blazor.Reporting.Viewer/css/dx-blazor-reporting-components.css">

<DxReportViewer @ref="reportViewer">
</DxReportViewer>

@code {
    DxReportViewer reportViewer;
}
If your application uses Bootstrap 5, reference a BS5 stylesheet instead:
@page "/viewer"

@using DevExpress.Blazor.Reporting

<h3>Viewer</h3>
<link rel="stylesheet" href="_content/DevExpress.Blazor/dx-blazor.css">
<link rel="stylesheet" href="_content/DevExpress.Blazor.Reporting.Viewer/css/dx-blazor-reporting-components.bs5.css">

<DxReportViewer @ref="reportViewer">
</DxReportViewer>

@code {
    DxReportViewer reportViewer;
}
Add Navigation Link
Add a navigation link to the
Shared/NavMenu.razorpage:<div class="sidebar @StateCssClass"> <DxTreeView AllowSelectNodes="true" CssClass="app-sidebar"> <Nodes> <DxTreeViewNode NavigateUrl="./" Text="Overview"></DxTreeViewNode> <DxTreeViewNode NavigateUrl="datagrid" Text="Data Grid"></DxTreeViewNode> <DxTreeViewNode NavigateUrl="viewer" Text="Report Viewer"></DxTreeViewNode> </Nodes> </DxTreeView> </div> @code { [Parameter] public string StateCssClass { get; set; } }Run the project.
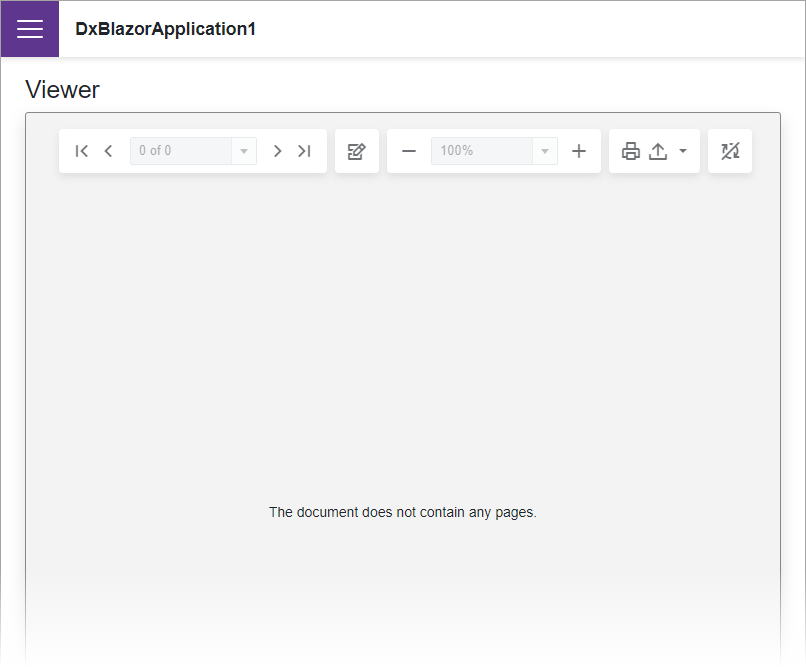
Click the hamburger menu in the upper left corner and Select Report Viewer. The page displays the Report Viewer component:
Add a Report to the Project
- In Visual Studio, create a new
Reportsfolder. - Press CTRL+SHIFT+A or select PROJECT | Add New Item… in the main menu.
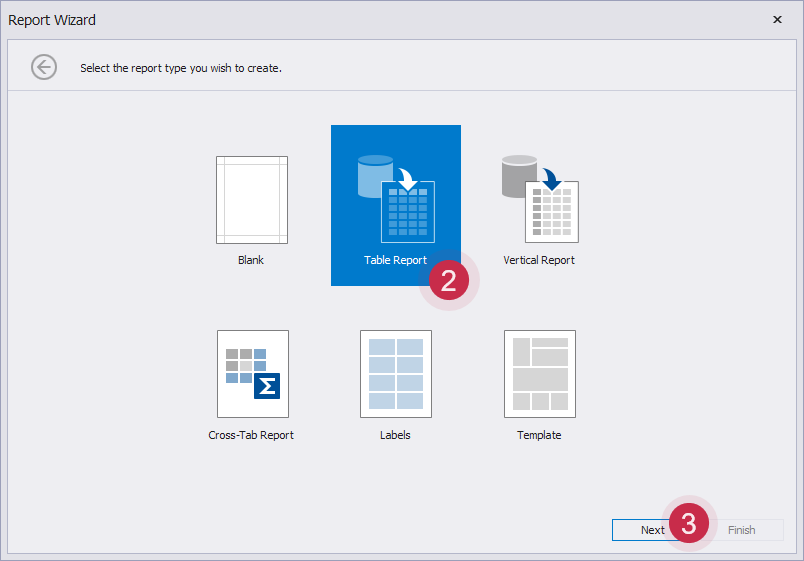
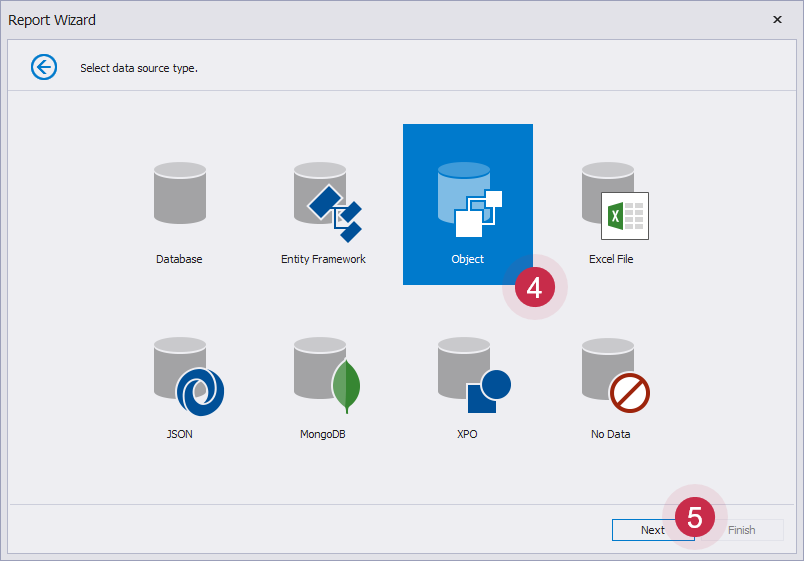
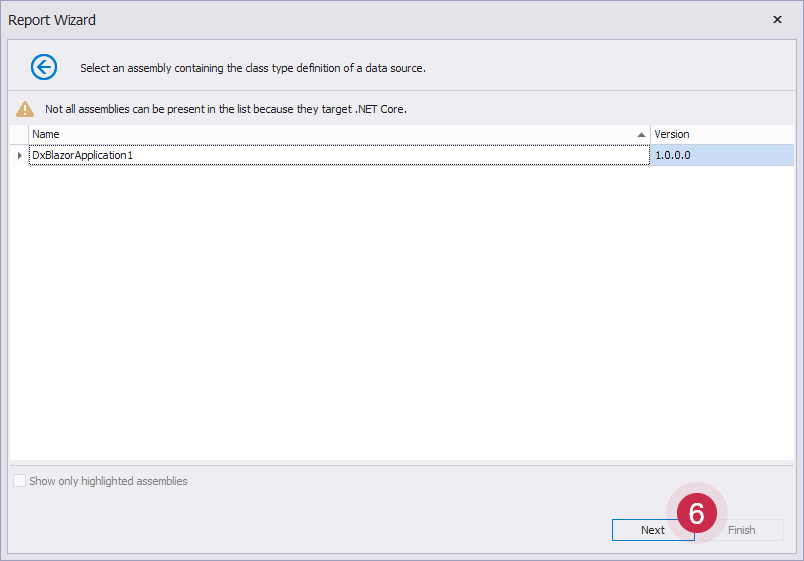
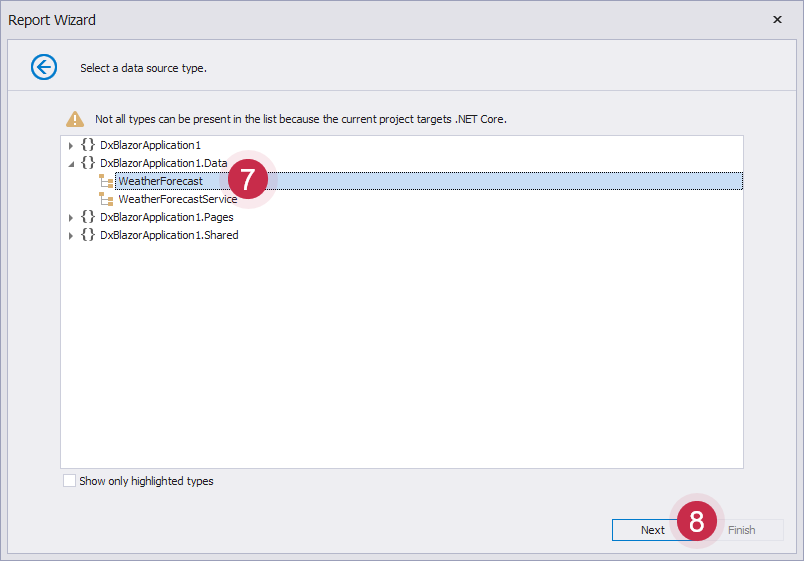
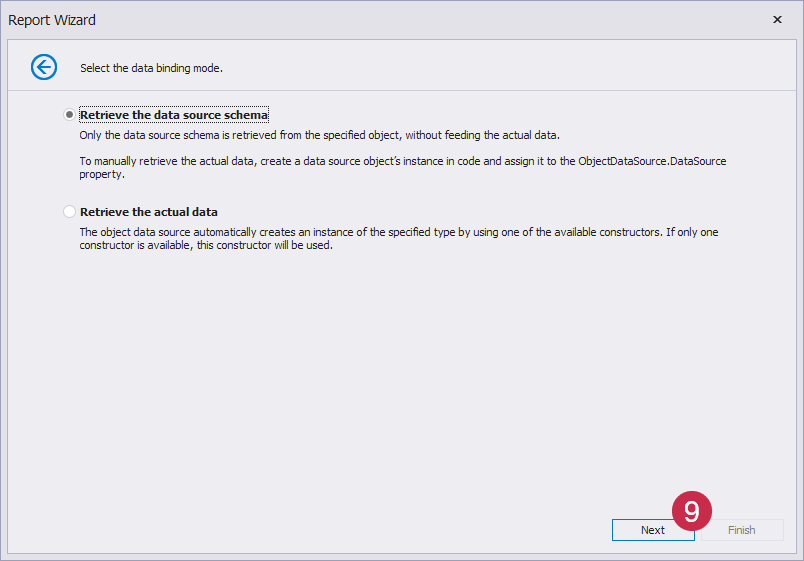
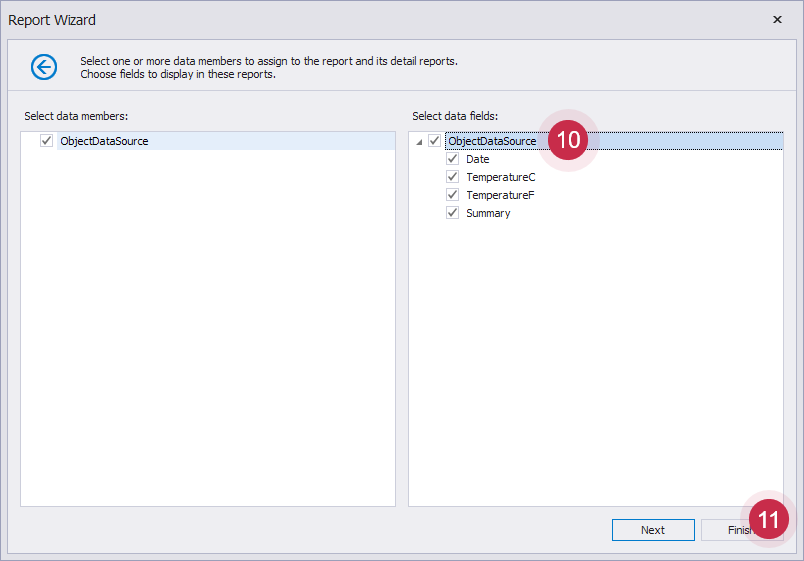
Select the DevExpress Report item and proceed to the Report Wizard to create the
TestReport.csfile.Show Visual Guide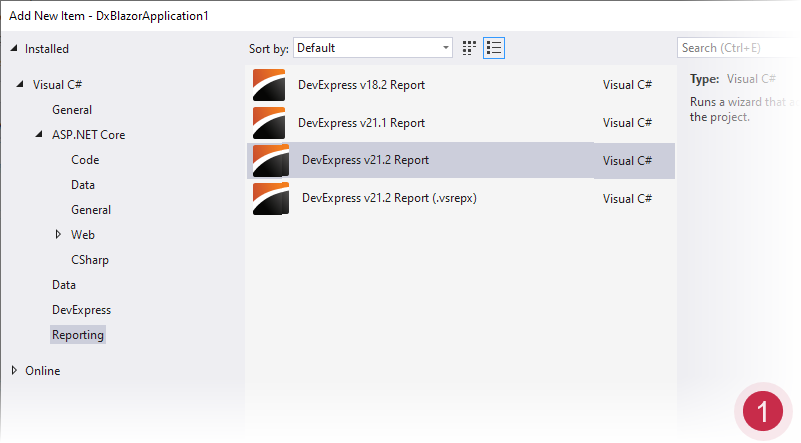
When you finish the Report Wizard, the
TestReport.csfile is added to the project. The Visual Studio Report Designer opens the newly created report. Select the cell bound to the Date data source field, click the smart tag glyph at the top right corner of the control, and select the Format String editor to change the field format to ‘d, MMMM yyyy’: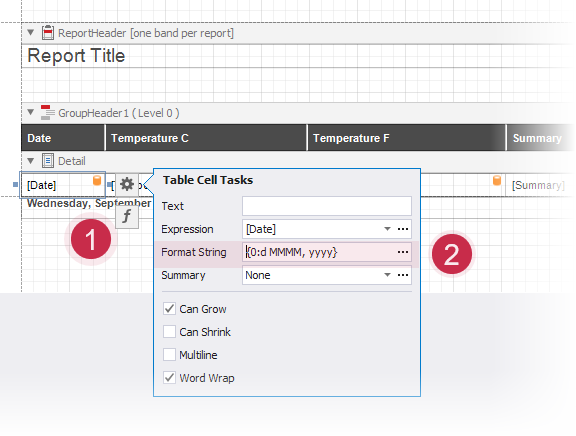
Specify a Report to View and Assign a Data Source
Initialize the data source, specify the report that the Report Viewer displays, and assign the data source to the report. The Viewer.razor page content is shown below.
@page "/viewer"

@using DevExpress.Blazor.Reporting
@using DevExpress.XtraReports.UI;

@using DxBlazorApplication1.Data
@inject WeatherForecastService ForecastService

<h3>Viewer</h3>

<link rel="stylesheet" href="_content/DevExpress.Blazor/dx-blazor.css">
<link rel="stylesheet" href="_content/DevExpress.Blazor.Reporting.Viewer/css/dx-blazor-reporting-components.css">

<DxReportViewer @ref="reportViewer" Report="@Report">
</DxReportViewer>

@code {
    DxReportViewer reportViewer { get; set; }
    XtraReport Report { get; set; }
    private WeatherForecast[] forecasts;


    protected override async Task OnInitializedAsync() {
        WeatherForecast[] forecasts = await ForecastService.GetForecastAsync(DateTime.Now);
        Report = new Reports.TestReport();
        Report.DataSource = forecasts;
    }
}
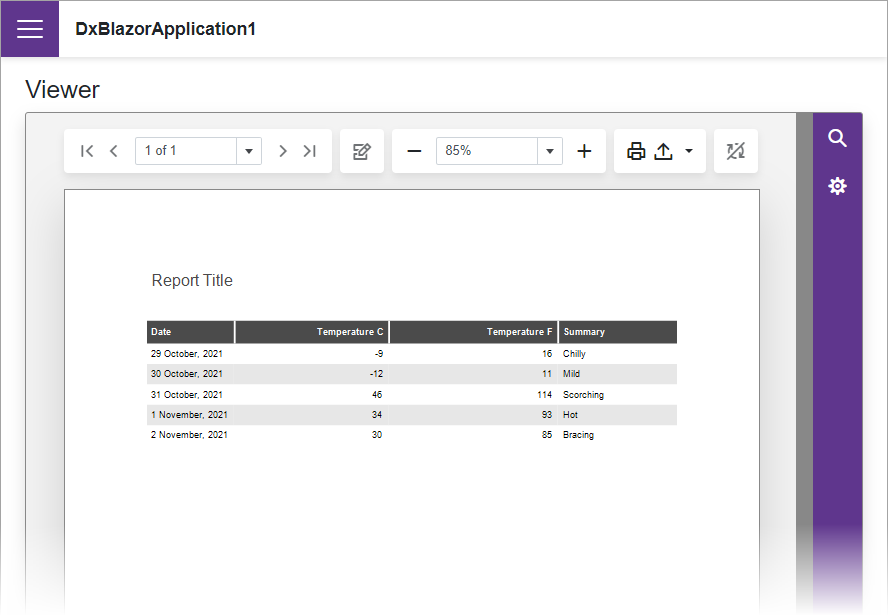
Run the Project
Run the project and see the result. The Report Viewer displays a tabular report with data from the WeatherForecastService data source.