Tutorial 3 - Use Parameters to Filter Report Data Dynamically
- 5 minutes to read
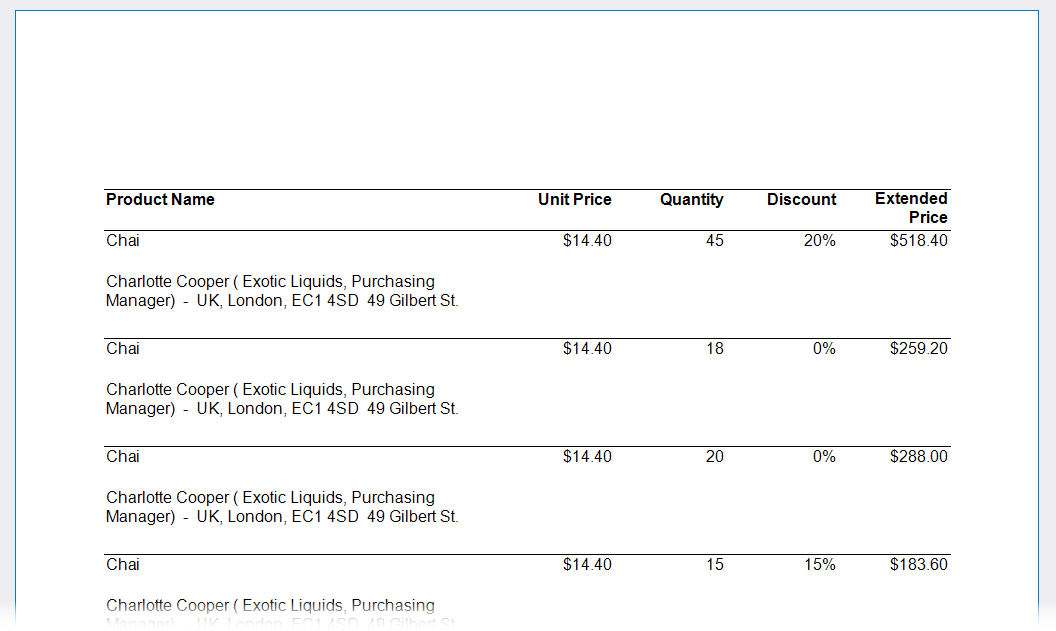
In the previous tutorial, we designed a table report that displays all records from the OrderDetailsExtended view.
This topic explains how to display records only for a particular order in a final report document and choose this order dynamically. The functionality that allows you to accomplish this task is called report parameters.
Over the course of this tutorial, you will create a report parameter and use it to filter report data based on the specified parameter value.
Create a Report Parameter
Right-click the Parameters node in the Field List and select Add Parameter.
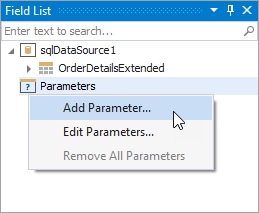
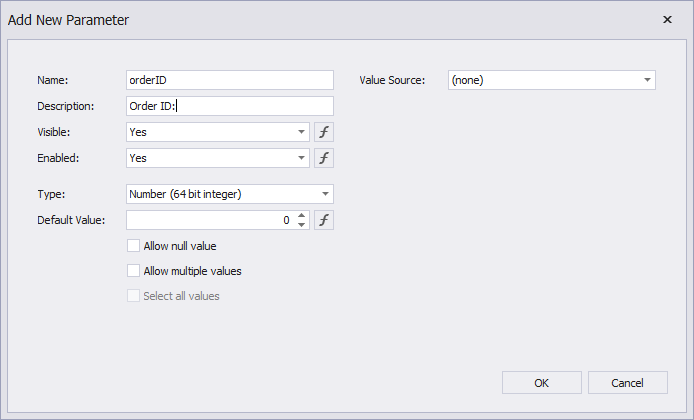
The Add New Parameter dialog appears.
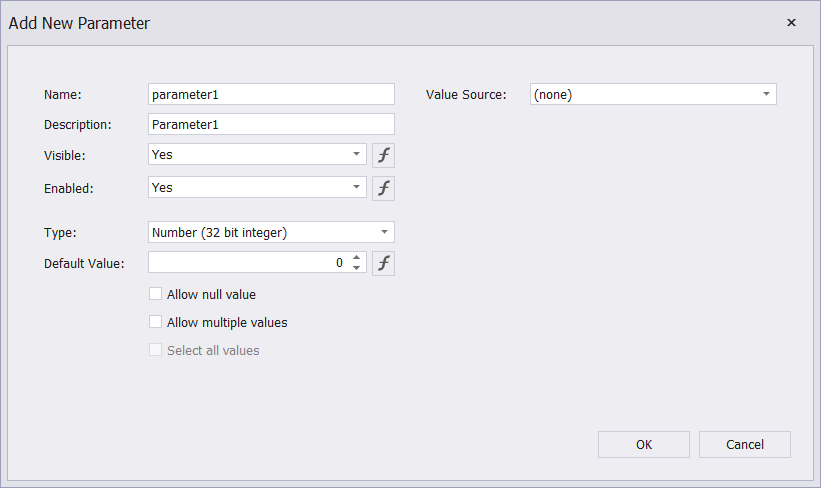
This dialog allows you to set up various parameter settings, such as name, description, default value, and others. You can find detailed information for each available setting in the following topic: Create a Report Parameter.
Specify Basic Parameter Settings
In this tutorial, we will configure only the parameter settings required to filter records of the OrderDetailsExtended view by an order ID. Specify parameter Name, Description, and Type settings as follows:
- Name = orderID
- The name by which you can reference a parameter in a report.
- Description = Order ID
- The name displayed in the Parameters panel in the report’s Preview.
- Type = Number (64 bit integer)
- A parameter type.
Each default parameter type definies a set of values a parameter can accept. You can also specify a custom predefined set of values (their types should match the selected default parameter type) for a report parameter. Since we want to filter records of the OrderDetailsExtended view by an order ID, we should allow our parameter to accept only those filter records whose order IDs are available in this view.
Specify the Source of Parameter Values
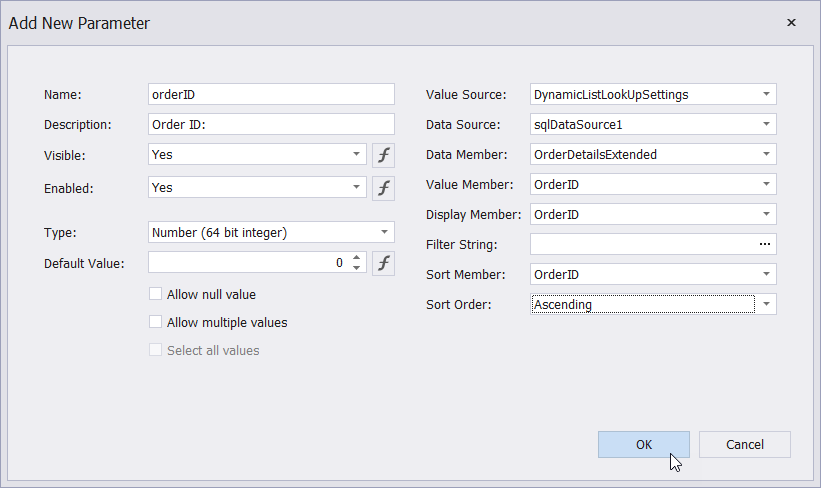
To load a predefined set of parameter values from a datasource view (table), set the Value Source property to DynamicListLookUpSettings. Configure the remaining properties as follows:
- Data Source = SqlDataSource1
- A datasource from which you want to load parameter values.
- Data Member = OrderDetailsExtended
- A specific table (view) from which you want to load parameter values.
- Value Member = OrderID
- A table’s (view) field whose values you want to use as accepted parameter values.
- Display Member = OrderID
- A table’s (view) field whose values you want to use as display names in the Parameters panel.
- Sort Member = OrderID
- A field by which you want to sort values the parameter can accept.
- Sort Order = Ascending
- Specifies the sorting order.
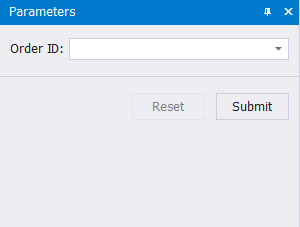
You can switch to Preview and see that the parameter appears in the Parameters panel.
Use the Parameter to Filter Report Data
This section explains how to configure a report’s filter string to filter data based on the value of the created orderID parameter. Follow the steps below to accomplish this task.
Click the report’s smart tag and select the Filter String property’s ellipsis button.
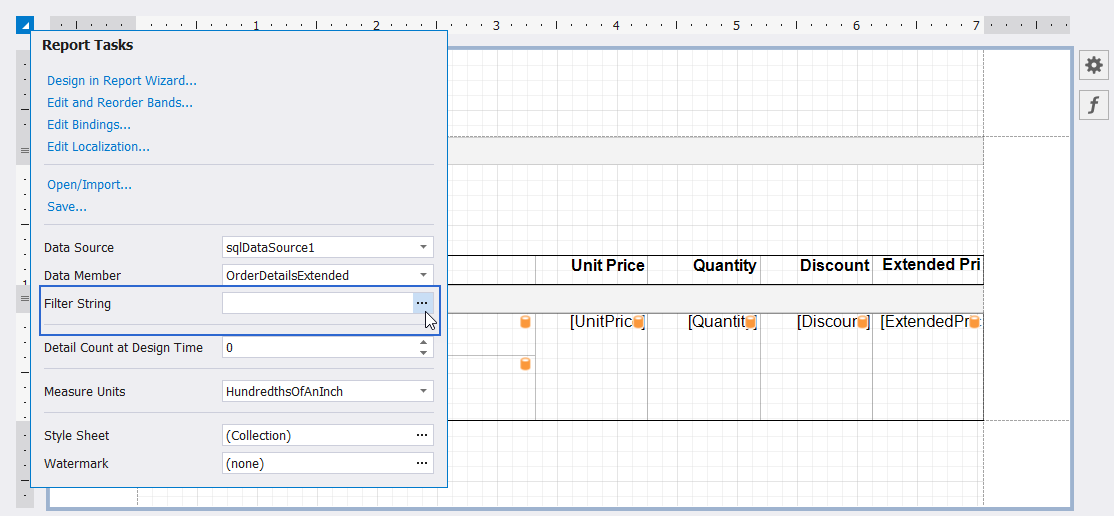
This action invokes the FilterString Editor. Specify the following expression (filter condition) in the editor: [OrderID] = ?OrderID.
You can copy this condition and paste it to the FilterString Editor‘s text field (located at the bottom), or construct a condition using the UI, as shown in the following image:
The specified condition means that only the records whose OrderID field matches the specified parameter value are displayed in the report.
Tip
If you assign a filter condition only to the report’s Filter String property, the report data is filtered at the report level. In this scenario, the report loads all data from the data source first, and then applies the filter condition. If your data source contains a large amount of data, the data load operation can be a resource-consuming operation.
As an alternative, the DevExpress Reports Suite also allows you to filter data at the data source level. See the following topic for more information: Filter Data at the Data Source Level.
Display the Selected Parameter Value in the Report
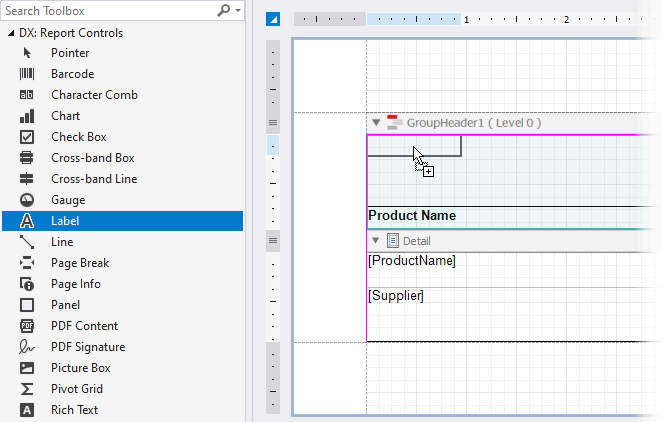
Add information about the current order ID to the report header. Drop a label (the XRLabel control) onto the report’s GroupHeader band.
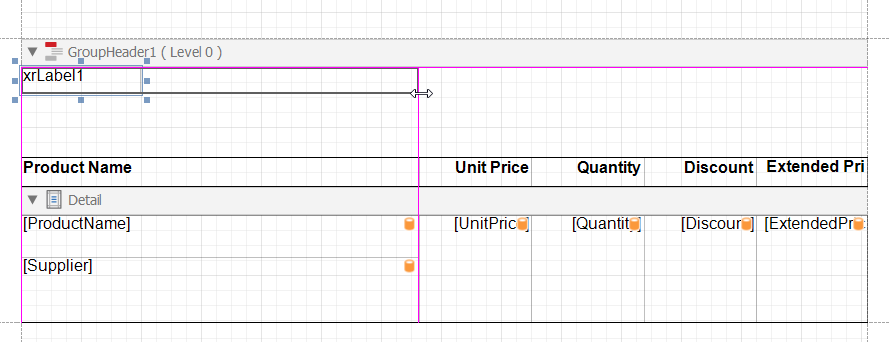
Adjust the label’s width to make it fit the width of the first table header cell.
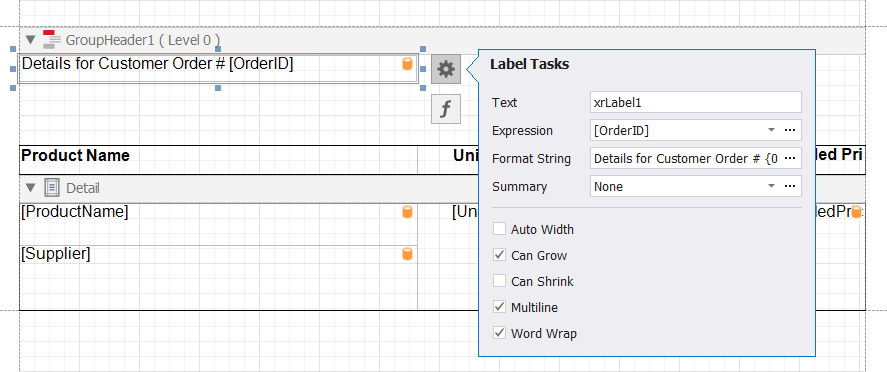
Click the label’s smart tag. Set the Expression property to the [OrderID] field and the Format String property to Details for Customer Order # {0}.
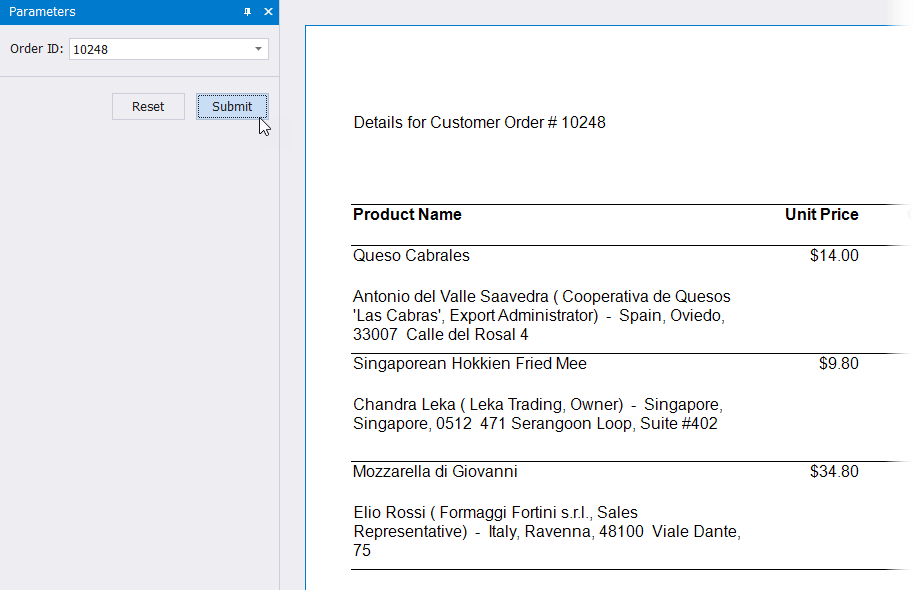
Switch to the Preview tab. You can now use the Parameters panel to specify an order ID. After you submit the specified ID, the report document will display only those records that belong to the order with this ID.
Summary
In this tutorial, we added a parameter (orderID) to our report and listed all data filter options based on this parameter value. Refer to the next tutorial for detailed information on how to customize the report appearance: Tutorial 4 - Customize Report Appearance.
In addition to integer parameters, you can create parameters of other types, such as string, date range, and others. The DevExpress Reports Suite also allows you to create parameters of more complex types, such as parameters that can accept multiple values, or so-called cascading parameters that allow you to filter values of one parameter based on a value of a different parameter.
Another useful feature related to report parameters is the ability to customize the Parameters panel (that is, unite report parameters into groups, place parameters side-by-side, add separators, and more).
| Default panel | Customized panel |
|---|---|
 |
 |
When you create a reporting application, you may want to use a custom technique to pass parameter values to your report instead of using the default Parameters panel. In such cases, you need to assign a value to your parameter in code. See the following topic for details on how to complete this task: Specify Parameter Values.
For general information on report parameters, see the following documentation section: Use Report Parameters.