Lesson 1 - Create a Snap Application
This tutorial is designed to help you get started with Snap. It will guide you through the entire process of creating a Windows Forms Snap application using Microsoft Visual Studio 2012, 2013, 2015, 2017 or 2019.
To create a Snap application, do the following.
- Run Microsoft Visual Studio 2012, 2013, 2015, 2017 or 2019.
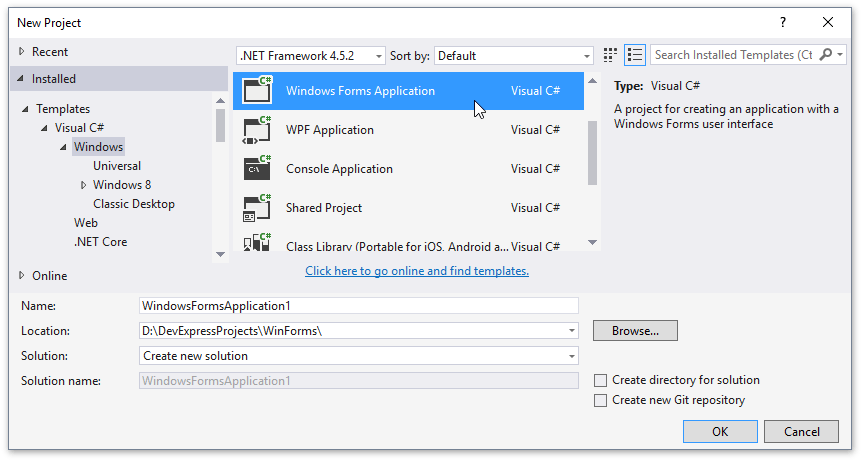
Start a new project (CTRL+SHIFT+N) and create a new Windows Forms Application by selecting FILE | New | Project… in the main menu. In the invoked New Project window, select Windows Forms Application, specify the name of the project and click OK.
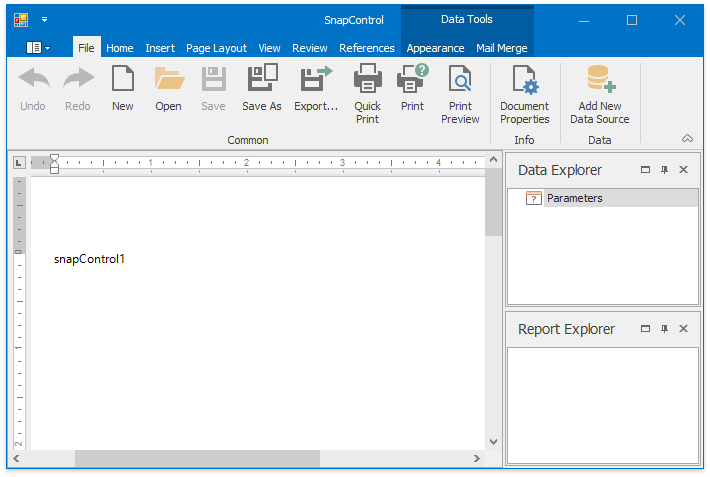
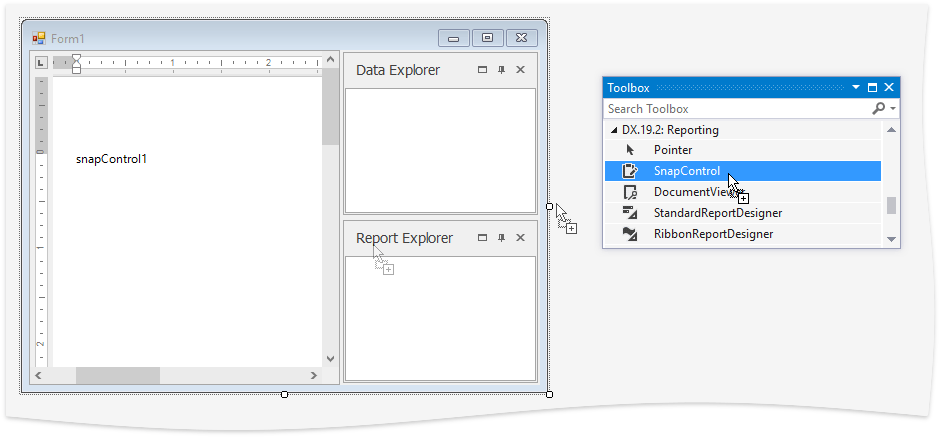
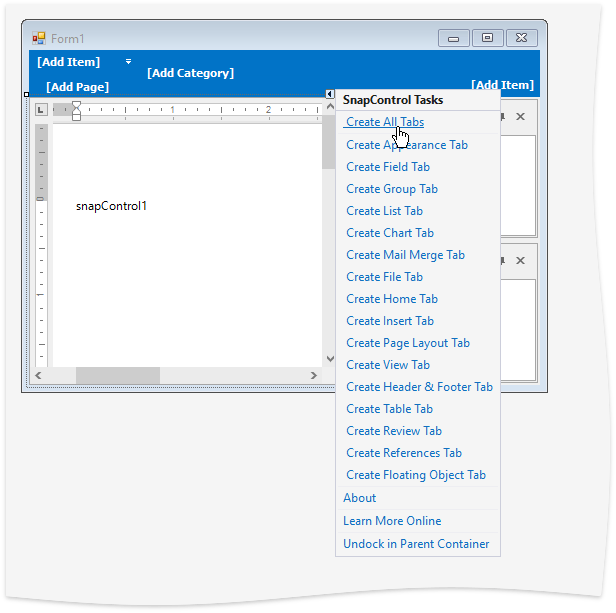
Drag the SnapControl from the DX19.2: Reporting Toolbox tab, and drop it onto the application’s main form.
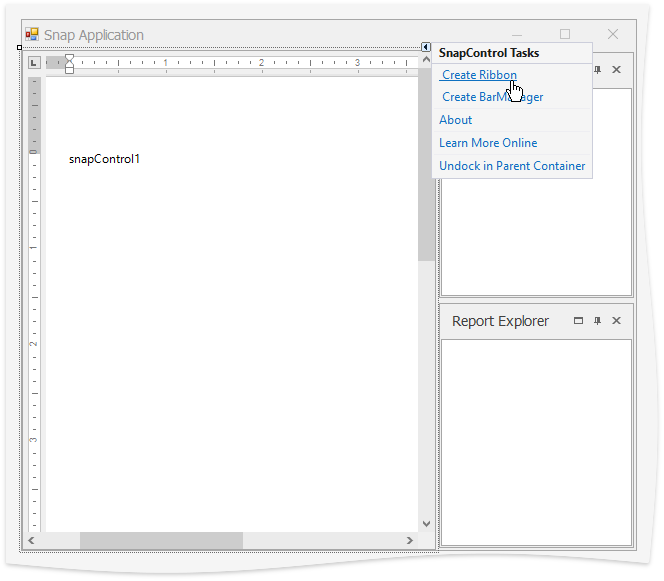
To create a Main Toolbar, click the Snap Control’s smart tag to invoke its actions list. Depending on the user interface requirements of your application, select Create Ribbon or Create BarManager.
After the specified interface is created, select the Ribbon menu tabs to create. To create them all, click Create All Tabs in the control’s actions list. (To learn more about each tab, see Main Toolbar.)
The Snap application is now ready.