Smart Autocomplete
- 2 minutes to read
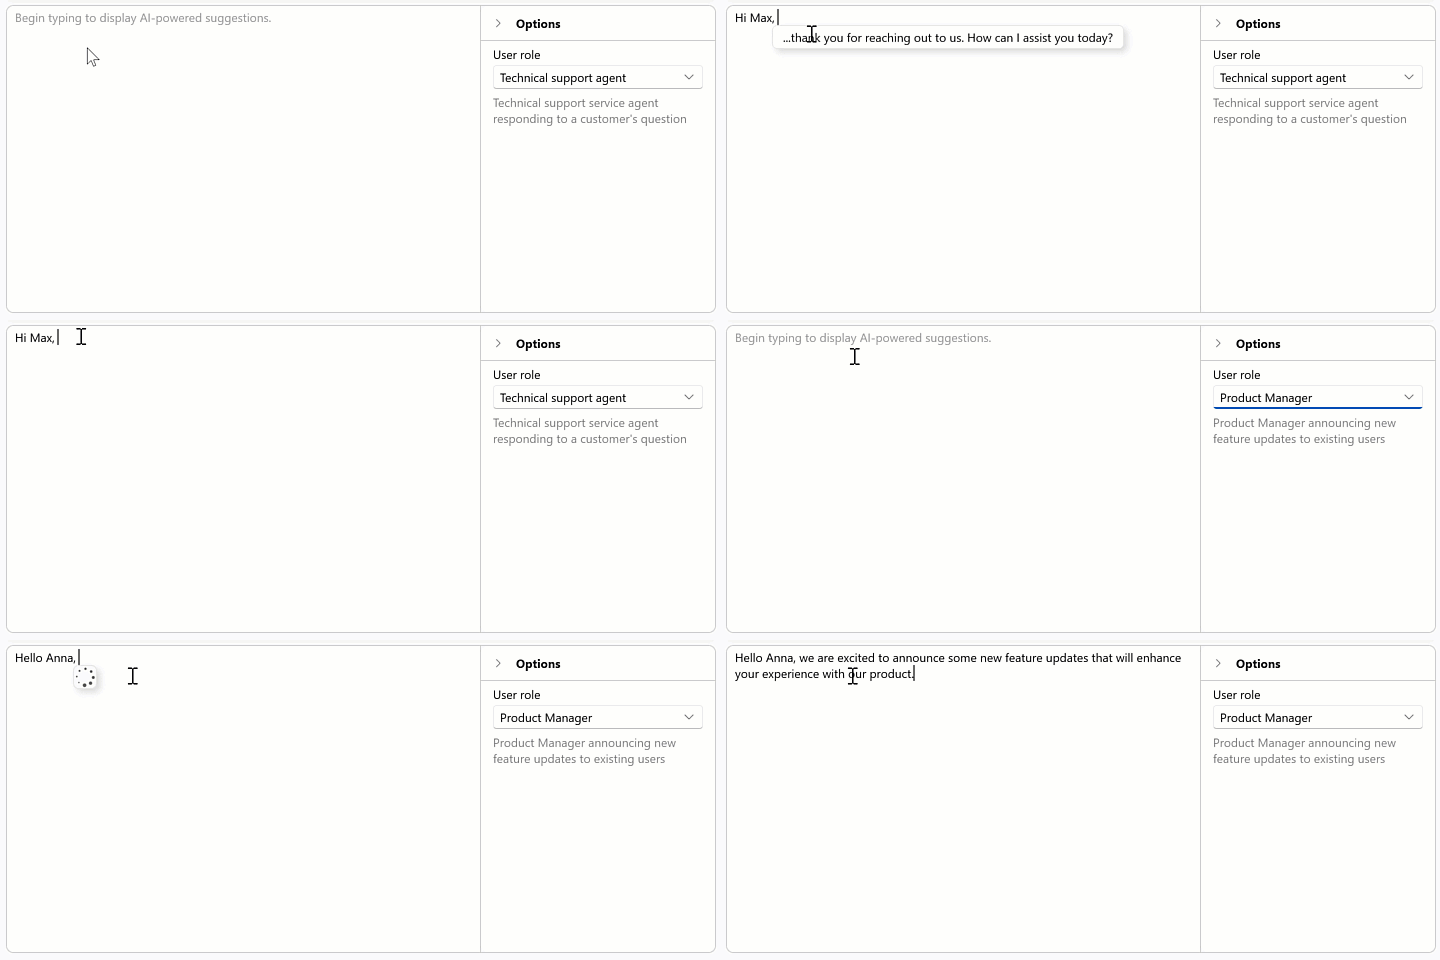
The AI-powered “Smart Autocomplete” feature intelligently predicts and suggests words or phrases based on the user’s current input.

Applies To
How It Works
DevExpress UI controls seamlessly integrate Smart Autocomplete. When Smart Autocomplete is activated, as you type, the AI model analyzes the context of the text and makes relevant suggestions in real time. Press Tab or click the suggestion to append it to the text. Press the Esc key to hide the suggestion.
Activate Smart Autocomplete
1. Install DevExpress NuGet Packages
DevExpress.AIIntegration.WpfDevExpress.Wpf
Read the following help topics for information on how to obtain the DevExpress NuGet Feed and install DevExpress NuGet packages:
- Choose Between Offline and Online DevExpress NuGet Feeds
- Install NuGet Packages in Visual Studio, VS Code, and Rider
2. Register AI Client
See the following help topic for information on required NuGet packages and system requirements: Register an AI Client.
The following code snippet registers an Azure OpenAI client at application startup within the AIExtensionsContainerDesktop container:
using Azure.AI.OpenAI;
using DevExpress.AIIntegration;
using DevExpress.Xpf.Core;
using Microsoft.Extensions.AI;
using System;
using System.Windows;

namespace AIAssistantApp {
    public partial class App : Application {
        static App() {
            CompatibilitySettings.UseLightweightThemes = true;
        }

        protected override void OnStartup(StartupEventArgs e) {
            base.OnStartup(e);
            ApplicationThemeHelper.ApplicationThemeName = "Win11Light";

            // For example, ModelId = "gpt-4o-mini"
            IChatClient azureChatClient = new Azure.AI.OpenAI.AzureOpenAIClient(new Uri(AzureOpenAIEndpoint),
                new System.ClientModel.ApiKeyCredential(AzureOpenAIKey)).GetChatClient(ModelId).AsIChatClient();
            AIExtensionsContainerDesktop.Default.RegisterChatClient(azureChatClient);
        }
    }
}
3. Create and Configure Smart Autocomplete Behavior
The following example activates the AI-powered “Smart Autocomplete” extension (SmartAutoCompleteBehavior) in a TextEdit control:
<dx:ThemedWindow
    xmlns="http://schemas.microsoft.com/winfx/2006/xaml/presentation"
    xmlns:x="http://schemas.microsoft.com/winfx/2006/xaml"
    xmlns:dx="http://schemas.devexpress.com/winfx/2008/xaml/core"
    xmlns:dxe="http://schemas.devexpress.com/winfx/2008/xaml/editors"
    xmlns:dxmvvm="http://schemas.devexpress.com/winfx/2008/xaml/mvvm"
    xmlns:dxai="http://schemas.devexpress.com/winfx/2008/xaml/ai"
    x:Class="AIAssistant.MainWindow"
    Title="MainWindow" Height="800" Width="800">
    <Grid>
        <dxe:TextEdit TextWrapping="Wrap" AcceptsReturn="True" VerticalContentAlignment="Top">
            <dxmvvm:Interaction.Behaviors>
                <dxai:SmartAutoCompleteBehavior x:Name="SmartAutocomplete" TypingPauseDelay="400"/>
            </dxmvvm:Interaction.Behaviors>
        </dxe:TextEdit>
    </Grid>
</dx:ThemedWindow>