Manage Views
The Scheduler control has all views with default settings enabled out-of-the-box. If you define any view in XAML, only defined views becomes available. You can define any number of views with the same type and different settings. All defined views are contained in the SchedulerControl.Views collection. The Scheduler displays its data using the view with an index specified by the SchedulerControl.ActiveViewIndex property.
The Smart Tag panel contains links that allow you to add a view, delete it or modify view settings.
Add View
Click the Add View link and select the view type.
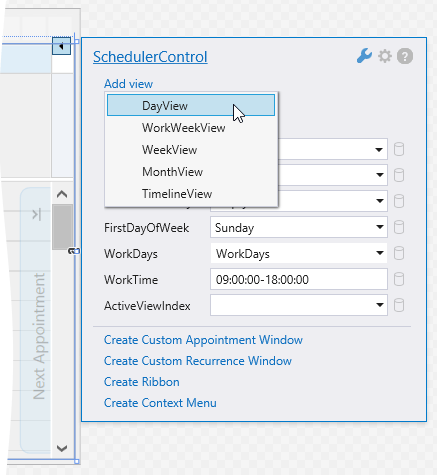
The view is defined in XAML and has a name that is a combination of its type and sequential number. For example, the first DayView definition is named “dayView1”.
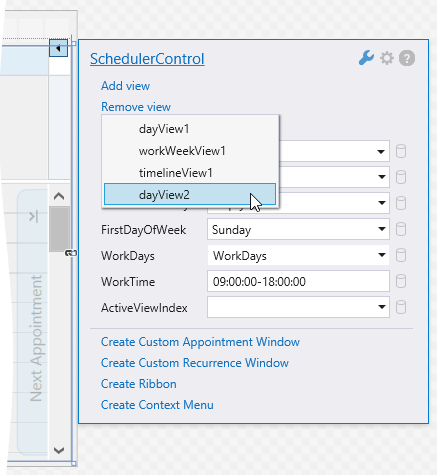
Remove View
Click the Remove View link and select the view definition to remove.
Customize View
Click the Customize View link and select the view definition to customize.
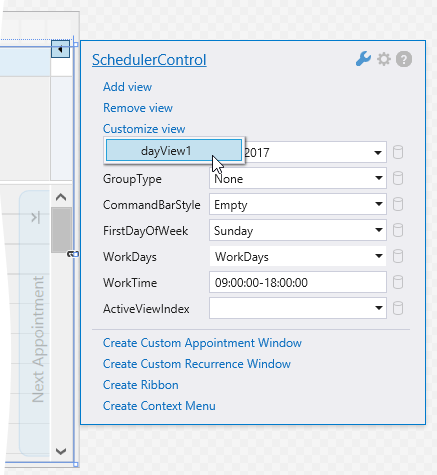
A new panel, specific to the view type, is displayed. For more information on the View-specific panels, visit the links below.