Create a Blazor Web App
- 4 minutes to read
This topic contains detailed instructions on how to create Blazor Web App applications from both DevExpress and Microsoft templates in Visual Studio and the .NET CLI.
The following options are available:
- Visual Studio: DevExpress Template Gallery (for Windows only)
- Visual Studio: DevExpress Template (for Windows only)
- .NET CLI: DevExpress Template (for all operating systems)
- Visual Studio: Microsoft Template (for Windows only)
- .NET CLI: Microsoft Template (for all operating systems)
Important
Ensure that your system meets our system requirements and that you have installed our project templates if you are going to use them.
Note
We implemented a new dotnet CLI-powered Project Wizard you can use across multiple IDEs. The new wizard suggests many additional presets: Cross-IDE Project Template Kit.
#Visual Studio: DevExpress Template Gallery
Follow the steps below to run the DevExpress Template Gallery in Visual Studio:
Open Visual Studio and click Create a new project on the start page.
In the Create a New Project dialog, select DevExpress v24.2 Blazor App Template Gallery and click Next.

Specify the Project Name and Location, and click Create.
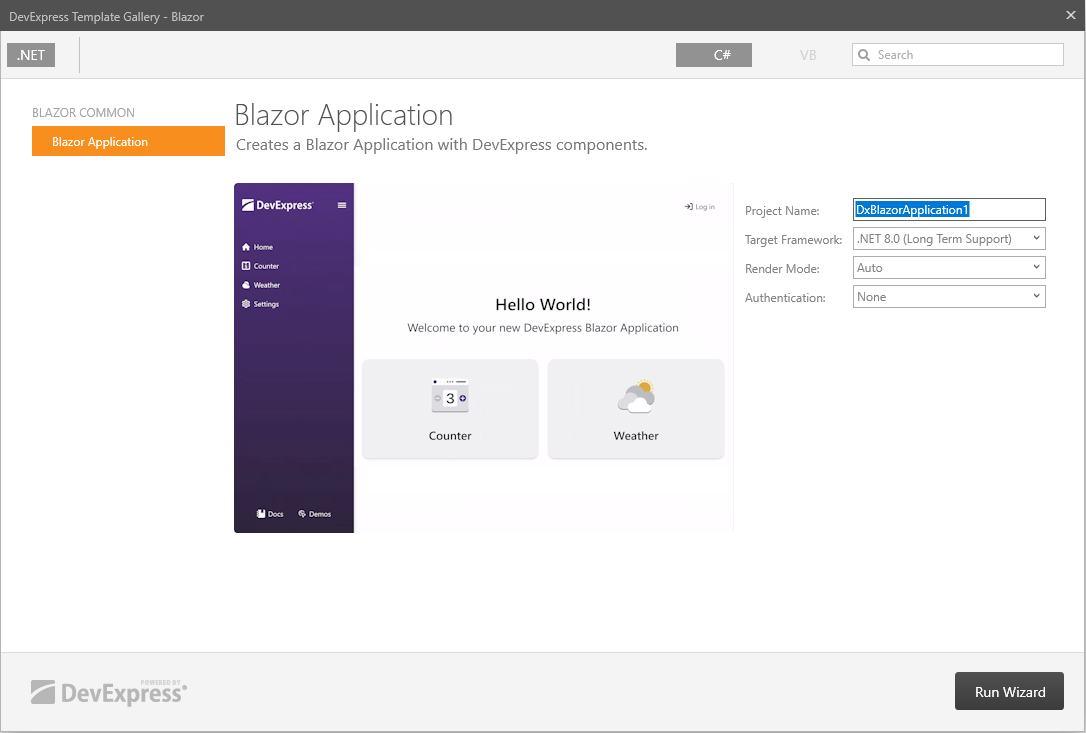
In the invoked Template Gallery, specify Project Name, Target Framework, Render Mode, and Authentication options, and click Run Wizard.
The Project Wizard appears.
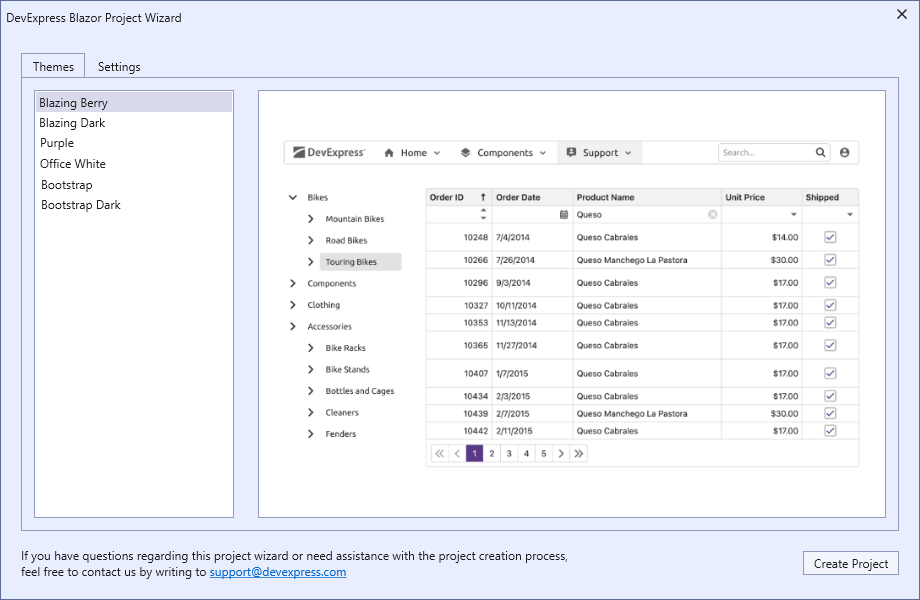
The wizard includes the following tabs:
Themes. Choose a built-in DevExpress theme or a Bootstrap theme.
Settings. This tab contains a different set of options for Blazor Server and WebAssembly applications:
- Component Size Mode - Specifies the size mode for DevExpress Blazor components. The wizard adds the SizeMode global option in the Program.cs file. Individual component settings can override this option.
- Add Rich Text Editor Resources - Adds Rich Text Editor packages to the project, imports the DevExpress.Blazor.Office and DevExpress.Blazor.RichEdit namespaces, and registers CSS resources for the Rich Editor component.
Click Create Project in the wizard.
#Visual Studio: DevExpress Template
- Open Visual Studio and click Create a new project on the start page.
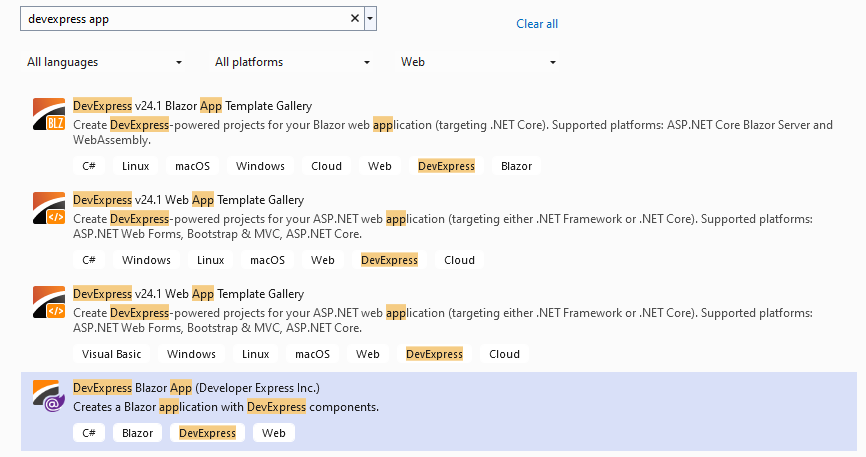
Select the DevExpress Blazor App (Developer Express Inc.) template and click Next.
Specify Project Name and Location, and click Next.
- Specify Framework, Authentication Type, and Render Mode, and click Create.
#.NET CLI: DevExpress Template
Based on the render mode, run one of the following commands to create a project from the CLI:
dotnet new dx.blazor -n MyBlazorInteractiveServerApp -framework net8.0 -int Server
The newly created project references the DevExpress.Blazor NuGet package. NuGet automatically restores this package if you registered the DevExpress NuGet feed.
You can also pass the NuGet feed as a --dx-nuget-feed parameter when you create a project. The following command creates the project and adds the NuGet.config file with the DevExpress feed to the project folder.
dotnet new dx.blazor -n MyBlazorServerApp --dx-nuget-feed https://nuget.devexpress.com/{your-feed-authorization-key}/api/v3/index.json
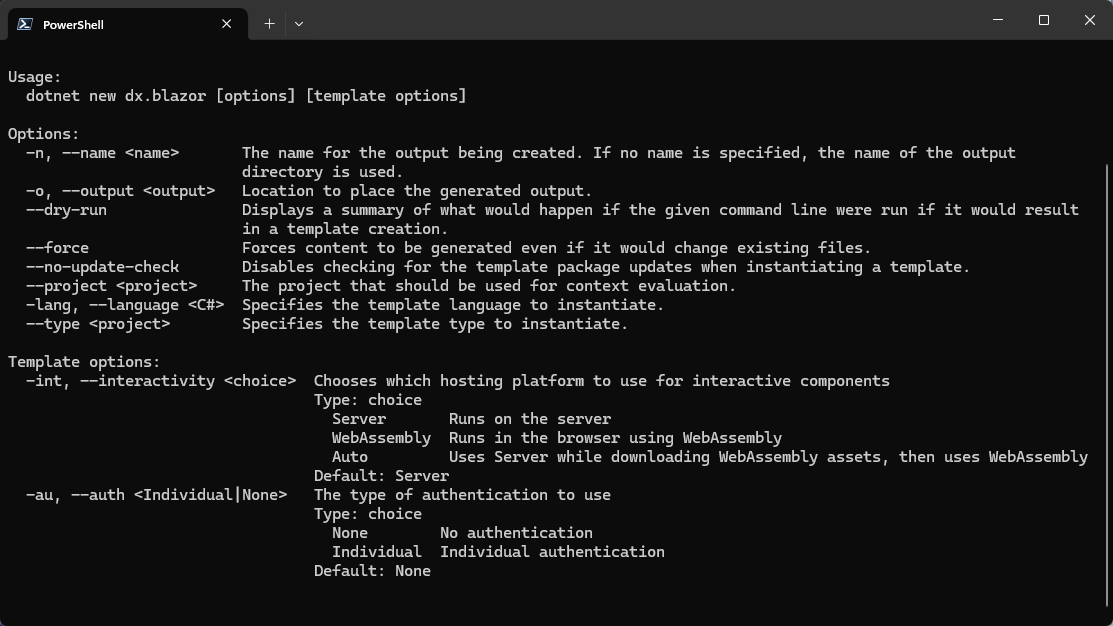
To see the list of available template options, execute the following command:
dotnet new dx.blazor -h
#Visual Studio: Microsoft Template
Follow the steps below to use Microsoft Blazor project templates in Visual Studio:
Click Create a new project on Visual Studio’s start page, select a Blazor template based on your content and hosting model preferences, and click Next.
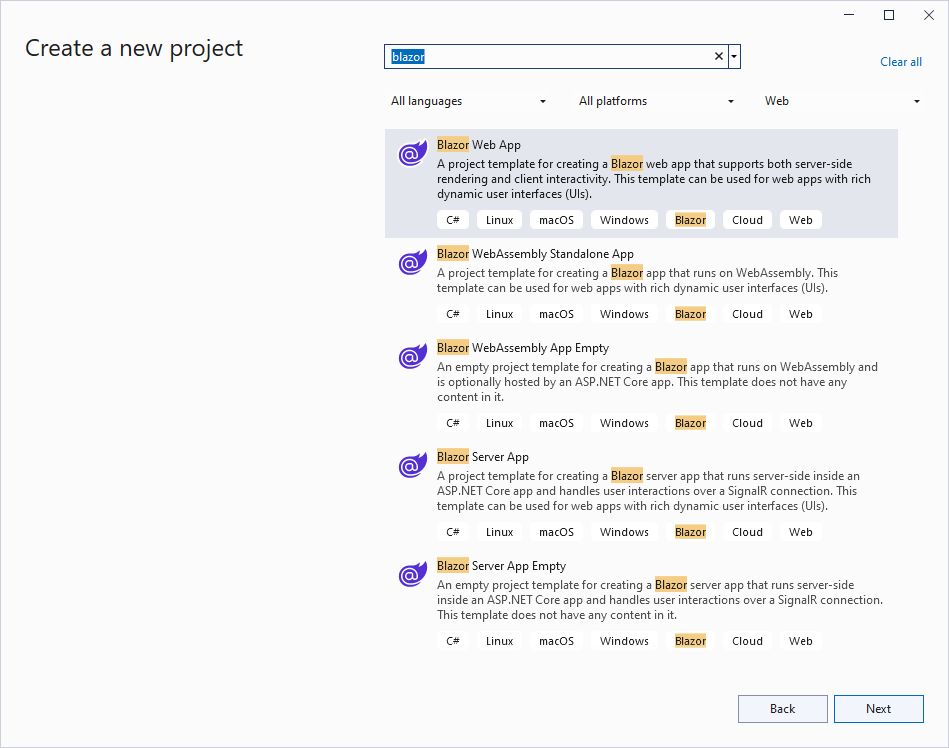
Specify project name and location. Click Next.
Specify additional options (for example, render mode), and click Create.
#.NET CLI: Microsoft Template
Based on the render mode, run one of the following commands to create a project from the CLI:
dotnet new blazor -n MyBlazorInteractiveServerApp
#Next Step
If you created a project from a DevExpress template and successfully restored NuGet packages, click the following button:
Otherwise, proceed to the following step: